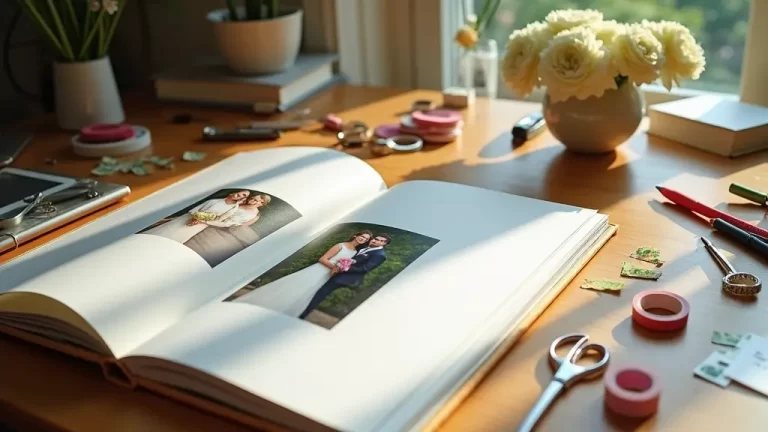
10-Minute Accordion Mini Photo Albums: The Quarter-Inch Rule That Makes Them Look Store-Bought
My mother turned eighty in March and told everyone she wanted nothing. I made her a little photo album anyway, six pictures of her garden across four decades, folded like a concertina so it stood up on the windowsill. It took me an hour and a half, and when I put it in the gift bag it would not shut. The covers splayed apart. Photo corners poked past the folds. It looked like something a nine-year-old had made at school, which would have been charming if a nine-year-old had made it.
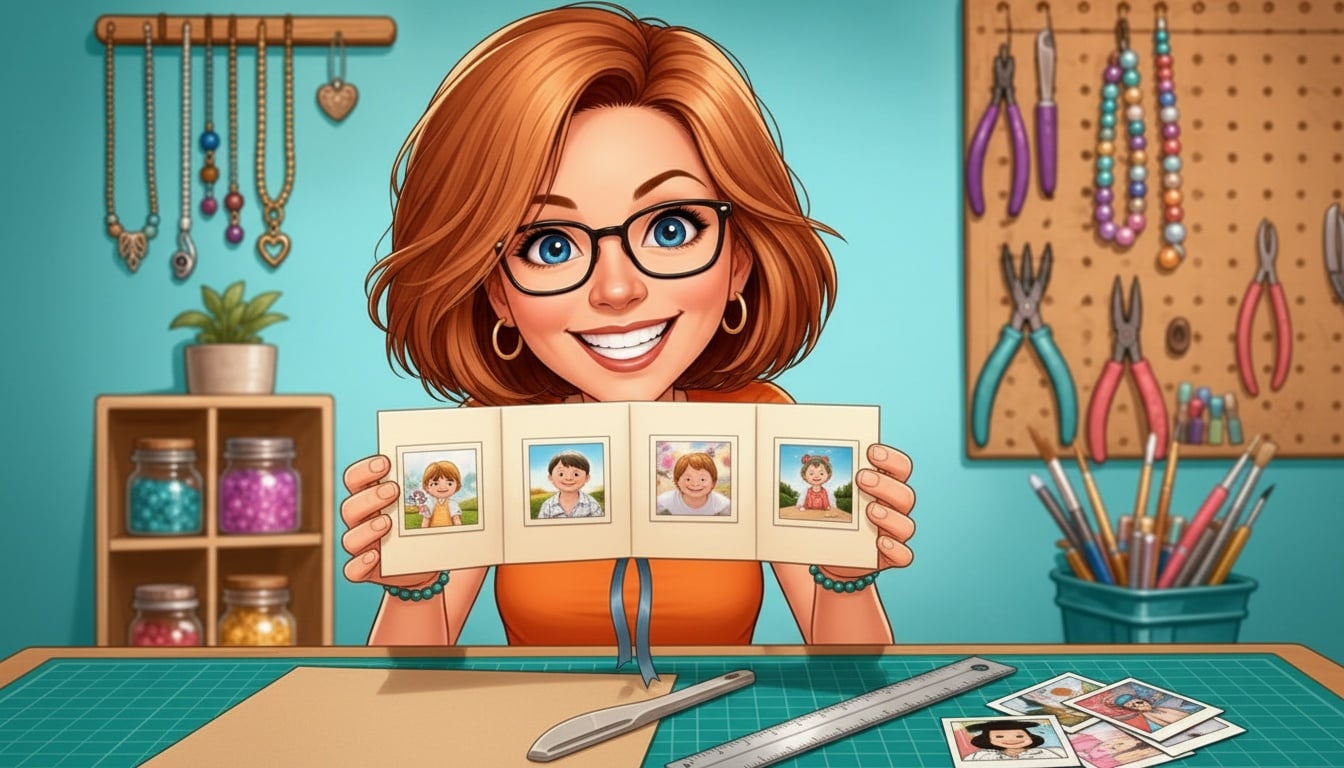
She loved it, because that is what mothers do. I remade it the following week in ten minutes flat, and the second one closed with a soft click and looked like it came from a shop.
Nothing about the second album cost more. I did not buy better paper. I changed two things: I scored the folds before I made them, and I trimmed the photos so an even quarter inch of card showed all the way around. That quarter inch is the whole difference between homemade and handmade.
What an accordion album actually is
One strip of cardstock, folded back and forth in equal panels, with a photo glued on each face. Open it and it fans out across a shelf. Close it and the panels stack into a block the size of a playing card, held shut with a ribbon. Bookbinders have used the shape for centuries and call it a concertina.
There is no sewing, no punching, no drying time and no glue that needs to set overnight. A tape runner grabs on contact, so the album is finished the moment you press the last photo down. You can wrap it straight away.
The maths falls out of a standard 12 by 12 scrapbook sheet, which is why this project suits that paper and no other. Cut the sheet into three strips, four inches by twelve. Fold each strip into four three-inch panels. You get a 3 by 4 inch album, three of them per sheet, and a wallet photo print measures 2.5 by 3.5. Centre a wallet print on a 3 by 4 panel and the border left over is exactly a quarter inch on every side. You do not have to measure a border. The paper sizes do it for you.
What you’ll need
- 12 by 12 cardstock, 80 to 110 lb. Weight matters more than colour. Text-weight paper flops open instead of standing up, and anything above 110 fights the fold. Kraft, cream and charcoal all flatter photographs better than a pattern does, because the photos are meant to be the loud part. One sheet makes three albums. (12×12 heavyweight cardstock)
- A bone folder. Three pounds of plastic or bone shaped like a butter knife, and the single tool that changes the result. You score with the pointed end and burnish the fold flat with the flat end. A fold pressed with a bone folder is sharp and stays sharp. A fold pressed with your thumbnail goes soft in a week. (bone folder scoring tool)
- A paper trimmer with a scoring blade, or a metal ruler. The trimmer is faster and gives you a square cut, which you need, because a strip cut a degree off square becomes an album that leans. A metal ruler and a craft knife do the same job for less money if you cut against the ruler and not against your other hand. (12-inch paper trimmer with scoring blade)
- A photo-safe tape runner. Buy acid-free and lignin-free, because ordinary glue sticks yellow a print from behind within a couple of years. A runner lays a dry strip of adhesive that sticks on contact and never wrinkles the photo the way wet glue does. (acid-free photo tape runner)
- Quarter-inch or three-eighths ribbon. One eighteen-inch length per album, glued under the back cover so it wraps around and ties at the front. Anything wider than three-eighths bunches under the covers and stops the album lying flat. (quarter-inch satin ribbon)
- Wallet-size prints, 2.5 by 3.5. Every photo kiosk and print-at-home app offers wallet size, usually eight or nine to a sheet, and they are the cheapest print there is. Order them matte if you have the choice. Gloss shows fingerprints, and this is an album people handle. (matte photo paper for wallet prints)
Score before you fold. This is the whole trick.
Cardstock has a spine of compressed fibres running through it. Fold it cold and you tear those fibres on the outside of the bend, which is the white crazed line you see along the crease of a homemade card. Score it first and you crush a channel for the fibres to bend into instead of snapping.
Lay the ruler across the strip where the fold goes. Run the pointed end of the bone folder down the edge of the ruler once, firmly, in one pass. You want a dented line, not a cut. Then fold the card away from the score, so the dent sits on the inside of the bend, and burnish along the fold with the flat of the bone folder.
An empty ballpoint pen does the same job if you do not own a bone folder yet. Test it on a scrap, because a pen that still has ink in it will draw a line down your album.
Score every strip before you fold any of them. Switching between the two slows you down, and the whole point of this project is that it fits in the ten minutes you have.
How to make one, start to finish
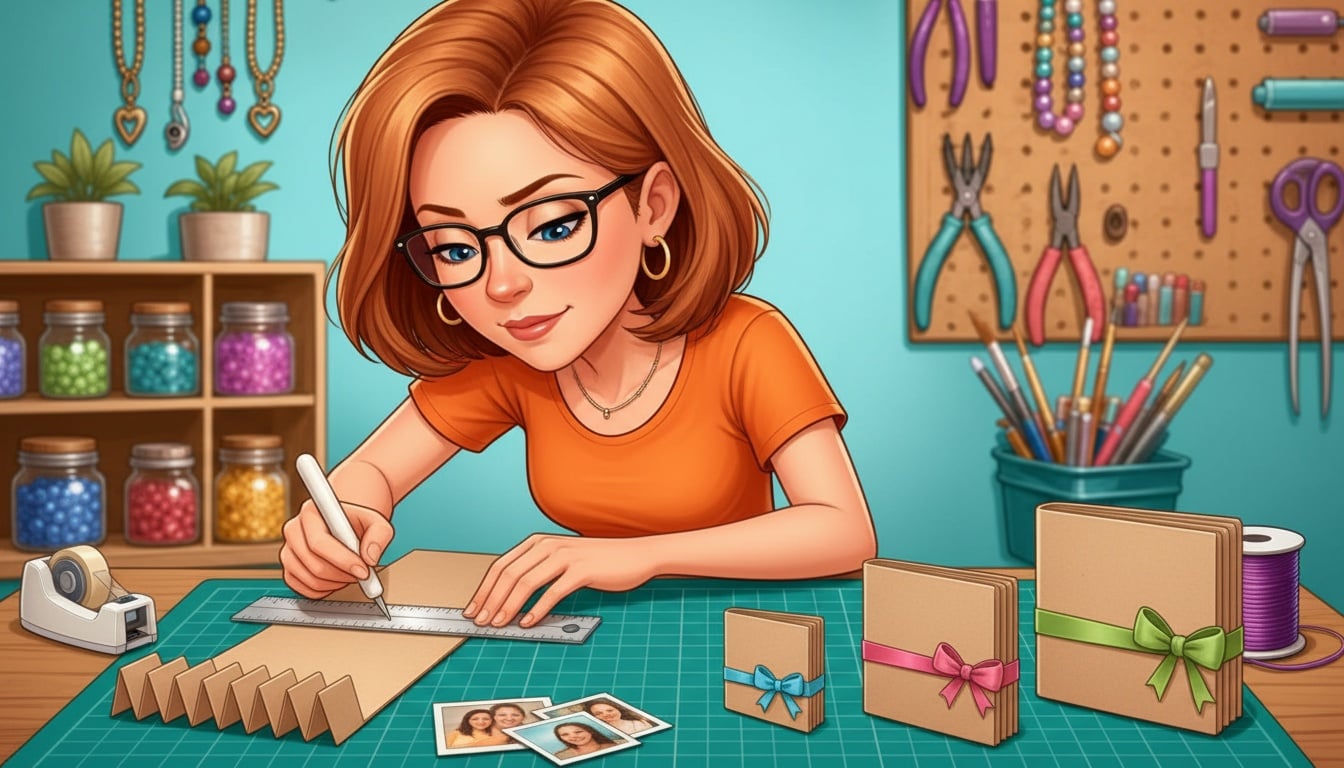
1. Cut the 12 by 12 sheet into three strips, 4 inches by 12. Three strips use the full twelve inches, so a correct cut leaves you nothing over. Set the trimmer stop once and cut all three.
2. Score each strip at 3, 6 and 9 inches. Three scores give you four panels of exactly three inches. Measure from the same end every time. Measuring from alternating ends is how you end up with a fourth panel that is 2.75 and an album that never sits square.
3. Fold in alternating directions. Fold the first score toward you, the second away, the third toward you. Bookbinders call these mountain and valley folds, and the alternation is what makes the strip concertina instead of curling into a tube. Burnish each fold flat before you make the next one.
4. Cut two covers at 3.25 by 4.25 and glue them to the outside of the end panels. An eighth of an inch of overhang on all four sides is what bookbinders call the square, and it is the reason a bound book closes over its pages without the pages showing. Covers come off a second sheet, which is worth knowing before you start: one 12 by 12 sheet yields six covers at that size, three across and two down, so a second sheet covers all three albums with nothing left over. Chipboard instead of cardstock makes the album feel weighty and posts just as well.
5. Glue the ribbon under the back cover before you stick it down. Centre eighteen inches of ribbon on the back panel with the ends running out to either side, then glue the cover down over the middle of it. The ribbon comes out of the spine, wraps the closed album and ties at the front. Doing this after the cover is on means gluing ribbon to the outside, and it looks like exactly what it is.
6. Trim the photos to 2.5 by 3.5 and run them down with the tape runner. Work along the front faces first, then turn the whole strip over and do the back. Press each print for a count of three with the flat of your hand.
The quarter inch that does all the work
Six photo faces on a four-panel album: four along the front, two on the back once the covers take the end panels. Every one of those photos wants the same border, and the number is a quarter inch.
The reason is the same reason a gallery mats a print. An even margin reads as a frame, so your eye takes the photograph as a finished object. An uneven margin reads as a mistake, and your eye goes to the widest edge instead of the picture. Nobody looking at your album will think the words quarter inch. They will think it looks properly made, and this is what they mean.
Two ways to hit it. Trim to 2.5 by 3.5 and centre by eye on a 3 by 4 panel, which works because a quarter inch is wide enough to see and narrow enough to forgive a hair of drift. Or lay the print in the corner of a scrap of card cut to 2.75 by 3.75 and use that as a positioning jig, which is what I do when I am making six albums for Christmas.
The one thing to avoid is a photo trimmed to the full 3 by 4. Bleeding a print to the panel edge sounds bolder and looks worse, because the cut edge of a photograph is a hard white line, and four of them stacked in a closed album stop it lying flat.
Three sizes from the same sheet
The cut decides the album. Where you fold decides the shape. Two sentences cover it: the width of the strip becomes the album’s height, and where you score becomes its width.
Three strips at 4 by 12, scored every 3 inches. The standard. A 3 by 4 album, four panels, six wallet photos, three albums per sheet. Start here.
Two strips at 6 by 12, scored every 4 inches. A 4 by 6 album that takes standard 4 by 6 prints trimmed to 3.5 by 5.5, which is the same quarter-inch border scaled up. Bigger, more impressive on a shelf, two per sheet.
Four strips at 3 by 12, scored every 3 inches. A square 3 by 3 album, four panels, six photos trimmed to 2.5 by 2.5, which is the crop your phone already shoots for social. It fits in a coat pocket or hangs on a tree. Four albums per sheet and about five minutes each, so this is the one I make in batches.
To make any of them longer, glue the last panel of one strip onto the first panel of another, face to face, and the join disappears into the fold. The glued pair counts as one panel, so two four-panel strips give you seven panels and twelve photo faces. It still closes, and it fans out across most of a mantelpiece.
The mistakes I made so you don’t have to
Folding without scoring. My first album, with its cracked white creases. Twenty seconds of scoring per strip.
Covers cut the same size as the panels. This was the reason the first one would not shut. A cover flush with the pages has nothing to close over, so the album gapes. Cut covers an eighth larger on all sides.
Measuring each fold from the last fold. Errors add up. Three panels came out fine and the fourth was visibly narrow. Mark all three score lines from the same end of the strip before you touch the bone folder.
Wet glue on photographs. A glue stick soaks into the print backing and the photo cockles into little ripples as it dries. There is no fixing it. Dry adhesive only.
Filling every face. I crammed twelve photos into a joined seven-panel album and it was exhausting to look at. Leave one face for a handwritten date or a line of a name, and the album turns into something somebody reads instead of flips.
Making them look like a gift
Closed, the album is a small block of card with a ribbon round it, so it needs no wrapping. Tie the bow at the front, slide a luggage tag under the knot with a name on it, and you are finished.
Three of them stacked and tied together with one longer ribbon make a present for a grandparent that covers three grandchildren. A single one tucked into a card envelope posts for the price of a large letter, and cardstock survives the post far better than a frame does.
Two honest notes. Keep the album out of a sunny window, because photo prints fade in direct light faster than anything else on the shelf. And write the year on the back cover in pencil. Every album I made before I started doing that is now a small mystery.
Grab the free cut and fold template
The measurements are easy to hold in your head until you are standing at the table with a ruler and three strips of card, wondering whether the scores go at 3, 6 and 9 or at 4 and 8.
The free Accordion Mini Album Cut & Fold Template is a one-page printable with the cut chart for a 12 by 12 sheet showing all three album sizes side by side, the score positions for each, and the photo trim size that gives the quarter-inch border at that scale. It carries a mountain and valley fold map so the alternation is a picture instead of a sentence, a 1:1 photo trim guide you lay a wallet print straight onto, and the six build steps on one line each.
The trim guide is drawn to actual size, so print it at 100% and not fit to page, or your 2.5 by 3.5 rectangle will come out at 2.4.
Print it, prop it behind the cardstock, and you will need it for the first album only. After that your hands know where the folds go.
Happy crafting, and make the first one for yourself before you start on the gifts. Six photos of a year you liked, on your own windowsill, in ten minutes.