10-Minute Rolled Beeswax Candles: No Melting, No Mess, Just Roll and Gift
For about twelve years I told people I did not make candles. I made a lot of other things, but candles had a stove in them, and a pot I would never get clean again, and a thermometer, and a step where you pour something at 185 degrees while holding a wick straight with your other hand. I had tried it once in my thirties. I ruined a saucepan and got wax in the burner well of my stove, where I believe some of it still lives.
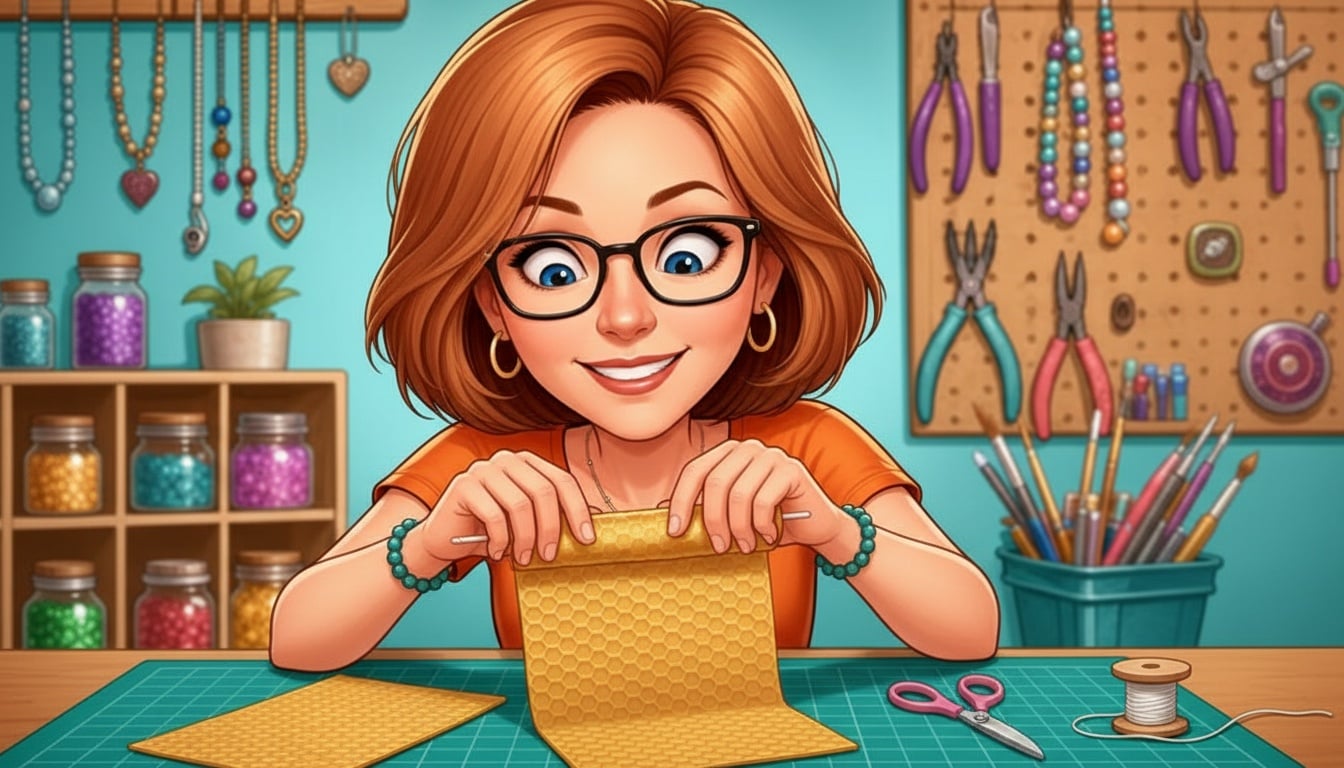
Then my neighbour’s daughter turned sixteen on a Saturday I had forgotten about. I found out at four o’clock. The party was at six. What I had in the house was a pack of honeycomb beeswax sheets I had bought at a craft fair two years earlier because they smelled like a barn in the best possible way, and had then put in a drawer because I did not know what to do with them.
I made three candles in under fifteen minutes. Nothing melted. Nothing spilled. I did not turn on the stove. The only tool I used was a pair of scissors, and afterwards I threw away exactly one thing: a scrap of wax about the size of a stamp.
What a rolled candle actually is
Beeswax comes in flat sheets pressed with a honeycomb pattern, roughly eight by sixteen inches, and about as thick as a piece of card. Beekeepers use these as foundation in hives. Crafters use them because beeswax at room temperature is not brittle like paraffin, it is pliable, a bit like very firm fudge, and it sticks to itself.
So you lay a sheet down, put a length of wick along one edge, fold that edge over the wick, and roll. The sheet grips itself as it goes. When you reach the far edge you press the seam down with your thumb and you are holding a candle. That is the whole technique. There is no glue, no mould, no heat and no drying time. You can light it the second you finish.
The candle burns for a long time too, longer than a paraffin candle of the same size, because beeswax is dense and burns slowly. One full sheet rolled into an eight-inch taper gives you roughly five to seven hours, depending on how firmly you rolled it and how out of the draught it sits.
What you’ll need
- Honeycomb beeswax sheets. These are sold as candle-rolling sheets and usually come in packs of twenty or more, in natural honey-gold plus dyed colours. Natural is the one to start with, because it smells faintly of honey when it burns and the colour is beautiful on its own. One sheet is one full-size candle, so a pack of twenty is twenty gifts. (honeycomb beeswax candle sheets)
- Square braid cotton wick. Buy it on a spool and cut what you need. Size matters more than anything else in this project and I will come back to it, but if you only buy one, make it #3 square braid, which suits a full-sheet taper. Sold in the same aisle as the sheets, and one spool will outlast several packs. (square braid candle wick spool)
- Sharp scissors, or a craft knife and a ruler. Beeswax sheets cut cleanly when the blade is sharp and tear when it is not. If you are cutting a sheet in half or on a diagonal, a craft knife against a ruler gives you the straight edge that makes the finished candle look bought. (craft knife and metal ruler set)
- A hairdryer. Only if your house is cold. Thirty seconds of warm air on a sheet is the difference between a smooth roll and a cracked one. You almost certainly own one already, so do not buy anything here.
- Ribbon or twine. Two candles tied together with a length of jute makes a gift that needs no wrapping at all. This is the step that turns a craft into a present. (jute twine and craft ribbon)
- Candle holders with a drip dish. Worth mentioning up front rather than after your first waxy tablecloth. Hand-rolled beeswax drips more than a machine-pressed taper, so a holder with a saucer under it earns its keep, and a plain brass or ceramic one lets the honeycomb pattern stay the interesting part. (taper candle holders with drip dish)
Warm the sheet. This is the whole trick.
One thing separates a candle you are proud of from a pile of cracked wax, and it took me two ruined sheets to work it out.
Beeswax below about 70 degrees will crack when you bend it. Above about 80 it rolls like a sheet of soft leather.
My craft room in February sits at 64. The first two sheets I tried to roll that winter split along the fold line before I had made one full turn, and I assumed I had bought a bad batch. I had not. The wax was just cold.
So warm the sheet first. Three ways that all work:
- Hands. Hold the sheet flat between your palms for a minute. Fine in summer, slow in winter.
- Hairdryer on low, held about a foot away, moving. Twenty to thirty seconds a side. This is what I use. Do not hold it close or still, or you will get a soft dent you cannot roll out.
- A warm room. Leave the pack on a sunny windowsill or near a radiator for twenty minutes before you start. Best method if you are making a batch, because every sheet is ready when you get to it.
You will know a sheet is ready when you can lift one corner and bend it back on itself without hearing a faint crackle. If it crackles, warm it more.
How to roll one, start to finish
1. Cut your wick two inches longer than the sheet is tall. If your sheet is eight inches tall, cut a ten-inch wick. That gives you one inch sticking out of the top to light and one inch at the bottom you will trim off. Do not skip the extra length, because a wick cut flush with the top of the sheet is a candle you cannot light.
2. Lay the sheet on the table with a short edge toward you and warm it. The edge you lay the wick along becomes the height of the finished candle, so on a standard eight by sixteen inch sheet the eight-inch edge is the one you want. Everything you roll across, all sixteen inches of it, becomes thickness.
3. Lay the wick along the near edge and fold the wax over it. Press the fold down firmly along the whole length so the wax grips the wick. This first fold is the only one that has to be tight. If the wick can slide inside the fold, press harder.
4. Roll, keeping the ends level. Use flat palms, not fingertips, and roll away from you with steady even pressure. Check the top and bottom as you go. If one end is running ahead, ease off on that side. A candle that spirals out of true will not stand up straight, and you cannot fix it once it is rolled.
5. Press the last edge into the side of the candle. Warm your thumb on the hairdryer for a second and smooth the seam down. A well-pressed seam disappears into the honeycomb pattern.
6. Trim the bottom wick flush and stand it up. If it does not stand level, roll the base gently on the table to flatten it. Trim the top wick to about a quarter inch, which is the length that gives a clean flame instead of a smoking one.
Four candles from the same sheet, depending on where you cut
This is the part I wish somebody had told me on day one, because it means one pack of sheets covers every gift you need instead of making twenty identical candles. Two rules do all the work:
The edge the wick sits on becomes the height. Everything you roll across becomes the thickness.
So on a standard eight by sixteen inch sheet:
The whole sheet, wick along the eight-inch edge. An eight-inch taper about three-quarters of an inch thick, which is the classic. Fits a standard candlestick, burns five to seven hours. One sheet, one candle, no cutting at all. Start here.
Cut it in half the tall way, into two eight by eight squares. Two eight-inch tapers from one sheet, each about half an inch thick instead of three-quarters. Same height, half the wax, so they burn down a good deal quicker. This is the cut for a candlestick pair.
Cut it in half the wide way, into two four by sixteen strips. Two stubby four-inch candles, each as thick as the full-size taper at three-quarters of an inch, and each burning two to four hours. These stand up on their own without a holder and look best grouped in threes. My favourite cut, and the one people pick up and turn over.
Cut it corner to corner on the diagonal and roll from the long straight edge. A spiral taper that comes to a twisted point at the top. It looks far harder than it is, because it is the same roll on a triangle instead of a rectangle, and it is the one that always gets asked about.
If you want a genuinely fat pillar, take the two four by sixteen strips, overlap the short ends by half an inch, press the overlap flat with a warm thumb, and roll the whole thirty-two inches as one strip. You get one four-inch candle about an inch and an eighth thick. It takes a minute longer to roll and it is the one that looks shop-bought.
The mistakes I made so you don’t have to
Rolling cold wax. My two split sheets. Warm first, every time, even in summer if the room is air conditioned.
Using the wrong wick size. I once rolled a lovely fat pillar with a thin wick left over from a slim taper. It lit, burned a narrow hole straight down the middle, and drowned itself in its own wax within the hour. Wick size follows thickness, not height: a #1 or #2 for the slim half-sheet tapers at about half an inch, a #3 for anything around three-quarters of an inch, and a #4 for the overlapped pillar at an inch and over. Too thin drowns. Too thick smokes and gutters.
Rolling too loosely. A loose candle has air gaps between the layers, and when the flame reaches one the wax pools and runs down the side. Roll firmly. You should not be able to see gaps when you look down at the top spiral.
Squeezing while I rolled. Beeswax keeps a fingerprint. Flat palms, moderate pressure, and hold the finished candle by the ends until it cools back to room temperature.
Trimming the top wick too long. A half inch of wick makes a big smoky flame that blackens the top of the candle. A quarter inch burns clean. Trim it again before every relight.
Making them look like a gift
The honeycomb texture does most of the work, so keep everything else plain. Two tapers tied with jute at the middle, a sprig of dried lavender tucked under the knot, and you are finished. A trio of short pillars in a small kraft box, packed with a bit of tissue, needs no ribbon at all.
Beeswax posts and travels well because it does not shatter, but it does soften. Do not leave a box of them in a car in July, and do not stand one in a window that gets direct afternoon sun, because it will lean.
Two honest notes. Beeswax candles smell faintly of honey when lit and do not take added fragrance well, so if somebody wants a scented candle this is not their project. And these are unmoulded candles, which means they drip more than a machine-made taper. Use a holder with a dish, and enjoy the drips, because on a beeswax candle the wax cools into little gold ribbons down the side.

Grab the free rolling and sizing cheat sheet
The wick sizes and the roll directions are easy to hold in your head right up until you are standing there with a warm sheet going soft in your hands. So I put it all on one page.
The free Beeswax Candle Rolling Cheat Sheet is a one-page printable with the cut chart, drawn to scale, showing where to cut a standard sheet for a taper, a pair of slim tapers, stubby fours or a spiral, and what height, thickness and burn time each cut gives you. It also carries the wick sizing table matching thickness to wick number so you never drown another candle, the warming guide with times for hands, hairdryer and windowsill, and the six-step roll on one line each.
Print it, prop it behind the wax, and you will only need it for the first two candles. After that your hands know the roll.
Happy crafting, and do light the first one yourself before you give any away. You have earned it, and it took you ten minutes.