10-Minute Melt-and-Pour Soap Bars (The Rubbing-Alcohol Spritz That Kills the Ugly Bubble Crust)
Hi friend! The first batch of soap I ever made looked exactly like the soap in a roadside motel. I had this picture in my head of those gorgeous clear lavender bars you see at craft fairs, and what came out of my mold was cloudy, with a crust of tiny white foam bubbles frozen across the top like sea scum. I put them on the counter to admire anyway, and by the next morning every bar was covered in sticky little beads of water. I thought I had ruined them. I thought soap could go bad.
It could not, and I had not. Every single one of those problems has a fix that takes under a second, and none of them are on the wrapper the soap base comes in. Once somebody finally told me, I started making these by the trayful for teacher gifts, party favors, and the little basket by my guest bathroom sink. There is no lye, no curing, nothing that can hurt you, and the hands-on part really is about ten minutes. Let me save you the motel-soap phase.
Why melt-and-pour is the one to start with
Real soap making from scratch means handling lye, which is a caustic chemical that needs goggles, ventilation, and a lot of respect. Then the bars have to cure for four to six weeks before anyone can use them. That is a wonderful hobby and it is absolutely not a Tuesday evening.
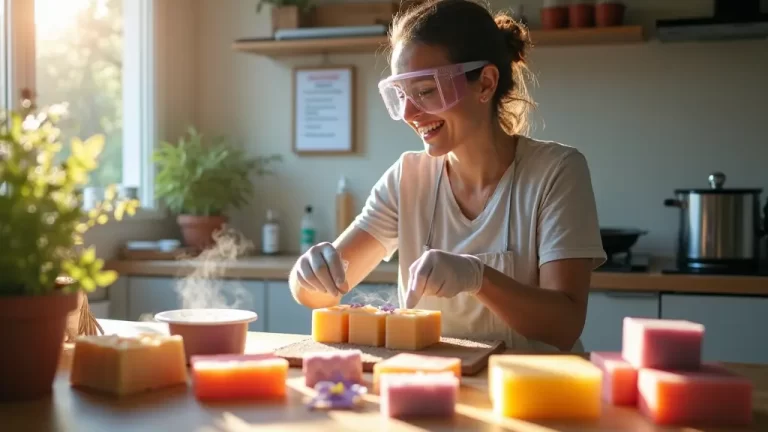
Melt-and-pour skips all of it. Somebody already made the soap and saponified it for you; it comes as a solid block that you cube up, melt in the microwave, stir in scent and color, and pour. It sets hard in an hour or two on the counter, and you can wash your hands with it that same night. The block costs about ten dollars and makes six to eight full-size bars, which works out to well under two dollars for a gift that looks like it came from a boutique.
It is also the only craft I know where a total beginner’s first attempt can genuinely look professional, as long as somebody tells them the three things nobody tells them.
What you’ll need
- Melt-and-pour soap base, one or two pounds. Clear glycerin base if you want jewel-toned bars you can see through, white shea or goat milk base if you want creamy pastel ones. Get both if you can, because layering the two is what makes people gasp. (melt and pour soap base)
- A silicone mold. A rectangular loaf mold you slice like bread, or a tray of individual cavities. Silicone matters because the bars pop right out; a plastic candy mold fights you. A silicone muffin pan from your own kitchen works perfectly. (silicone soap molds)
- A spray bottle of rubbing alcohol, 91% or higher. This is the whole secret and it costs about four dollars. Do not substitute the 70% kind if you can help it, it is too watery. (isopropyl alcohol spray bottle)
- Skin-safe fragrance oil or essential oil. Lavender, oatmeal honey, and eucalyptus are my three most-requested. It must say skin-safe or soap-safe on the bottle. Candle fragrance is not the same thing and does not belong on anybody’s hands. (soap fragrance oils)
- Soap colorant. Liquid dye, mica powder for a pearly shimmer, or nothing at all. Please do not use food coloring, it fades to a sad gray in about a week. (soap colorants and mica)
- A digital thermometer, the instant-read kind from the kitchen drawer. You can do this by feel once you have made a few batches, but the thermometer is what gets your very first batch right. (instant-read thermometer)
- Shrink wrap bags or plastic wrap. Not optional, and I will explain why in a minute. Shrink bags plus a hair dryer give you that store-bought look for pennies a bar. (soap shrink wrap bags)
- A glass measuring cup with a spout, a knife, and a cutting board. All from your kitchen. Nothing here gets ruined; it is soap.
These are Amazon affiliate links. If you buy through them, it costs you nothing extra and helps keep the projects coming. Thank you!
The ten-minute method
1. Cube the base small, about half an inch. Small cubes melt evenly and quickly. Big chunks mean the outside of the batch scorches while the middle is still solid, and scorched clear base turns permanently cloudy and yellowish. This is the least interesting step and it prevents the most damage.
2. Melt in the microwave in 20-second bursts, stirring between each one. Two or three bursts is usually all it takes. Stir gently with a spoon, do not whisk or beat it, because every bit of air you stir in becomes a bubble you have to deal with later. Stop the moment the last few cubes are almost gone and let the residual heat finish them.
3. Know your three numbers. Melted base wants to stay under 140°F; past that it scorches and clouds. Let it cool to about 135°F before you stir in fragrance, because scent added to screaming-hot soap evaporates off and you have paid for perfume that went into your kitchen air. And if you are pouring a second layer, pour it at about 125°F, cool enough that it will not melt a channel through the layer underneath. Those three numbers are the difference between craft fair and motel.
4. Stir in scent, then color. Roughly a teaspoon of fragrance oil per pound of base is a good starting point, and the bottle will tell you its own rate. Add color a drop at a time; melted soap always looks darker in the cup than the finished bar does, so stop about one shade before you think you are there.
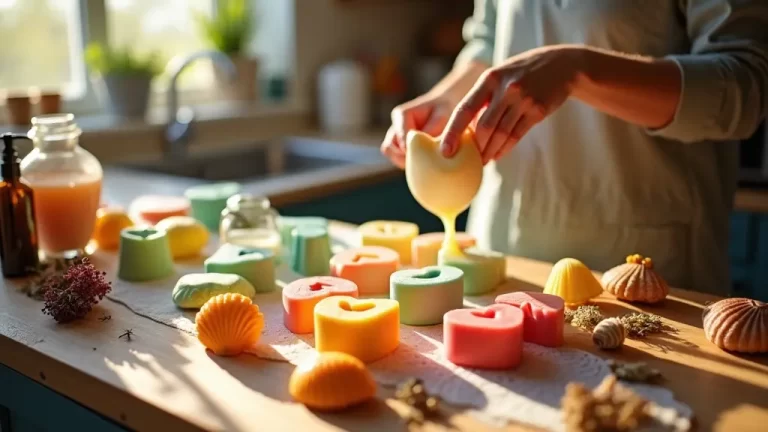
5. Pour slowly, down the side. Tip the measuring cup and let the soap run down the inside wall of the mold instead of splashing into the bottom. Splashing whips in air. Pouring down the side is the difference between a few stray bubbles and a lid of foam.
6. Spritz the top with rubbing alcohol. This is the trick. One quick mist across the surface and every bubble on top pops instantly. You can watch it happen, and I promise it is the most satisfying second of the whole project. The alcohol flashes off in seconds and leaves nothing behind. That crusty foam layer that made my first bars look like motel soap? Gone, forever, for four dollars.
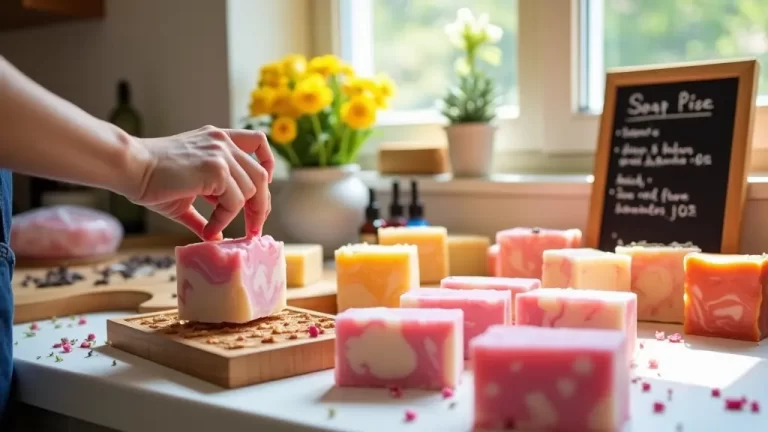
7. For layers, spritz again in between. Let the first layer firm up until it has a skin but is still warm, mist it with alcohol, then pour your 125°F second color on top. The alcohol is what lets the two layers grip each other. Skip it and your pretty two-tone bars will slide apart in somebody’s shower, which is a very disappointing gift.
8. Leave it alone for an hour or two, then unmold. Do not put it in the freezer to rush it, that makes the bars sweat and sometimes crack. When the mold is completely cool to the touch and the bar feels firm, peel the silicone back from the edges and push from underneath.
9. Wrap them the same day. The same night, ideally. This is the fix for the sticky beads that scared me off my first batch.
About that “sweating,” because it terrified me
Those little water droplets are called glycerin dew, and they are not spoilage, mold, or anything wrong with your soap. Melt-and-pour base is loaded with glycerin, and glycerin is a humectant, meaning its entire job is to pull moisture toward itself. That is exactly why the bar is nice to your skin. Left sitting out on a counter, it does that same job on the humidity in your kitchen, and the water it grabs collects on the surface.
The fix is to not leave them out. Once the bars are fully hard, wrap each one tightly in plastic wrap or slip it into a shrink bag and hit it with a hair dryer for a few seconds. Sealed bars stay perfect on a shelf for many months. If a bar has already beaded up, blot it dry with a paper towel and wrap it then; it is fine to use and to give away.
If your kitchen runs humid, run the exhaust fan or make soap on a dry day. That is the whole solution.
The other three things that go wrong
Cloudy clear soap means it got too hot. Nothing brings the clarity back, but the bars still work beautifully, so scent them heavily, call them frosted, and turn the heat down next time.
Bars that stick in the mold almost always just need more time. Give them another hour. If a bar is still soft after several hours, the batch may have too much fragrance oil in it; measure next time instead of pouring by eye.
Color that bleeds from one layer into the other overnight happens with some cheap liquid dyes. Mica powders and proper soap colorants stay put. It is one of the few places where the two extra dollars is worth it.
Ways to make them yours
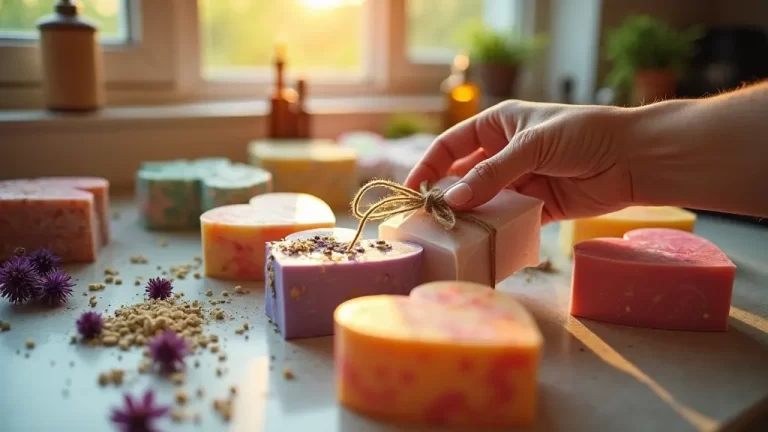
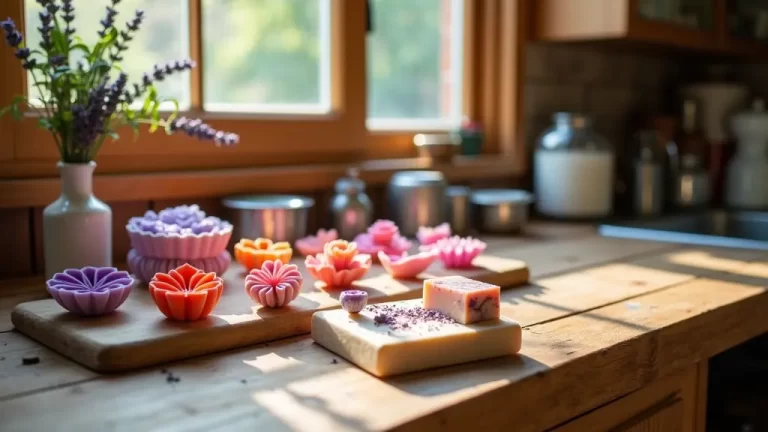
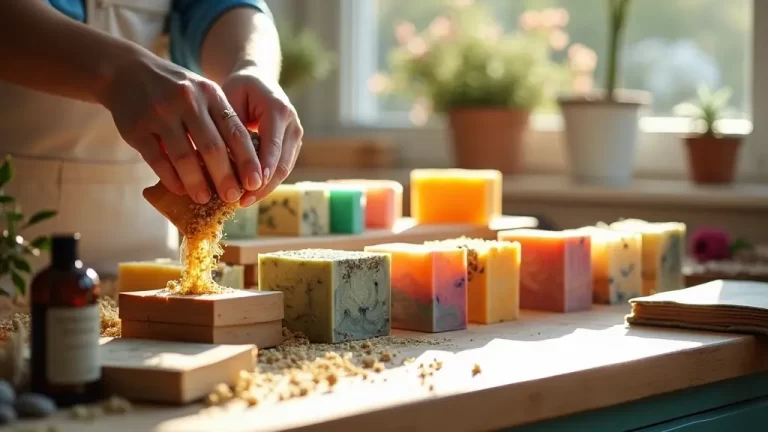
Embeds are where this gets addictive. Drop a few dried lavender buds, rose petals, or coffee grounds into the mold before you pour, or press a tiny plastic toy into a clear bar so a child has to wash their way down to it. My grandkids will scrub their hands raw to reach a dinosaur.
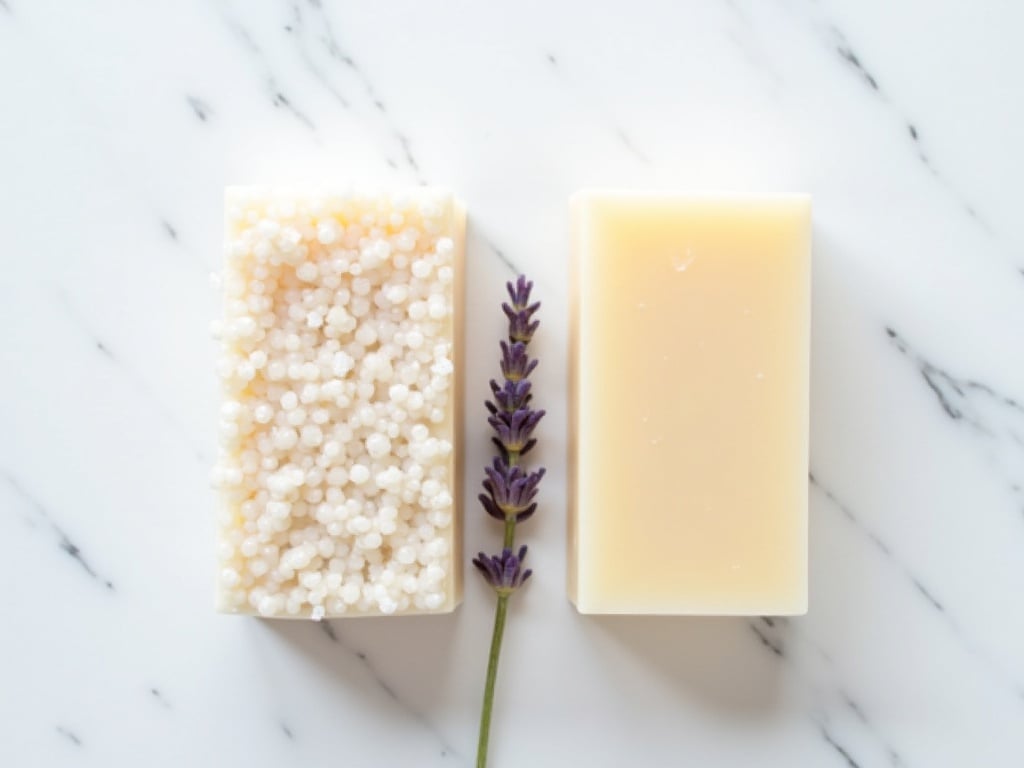
For texture, stir a spoonful of oatmeal or poppy seeds into white base right before pouring, and pour quickly before they sink. For a marbled bar, pour the light color, then drizzle the dark one in a zigzag and drag a skewer through it once. Once. The second pass turns marble into mud, which I learned the hard way.
Layered bars in a loaf mold sliced into thick pieces look like the fancy ones in the shop window, and a bar of clear honey-colored soap wrapped in brown paper with twine and a sprig of rosemary is the easiest twelve-dollar-looking gift I have ever handed anybody.
This is a wonderful craft night project, too. One person melts, everyone brings a scent, and each guest goes home with a wrapped bar an hour later. No fumes, no waiting weeks, and the only cleanup is a soapy measuring cup, which more or less washes itself.
Want my printable cheat sheet?
I put together a one-page Melt & Pour Soap Cheat Sheet to keep on the counter while you work: the three temperatures written big, fragrance and colorant amounts per pound of base, my layering timing, and a troubleshooting chart for bubbles, sweating, cloudiness, and soft bars, plus the full supply checklist to take shopping. Pop your email in below and I will send it right over, free.
Go make a batch tonight
If you have been talking yourself out of soap making because of the lye and the six-week wait, this is your permission slip. Cube it small, melt it gently, keep it under 140, scent it at 135, pour down the side, spritz the top, and wrap them before bed. That is the entire craft. Make one batch this week and I would bet money you are ordering a second block of base before the first tray is even unmolded. Happy crafting!
Donna