10-Minute Quilled Paper Flower Cards (The Strip-Length Rule That Makes Every Petal Match)
Hi friend! The first quilled flower I ever made had five petals and not one of them was the same size as any other. It looked less like a rose and more like something that had been stepped on. Two of the coils had sprung open on the way to the card, there was a shiny dried glue blob sitting right on the front where everybody’s eye goes first, and I had spent forty minutes on a card I was embarrassed to sign.
I assumed I needed practice. I did not need practice. I needed a ruler. Once somebody explained to me what actually decides the size of a coil, my petals started matching on the very first try, and now a quilled flower card takes me about ten minutes and costs less than a dollar. Let me hand you the whole thing.
What quilling actually is
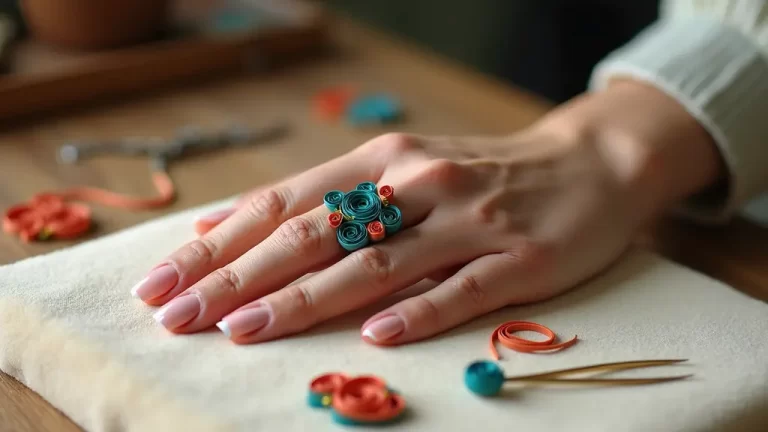
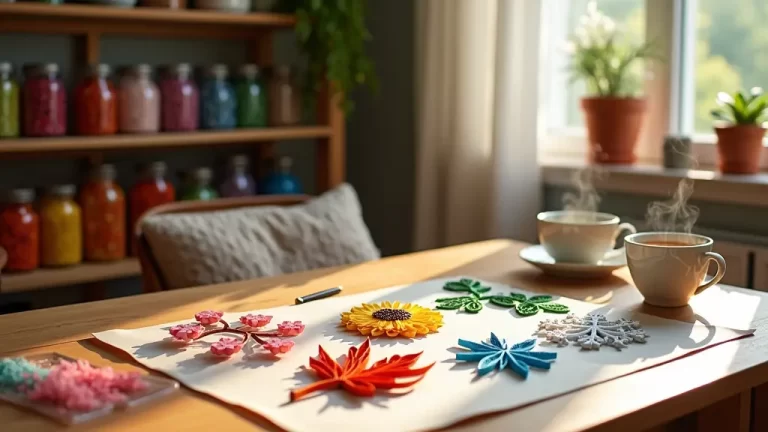
Quilling is rolling narrow strips of paper into coils and gluing them on edge to make a design. The finished flower stands up off the card about an eighth of an inch, which is why a quilled card looks so much more expensive than a flat one, and why people touch it before they read it.
It has a reputation for being fussy and old-fashioned, and I think that is because most of us met it through a photo of an intricate peacock and decided we could never. You can. A five-petal flower uses six coils and one shape, and you will have both of those down before your tea goes cold.
What you’ll need
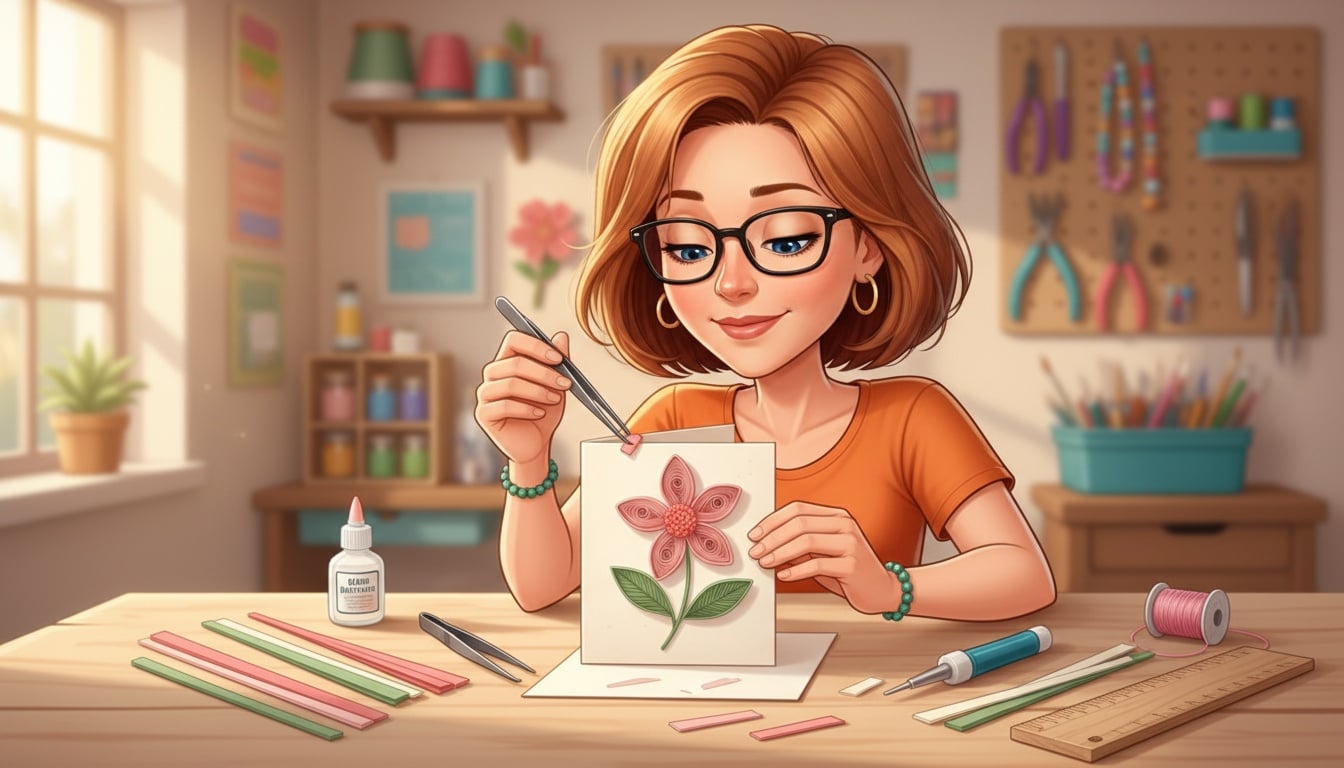
- Quilling paper strips. Standard is 1/8 inch wide, which is what I would start with. You can cut your own from printer paper with a trimmer, but a variety pack of pre-cut strips runs a few dollars, comes in a hundred colors, and has cleaner edges than mine ever do. (quilling paper strip packs)
- Something to roll around. A slotted quilling tool is the beginner-friendly one because the slot grips the end of the strip for you. It leaves a tiny crimp at the center of the coil, which nobody has ever once noticed on any card I have given. (slotted quilling tools) A round wooden toothpick works too, and that is how I started.
- A quilling board with circle holes, or the printable chart further down this post. This is the piece that makes petals match, and I will explain why in a minute. (quilling boards with circle templates)
- Clear-drying craft glue. Tacky glue or plain white school glue, both dry clear. What matters far more than the brand is how you apply it, so a fine-tip applicator bottle or even a straight pin is worth more than an upgrade in glue. (fine-tip glue applicators)
- Tweezers. Optional on day one, indispensable by day two. Fingertips are too big to land a coil where you meant it to go, and they leave glue prints. (fine-point craft tweezers)
- Blank cards and envelopes. Get the heavier cardstock kind. Thin cards buckle under glue and the flower ends up sitting in a little valley. (blank card and envelope sets)
- A ruler. You have one. It is the most important tool on this list, and I am not being cute about that.
The strip-length rule
Nobody told me this for about a year, so I am telling you in the first ten minutes.
The length of the paper strip decides the size of the finished coil. A longer strip has more paper in it, so when the coil relaxes it settles at a bigger diameter, and a shorter strip settles smaller. Your grip has almost nothing to do with it.
So matching petals is a measurement you take, not a skill you build. Five strips cut to the same length relax to the same size whether it is your first flower or your five-hundredth, and five strips torn off by eye stay mismatched no matter how many years you put in.
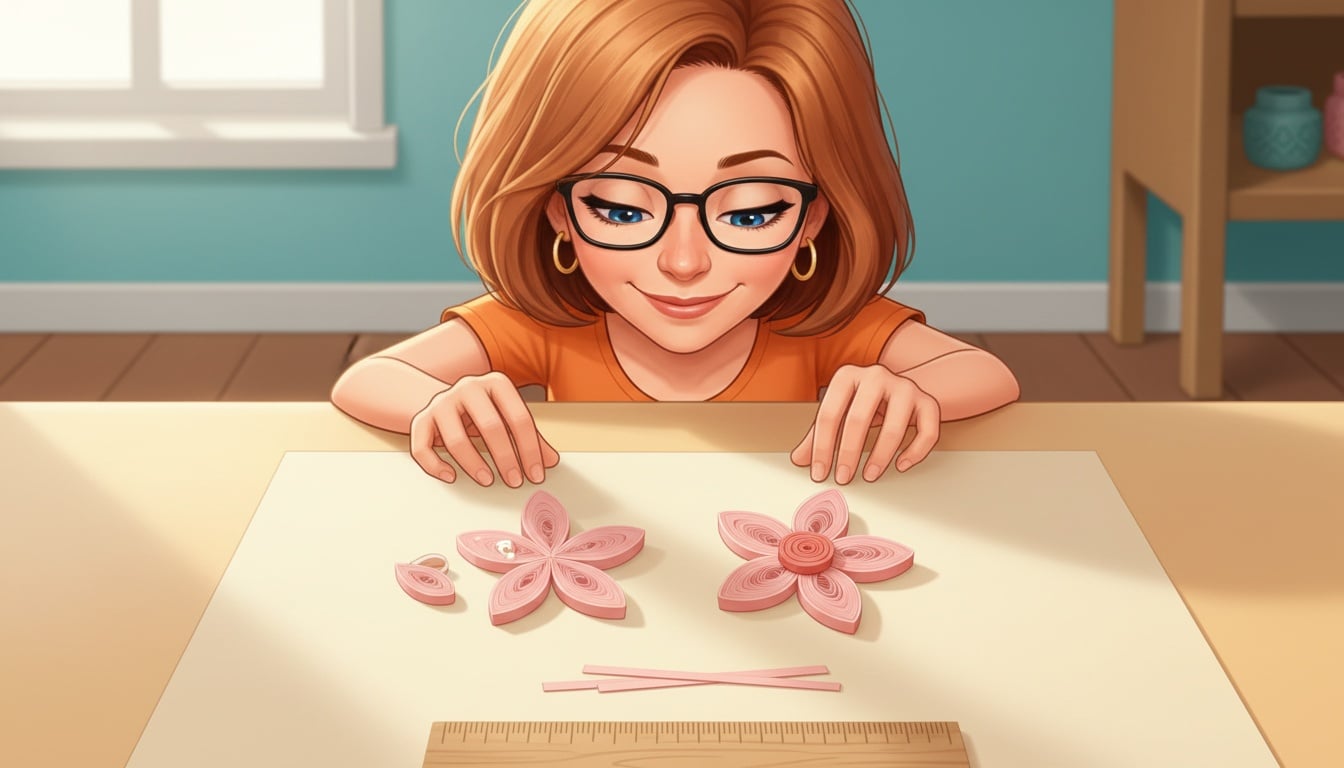
So I cut all five petal strips at once now. I line them up together, lay the ruler across them, and cut through the whole little bundle in one pass. They come out identical because I cut them identically, and the hard part of the flower is over before I have rolled a single coil.
For a first flower I use five strips at 6 inches for the petals and one strip at 3 inches for the center. Write those two numbers on a sticky note and put it in your supply box.
Rolling a coil that doesn’t spring open
Coils unravel for one reason: you glued them while they were still under tension. The strip is rolled up tight and straining to open, glue goes on, and the coil pulls itself apart while that glue is still wet. Change the order and the problem disappears.
Roll it tight. Slide the end of the strip into the tool’s slot, or press it against the toothpick and start turning. Turn the tool and let the paper follow. Keep the edges stacked as you go, or the coil comes out as a little cone.
Slide it off and let it relax. Everybody skips this step, including me for a whole year. The coil springs open on its own and then stops. If you have a quilling board, drop the coil in a circle hole and let it expand until it fills the hole; the same hole for all five petals gives you the same size for all five petals.
Now glue the tail. Only the tail. Touch the very end of the strip with a bead of glue the size of a pinhead, hold it against the coil for a slow count of five, and let go. The coil has already finished relaxing, so it has nothing left to fight you with.
Then pinch. Squeeze one side of the loose coil between your thumb and finger to make a sharp point, and you have a teardrop. Five teardrops and one tight little coil for the middle add up to a flower.
For the center, roll the 3-inch strip and glue the tail right away without letting it relax. It stays tight and small, which is what you want in the middle of a bloom.
The glue habits that separate homemade from handmade
Almost every ugly quilled card I have made was a glue problem rather than a rolling problem.
Use less than you think. A pinhead. A droplet you can see sitting there dries into a shiny lump, right on the front of the card where the light will find it.
To stick a coil onto the card, resist the urge to squeeze glue onto the card and set the coil into the puddle. Put a small smear of glue on a scrap of paper instead, drag the bottom edge of the coil through the smear, and set it down. Glue ends up on the sliver of paper edge that touches the card and nowhere else. That one habit improved my cards more than every other quilling tip put together.
Place with tweezers. Fingers press the coil out of shape and leave glue on the card in fingerprint-sized patches that show up the second the light hits them.
Putting the flower together
Lay your five teardrops out on the card first with the points all aiming at one spot in the middle, and shuffle them around until you like it. Nothing is glued yet, so this is free.
Then glue them one at a time, points to the center, working around the circle. Do the five petals first and add the tight center coil last, right on top of where all the points meet. It hides every seam at once, which is a lovely little cheat.
A stem is a strip laid on its edge in a gentle curve, and a leaf is a coil pinched on two opposite sides instead of one. Quillers call that shape a marquise, and between the teardrop and the marquise you can build a whole garden.
Let the card lie flat and untouched for twenty minutes before you close it or slide it in an envelope. A dry quilled card will survive the mail. A wet one comes apart if you look at it sideways.
When it goes wrong anyway
Petals all different sizes. The strips were different lengths, or they relaxed in different-sized holes. Cut them together, relax them in the same hole.
The coil looks like a little cone. The edges drifted while you were rolling. Slow down and watch the top edge rather than your fingers.
Glue shows. Too much, in the wrong place. Pinhead on the tail, edge-drag onto the card.
The card is buckling. Heavier cardstock, and less glue.
The whole flower slid sideways. You closed the card too early. Twenty minutes, flat.
Want my printable coil chart?
I made a one-page Quilling Coil Chart to keep next to you while you work. It has a 1:1 strip ruler printed right on it so you can measure and cut strips without hunting for a ruler, a row of coil-size circles to relax your coils in so every petal matches even if you do not own a quilling board yet, a basic shape guide showing the teardrop, marquise, and scroll, and my strip-length starter recipe for the five-petal flower. Print it at 100 percent and it is accurate. Pop your email in below and I will send it right over, free.
Go make one tonight
If quilling has been sitting on your someday list because it looked like something that required a steady hand and a lot of patience, I hope this is the nudge. Cut five strips the same length, roll them, let them relax, glue the tail with a pinhead of glue, pinch, and arrange. That is the whole craft, and the card you hand somebody will look like it came from a shop that charges nine dollars for one card. Make one this week and I will bet you make four more before you put the strips away. Happy crafting!
Donna