10-Minute Teacup Fairy Gardens (The 3-Item Rule That Stops It Looking Like Dirt With Junk In It)
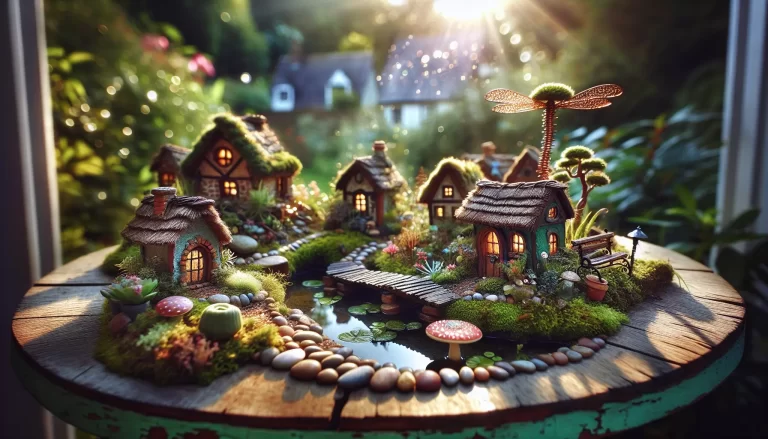
Hi friend! My first fairy garden was a disaster and I want to tell you about it, because I know some of you have one just like it sitting on a shelf. I had a big terra cotta bowl, four dollars of miniature everything from the craft store clearance bin, and a picture in my head of something out of a storybook. What I ended up with was a bowl of dirt with a plastic bench, a gnome, a birdhouse, a tiny wheelbarrow, a mushroom, a fence, and a little sign that said BELIEVE all crowded together like a yard sale. Two weeks later the plants were mush and the whole thing smelled like a pond.
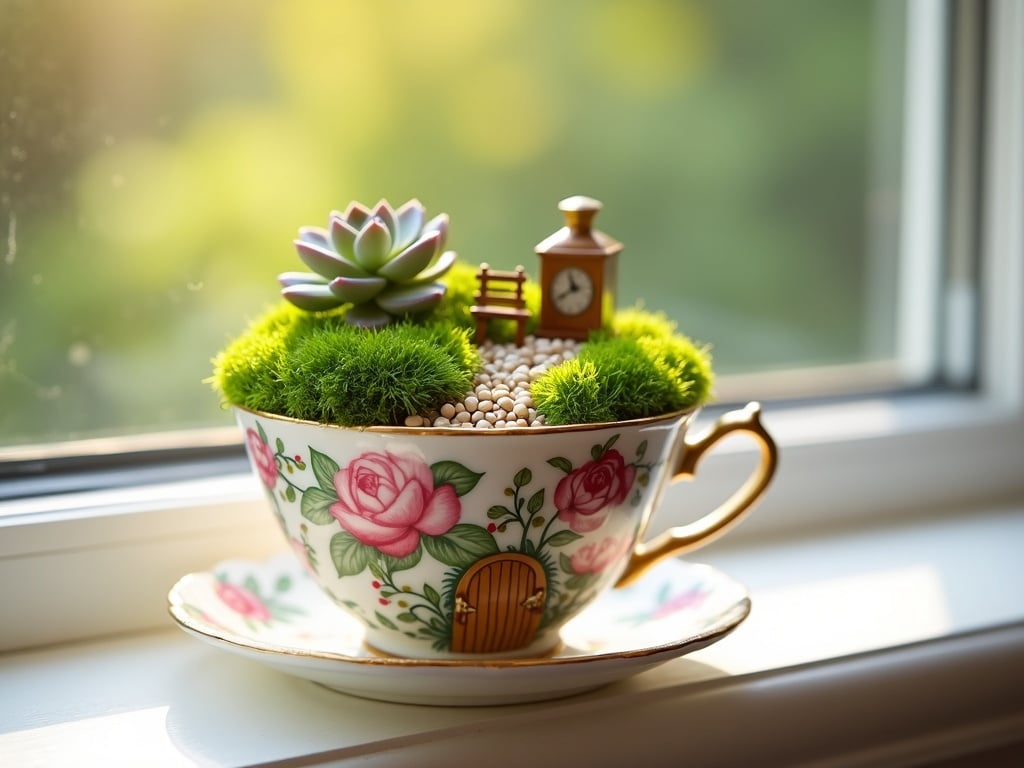
Both problems had the same cause, and neither one was my crafting. I had too many things in too small a space, and I had planted into a container with nowhere for water to go. Fix those two things and a fairy garden goes from junk drawer to genuinely magical, and it takes about ten minutes. These days I make them in thrifted teacups, and they are the single most requested thing I give away. Let me show you.
Why a teacup is the perfect first fairy garden
The small size is doing most of the work for you. In a big bowl you take in the empty dirt and the mismatched props all at once and it reads as clutter. A teacup only has room for a few things, so the scale looks deliberate and you fill in the rest of the story yourself. The cup makes the hard decision so you do not have to, which is a real gift when you are standing in the craft aisle wanting one of everything.
Teacups are also free or close to it. Every thrift store in America has a shelf of orphaned cups and saucers for a dollar, usually the pretty flowered ones nobody wants a full set of anymore. Check your own cabinet first for the one with a chip in the rim that you cannot bring yourself to throw out. That chip will not show once there is moss in it.
And they gift beautifully. A teacup garden fits in a gift bag, sits on a windowsill or a desk at work, and costs you almost nothing. I have given them for teacher gifts, get-well presents, hostess thank-yous, and to my granddaughter for her nightstand. Nobody has ever once said “oh, a little plant.” They pick it up and turn it around and find the tiny door.
What you’ll need
- A teacup and saucer, thrifted or from the back of your cabinet. A wide, shallow cup gives you more to work with than a tall narrow one. A small bowl or even a mug works too. (teacup and saucer sets)
- Small pebbles for the bottom layer. Aquarium gravel or pea gravel both work, and a small bag lasts through a dozen cups. (small pebbles)
- Horticultural charcoal. A tablespoon. This is the ingredient everyone skips and it is why teacup gardens go sour, so please do not skip it. (horticultural charcoal)
- Potting soil, just a couple of spoonfuls. Cactus and succulent mix is even better because it drains fast. (succulent potting mix)
- Preserved sheet moss for the lawn. Preserved moss stays green forever and needs nothing from you, which makes it the beginner’s best friend. (preserved sheet moss)
- A tiny plant, or not. A baby succulent, a sprig of creeping thyme, or a cutting of the pothos on your counter all work. You can also make the whole thing with faux picks and never water it once. (mini succulents)
- Three miniatures. Three. Not the whole clearance bin. A door, a bench, a lantern, a mushroom, a tiny watering can. (miniature fairy garden accessories)
- Long tweezers if you have them, or a chopstick and a teaspoon if you do not. Fingers are enormous at this scale. (terrarium tweezers)
These are Amazon affiliate links. If you buy through them, it costs you nothing extra and helps keep the projects coming. Thank you!
The ten-minute method
1. Pebbles first, about a third of the way up. A teacup has no drainage hole, which means every drop of water you add stays in there forever unless you give it somewhere to hide. The pebble layer is that somewhere. Water drains down past the roots into the stones and sits below them instead of around them. Skip this and you are growing your plant in a puddle, which is exactly what happened to my first one.
2. Sprinkle a spoonful of charcoal over the pebbles. It takes five seconds and it keeps the trapped water from going stagnant and smelling swampy. Charcoal is what a closed terrarium uses for the same reason. If you have absolutely none and cannot wait, go ahead without it, but water with half of what you think you need.
3. Add soil, and leave a finger’s width of room at the rim. Two spoonfuls is usually plenty. Press it down gently so it is level, because a lumpy surface makes everything you set on it lean, and leaning furniture is the fastest way to look accidental instead of intentional. That gap at the rim matters too. The rim becomes a little wall around your scene, like a frame.
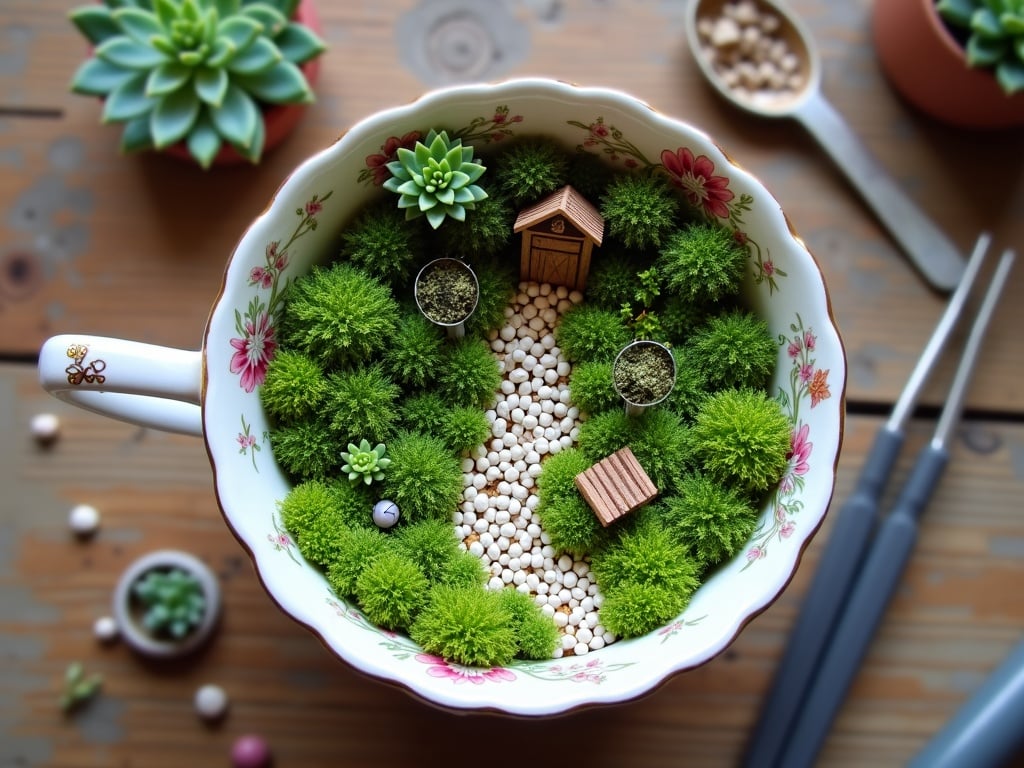
4. Tuck in your plant, then carpet the rest with moss. Set the plant slightly off center, never dead middle. Then tear the moss into small pieces and press them down all around it so no bare soil shows anywhere. This one step does more than anything else, because bare dirt is what makes a mini garden read as a pot of dirt with things in it. Moss is what makes it read as a lawn.
5. Lay a path. Press a curving line of your smallest pebbles into the moss, starting at the front rim and disappearing behind the plant. It takes about thirty seconds. A path that curves out of sight tells your eye the garden continues past what you can see, and that is the whole illusion. A straight path stops at the edge and the spell breaks.
6. Now the three-item rule. Place exactly three miniatures, and give each one a job. One thing you walk to, like a door tucked at the base of the plant or a little gate. One thing you sit on, like a bench or a stump or a stepping stone. And one small surprise, a lantern, a mushroom, a watering can tipped over as if someone set it down. Walk to, sit on, surprise. Put the “walk to” piece at the end of the path, the “sit on” piece beside it, and tuck the surprise half hidden in the moss so it has to be found. Then stop. I know. Stop anyway.
7. Water with a spoon, not a cup. A teaspoon or two, poured slowly at the base of the plant. Every couple of weeks, and less than you think. If you tip the cup and water runs out of the pebble layer, that is your sign you have gone too far.
If your last one looked like a pile of junk
It is almost always one of three things, and all three are free to fix. Too many miniatures, so nothing gets to be the star. Bare soil showing between everything, so the eye reads dirt instead of landscape. Or everything sitting flat at the same height in a straight line, so there is no depth. Cover every inch of soil, use three props with three different jobs, and put one of them behind something else. That is the entire secret, and it works in a big bowl too, if you insist on a big bowl.
And if yours turned to mush like mine did, that was drainage, not you. Pebbles, charcoal, a spoonful of water at a time.
Ways to make them yours
A moss-only version with no live plant at all is the one I make when I need a gift in five minutes, and honestly nobody can tell. Faux moss, a faux fern pick, three miniatures, done, and it never needs watering. For a beach cup, swap the moss for fine sand, use a tiny shell as the surprise, and lay the path in crushed shell instead of stone. For a nightstand version, a battery tea light tucked behind the plant turns the whole cup into a glow after dark.
Personalize it and it goes from cute to treasured. A tiny book on the bench for a reader, a miniature mailbox with an initial painted on it, a scrap of ribbon in someone’s favorite color tied to the handle. And a teacup that belonged to somebody’s grandmother, filled with moss and given back to their daughter, will absolutely make a person cry. Ask me how I know.
This is a wonderful craft night project too, because everyone brings a thrifted cup and you pool the miniatures in the middle of the table. Twelve people, twelve completely different gardens, and no drying time, no fumes, and nothing to clean up but a little spilled dirt.
Want my printable layout cards?
I put together a one-page Teacup Fairy Garden Layout Card Set to go with this project: three layouts drawn out to scale so you can see exactly where the path and the three pieces go, the full supply checklist to take to the thrift store, my layering diagram with the depth of each layer, and a watering card for the fridge so you do not drown it in month two. Pop your email in below and I will send it right over, free.
Go raid the thrift store
If you have a lonely teacup in the back of a cabinet, or a sad fairy garden on a shelf that you have been meaning to redo, this is a ten-minute afternoon. Pebbles, a pinch of charcoal, soil, moss over every bit of dirt, a curving path, and three little things with three little jobs. Then set it on the windowsill where the morning light hits it and see how many times you catch yourself looking at it. Happy crafting!
Donna