No-Sew Felt Flower Pins: The 10-Minute Handmade Gift Anyone Can Make
Hi friend! If you have a few felt scraps, a button, and ten quiet minutes, you can make the sweetest little flower pin without sewing a single stitch. This is a good beginner craft because the petals do not have to be perfect. Once they are layered together, the whole thing looks soft, cheerful, and handmade in the best way.
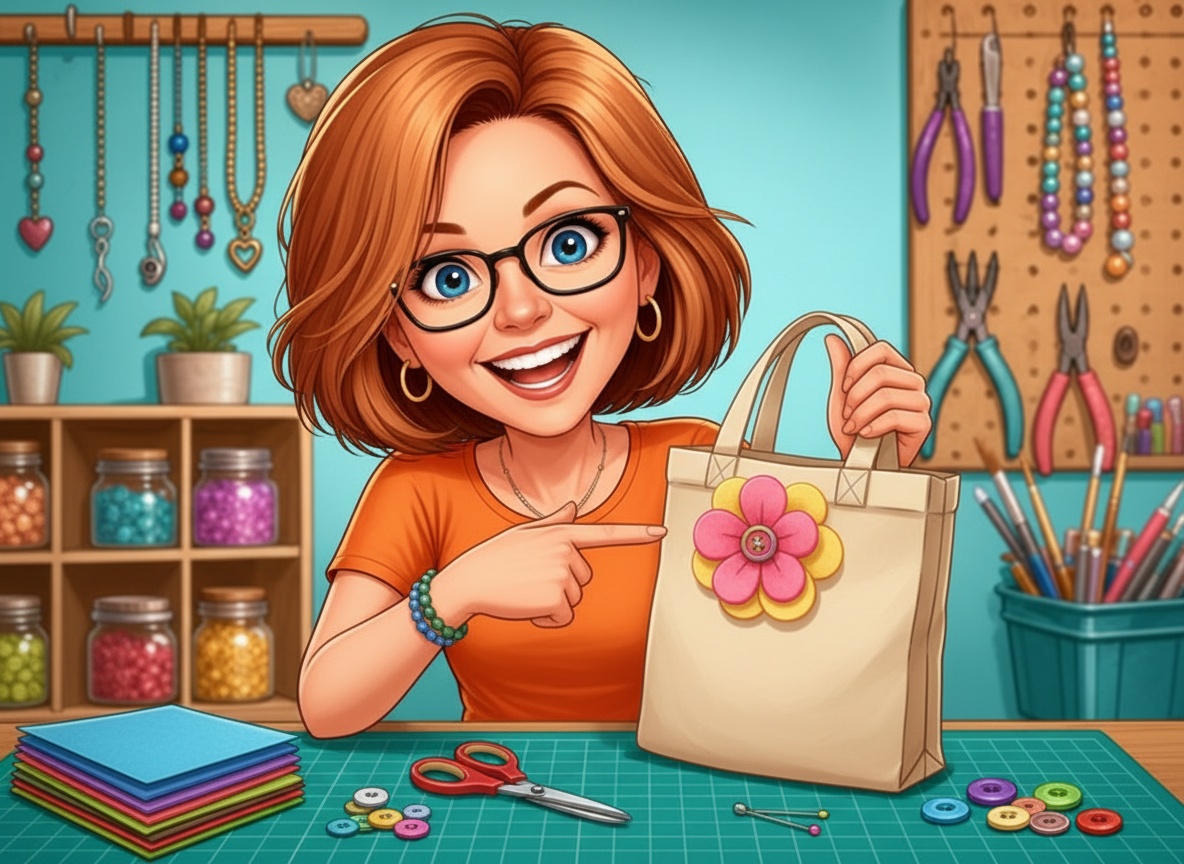
I especially like this idea for a last-minute gift. Pin one to a tote bag, tuck one on a wrapped present, or make a handful for a craft-night table and let everyone pick their own colors.
Why no-sew felt flower pins are worth making
A felt flower pin gives you a quick win: it looks polished, uses inexpensive supplies, and does not ask you to thread a needle. The trick is cutting simple petal shapes, overlapping them so the flower has movement, and covering the center with a button or bead so the finish looks intentional.
If you have ever wanted to make a wearable handmade gift but felt nervous about sewing, start here. Felt is forgiving, fabric glue hides little mistakes, and the finished pin is cute enough for jackets, scarves, backpacks, gift toppers, and place cards.
What you’ll need
- Felt sheets or felt scraps in two or three colors. (felt sheets)
- Fabric glue or a low-temp glue gun. (fabric glue)
- Pin backs for the back of each flower. (pin backs)
- Buttons, beads, or small felt circles for the flower centers. (assorted buttons)
- Sharp small scissors and a pencil or washable marker. (small craft scissors)
These are Amazon affiliate links. If you buy through them, it costs you nothing extra and helps keep the projects coming. Thank you!
How to make a no-sew felt flower pin
1. Cut your petals. Cut five or six teardrop shapes from felt. They can be about the size of your thumb for a small pin, or a little bigger if you want a bold coat or tote-bag flower. Do not worry about making them identical; a little variation makes the flower look more natural.
2. Make a backing circle. Cut one small felt circle, about 1 inch across. This is the base that holds all the petals together. If you want a fuller flower, cut a second smaller circle in a different color for the center layer.
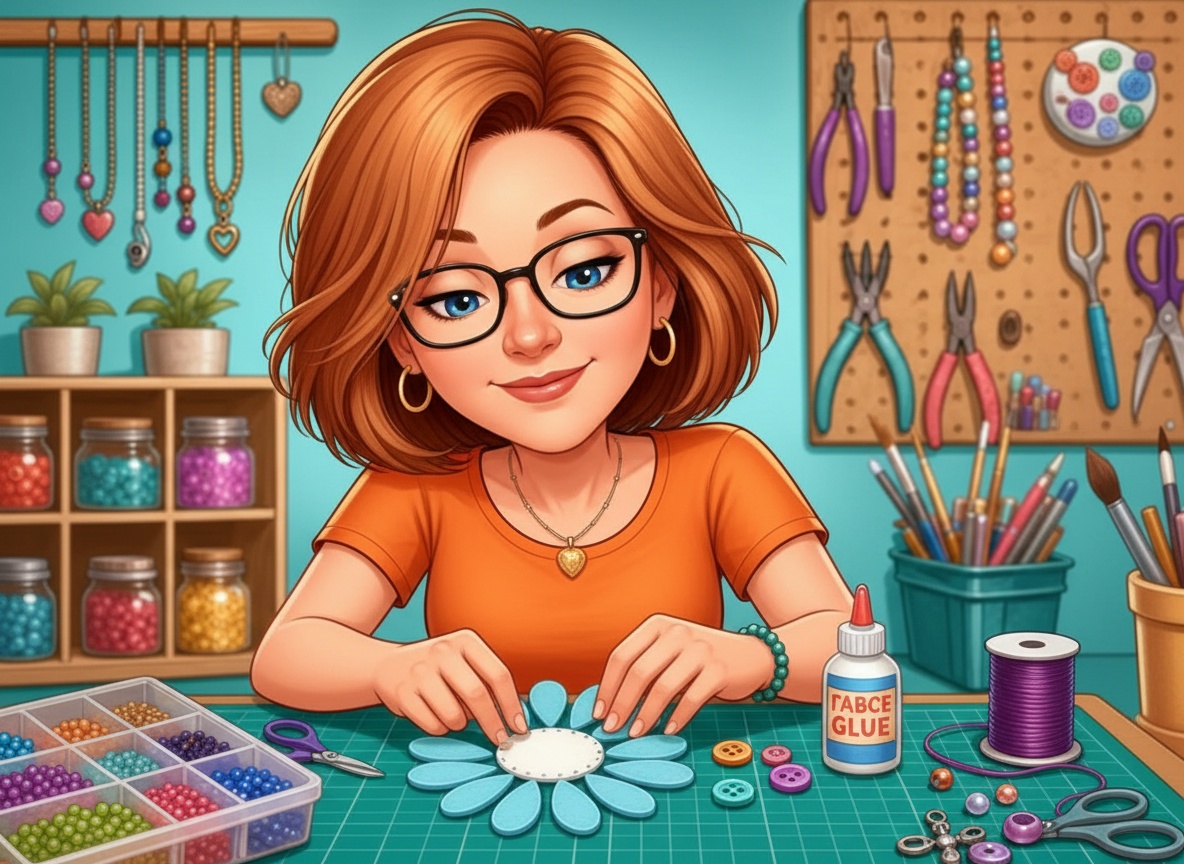
3. Glue the first layer. Add a small dot of glue near the narrow end of each petal and press the petals around the backing circle like a little sunburst. Overlap each petal slightly so there are no gaps in the middle.
4. Add the center. Glue a button, bead, or tiny felt circle over the middle where all the petal ends meet. This covers the glue spots and makes the flower look finished.
5. Attach the pin back. Flip the flower over and glue the pin back to the felt circle. Let it dry completely before wearing it. If your glue has a label time, follow that; rushing the dry time is the easiest way to make the pin feel wobbly.
Three easy ways to style them
1. The bright gift-topper flower
Use a cheerful color, like coral, yellow, or turquoise, and pin the flower onto ribbon around a wrapped gift. The pin becomes part of the present.
2. The soft jacket pin
Try two shades from the same color family, like blush and burgundy or cream and sage. A soft palette makes the pin feel a little more grown-up.
3. The craft-night favor
Pre-cut a pile of petals, set out buttons and glue, and let everyone build one flower. It is quick enough that nobody gets stuck, but personal enough that every pin looks different.
My quick tips for a neater flower
- Use less glue than you think. Tiny dots hold better than big puddles.
- Let the flower dry flat so the petals do not slide.
- Trim any fuzzy felt edges after the flower is dry, not while the glue is wet.
- For kids, use fabric glue instead of hot glue and give the pins time to dry overnight.
Want the printable petal template?
I put the whole project — three petal sizes, a backing-circle guide, and a one-page supply checklist — on one clean printable page you can take right to the craft table. Grab my free No-Sew Felt Flower Pin template & checklist below and I’ll send it straight to your inbox.
Make one this week
Start with one flower in colors you already love. Once you make the first one, you will see how easy it is to change the mood with a different button, a bigger petal, or a brighter felt color. A few scraps can turn into a sweet little gift in the time it takes to tidy the craft table. Happy crafting!
Donna

Written by Donna — crafter and owner of the Crafting With Donna store in Backus, MN, where we host weekly craft nights. Happy crafting, friend!