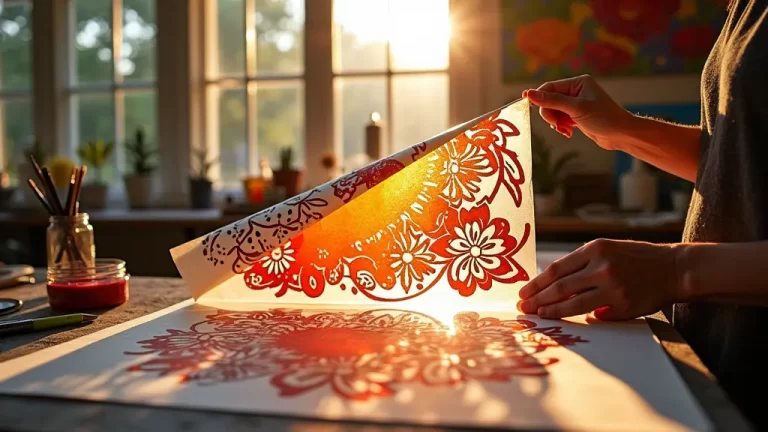
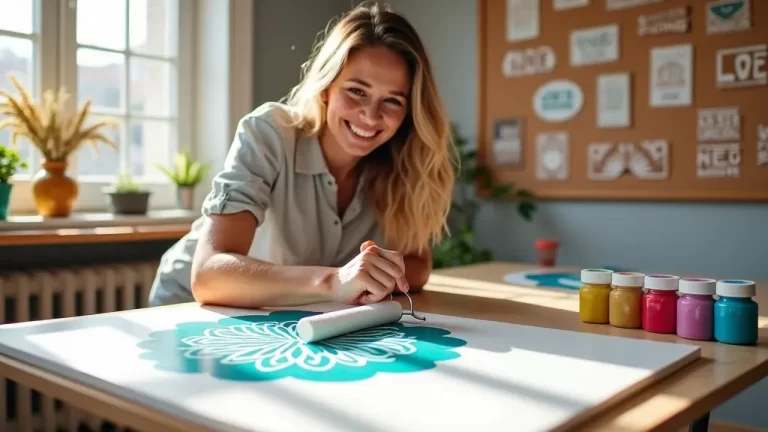
10-Minute Stenciled Tote Bags With Crisp Edges (No Bleed, I Promise)
Hi friend! I ruined three tote bags in a row last August. Three. I had a stack of blank canvas totes, a bottle of fabric paint, and a sweet little stencil of a wildflower, and I was going to make teacher gifts that looked like they came from a boutique. What I actually made was three fuzzy gray smudges with paint crept out under every edge, the kind of thing you hide in a drawer and never speak of again. I blamed the stencil. I bought a nicer stencil. I ruined a fourth tote.
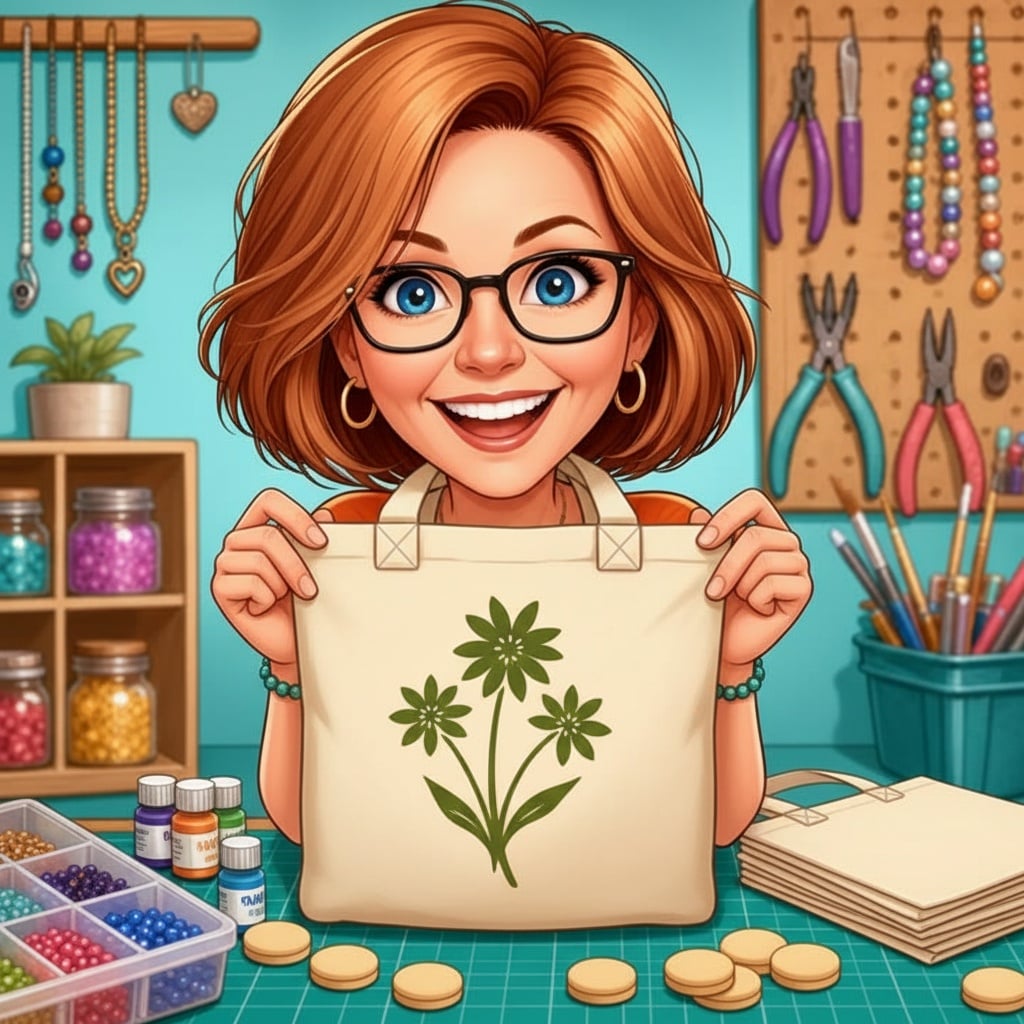
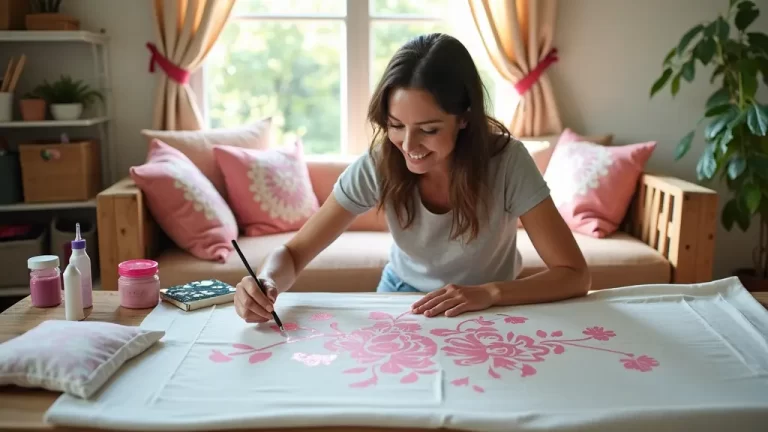
The stencil was never the problem. I was loading my brush like I was painting a wall, and all that wet paint had nowhere to go but sideways, straight under the stencil edge. Once I figured that out, everything changed. Now I can turn out a crisp, boutique-looking tote in about ten minutes of hands-on time, and they hold up in the wash. This week I made a stack of them for the teachers on our street, and my neighbor asked me where I bought them. So let me save you the four ruined bags.
Why a plain canvas tote is the best ten dollars in crafting
A blank tote is forgiving in a way most craft surfaces are not. It is flat, it is sturdy, it does not need sanding or sealing or priming, and it costs about two dollars when you buy a multipack. That means you can practice on one without your stomach dropping. It also means a mistake is not a disaster, which is exactly the freedom a beginner needs.
And people genuinely use them. A painted rock is sweet, but a tote goes to the library, the farmers market, the classroom, and the grocery store, and every single time your person reaches for it they think of you. For a teacher gift, a hostess thank-you, a bridesmaid ask, or a birthday, it is hard to beat. Stuff it with a paperback and a bag of good coffee and you have a gift that looks like you planned it for weeks.
What you’ll need
- Blank canvas tote bags. Look for natural cotton canvas in a multipack. Thicker canvas takes paint better than the flimsy promotional kind, which drinks paint straight through to the back. (canvas tote multipack)
- Fabric paint, or acrylic craft paint mixed with fabric medium. Fabric paint stays soft and flexible after it dries; plain acrylic alone dries stiff and cracks along the fold lines after a few washes. A starter set of six colors goes a long way. (fabric paint set)
- Adhesive stencils, the peel-and-stick kind, are worth every penny here. A stencil that sticks down cannot shift mid-project, and shifting is the second most common way these go wrong. Mylar stencils work too if you tape them down well. (adhesive stencils)
- Sponge pouncers, sometimes sold as stencil daubers. Do not use a regular paintbrush. A brush pushes paint sideways under the stencil; a pouncer taps it straight down. (sponge pouncer set)
- Freezer paper or cardboard to slide inside the bag so paint does not bleed through to the back panel. A cereal box works. (freezer paper)
- A paper plate and a paper towel. The paper towel is not optional. It is the secret. Keep reading.
These are Amazon affiliate links. If you buy through them, it costs you nothing extra and helps keep the projects coming. Thank you!
The ten-minute method
1. Prep the bag. Iron the tote flat and slide your cardboard or freezer paper inside. Canvas comes creased from the package, and paint pouncing over a wrinkle gives you a broken line right through the middle of your design. Thirty seconds with an iron saves you the whole bag.
2. Place the stencil and press it down hard. Position it, then run your thumbnail firmly around every single edge of the cut-out design. Not the outside border, the actual edges of the shapes. You are sealing the stencil to the fabric so paint has no gap to sneak into. On a peel-and-stick stencil this takes about fifteen seconds and it is the difference between crisp and fuzzy.
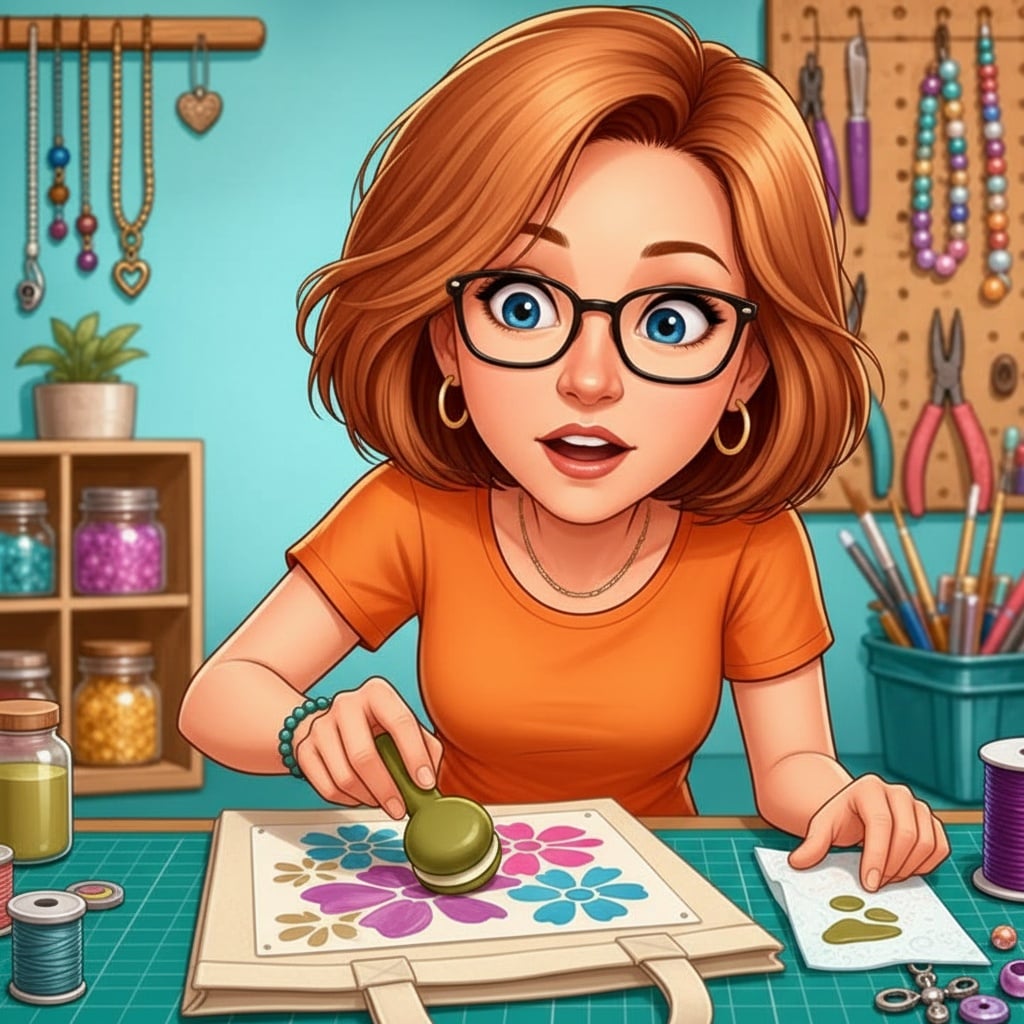
3. Load the pouncer, then unload it. Dab your pouncer in the paint, then tap it out on a paper towel until you think there is almost nothing left on it. Most people skip this and it costs them the bag. It should look too dry to work. That is correct. A wet sponge floods under the stencil; a nearly dry one lays color right on the surface where you put it.
4. Pounce straight up and down, three thin coats. Tap the sponge down and lift it straight up, never dragging or swirling. Your first coat will look sheer and patchy and you will not believe it is going to work. Go over it again. Then a third time. Three whisper-thin coats give you rich, even color with a razor edge, and one thick coat gives you the fuzzy gray smudge I made four of.
5. Peel while it is wet. Lift the stencil off right away, slowly, pulling it back on itself rather than straight up. Dried paint bridges the gap between stencil and fabric and tears a little chunk out of your design as it comes off. Peeling wet gives you that clean edge, and honestly it is the satisfying part.
6. Heat-set it. Let the paint dry completely, at least a few hours, then put a scrap cloth over the design and press it with a hot dry iron for about three minutes, keeping the iron moving. This is what makes it washable. Skip it and your beautiful wildflower fades to a ghost after two trips through the machine. Wash cold, inside out, and it will last for years.
If your last stencil bled
Every fuzzy stencil I have ever made failed for one of three reasons, and all three are free to fix. Too much paint on the sponge, so it flooded sideways. A stencil that was not pressed down at the edges, so there was a gap to flood into. Or a brush instead of a pouncer, dragging paint under the edge with every stroke. Nearly dry sponge, sealed edges, tap straight down. That is the entire secret handshake, and it works on wood signs and t-shirts and pillowcases too.
Ways to make them yours
A single initial in the center is the fastest gift there is, and it looks expensive. A row of three small motifs across the bottom reads more like a boutique bag than one big design in the middle. For teachers, a simple stack of books or a pencil with the classroom number underneath gets a real reaction. Use two colors by masking off part of the stencil with a scrap of paper, or pounce one color lightly over another for a soft ombre. I like a deep olive or a dusty rose on natural canvas; both look far more grown-up than the primary colors on the front of the paint set.
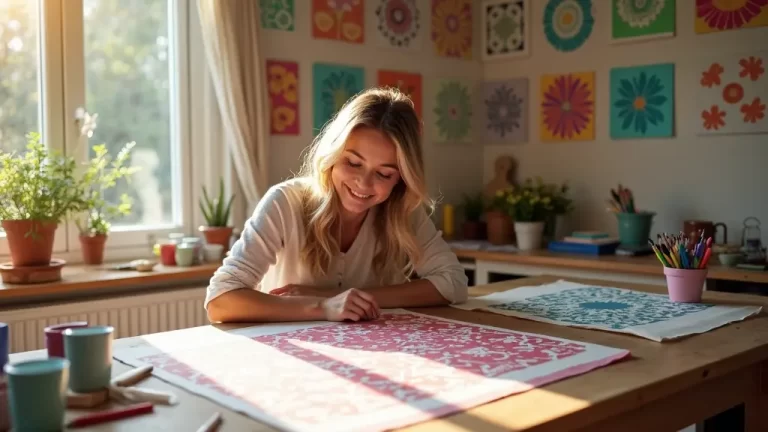
And if you have a craft night coming, this one is perfect. Everybody gets a tote and a stencil, they all come out different, and there is no drying time drama because they can take them home flat and iron them the next day.
Want my printable tote design sheet?
I put together a one-page Tote Design & Placement Sheet to go with this project: the placement measurements I use so the design lands centered and at the right height every time, four layouts that always look good, my color pairings for natural canvas, and a troubleshooting card with the three bleed fixes. Pop your email in below and I will send it over, free.
Go rescue those blank totes
If you have a stack of plain canvas bags in a closet, or a fuzzy failed one you hid in a drawer like I did, tonight is the night. Iron it flat, press the stencil edges down, tap that sponge out on a paper towel until it feels wrong, and go three thin coats. Ten minutes from now you will have something a person actually wants to carry. Happy pouncing!
Donna