The One-Tray Rule: How I Set a Calm Craft Night Table (Without the Bead-Bin Stampede)
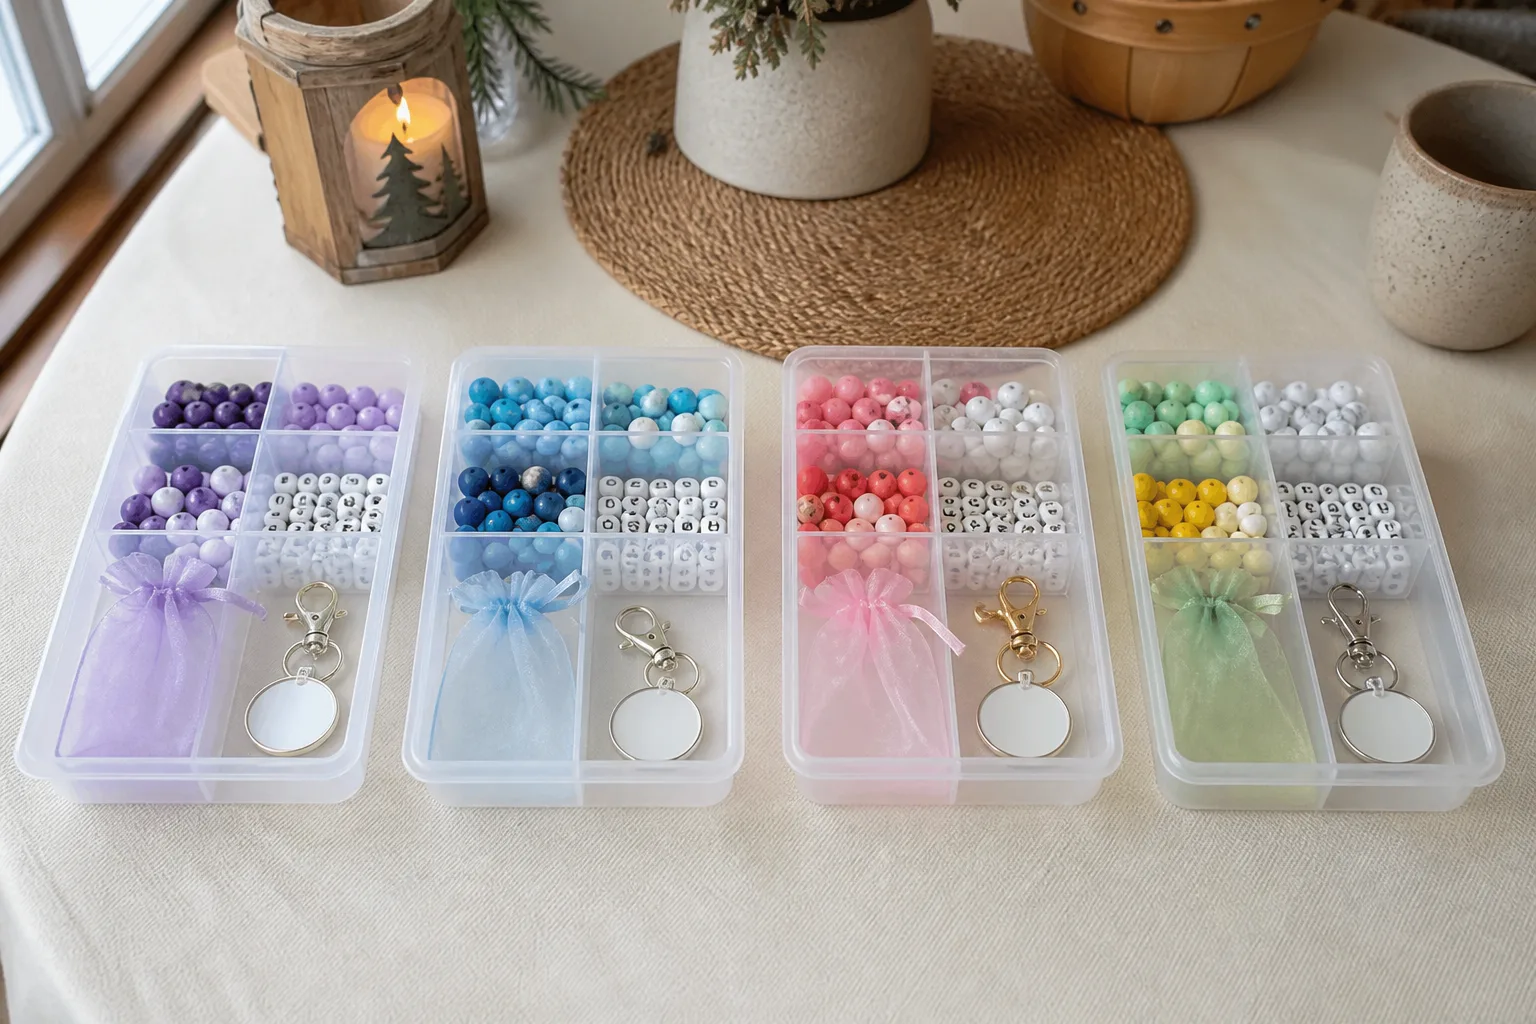
Hi friend, if your craft night has ever started with a pretty table and ended with six people elbow-deep in the same bead bin, you are not alone. I have hosted that night. Beads on the floor, alphabet letters gone in four minutes, and me hunting for jump rings in a pile that used to be a plan.
I set a calm table in about ten minutes now. Not because I got tidier. Because every guest gets one tray, and the big bins stay off the table.
The One-Tray Rule
Here it is, the whole secret: one divided tray per guest. That is the kit. That is their station. That is what they carry from the table when they go sit down.
I used to put out shared bowls — mixed beads, blanks, findings, the works — and call it generous. It looked abundant for about ninety seconds. Then it turned into a stampede. Guests hovered. Colors disappeared. Nobody wanted to be the one who “took the last A.”
A tray fixes that without making the night feel stiff. Each person gets a starter set and one clear place to work. The refill station lives on a side table, not in the middle of the conversation. Think of it as a little starter station, not a locked box. They can still trade, still refill, still make something that looks like them. They just are not mining the same pile.
This is the same setup I run at craft nights in my Backus, MN store. At home I scale it down and keep the same rule: trays on the table, bins off it.
What Goes in the Tray
I keep each kit small on purpose. A few good choices are easier than a huge spread, and ten minutes is plenty if you are not second-guessing every bead.
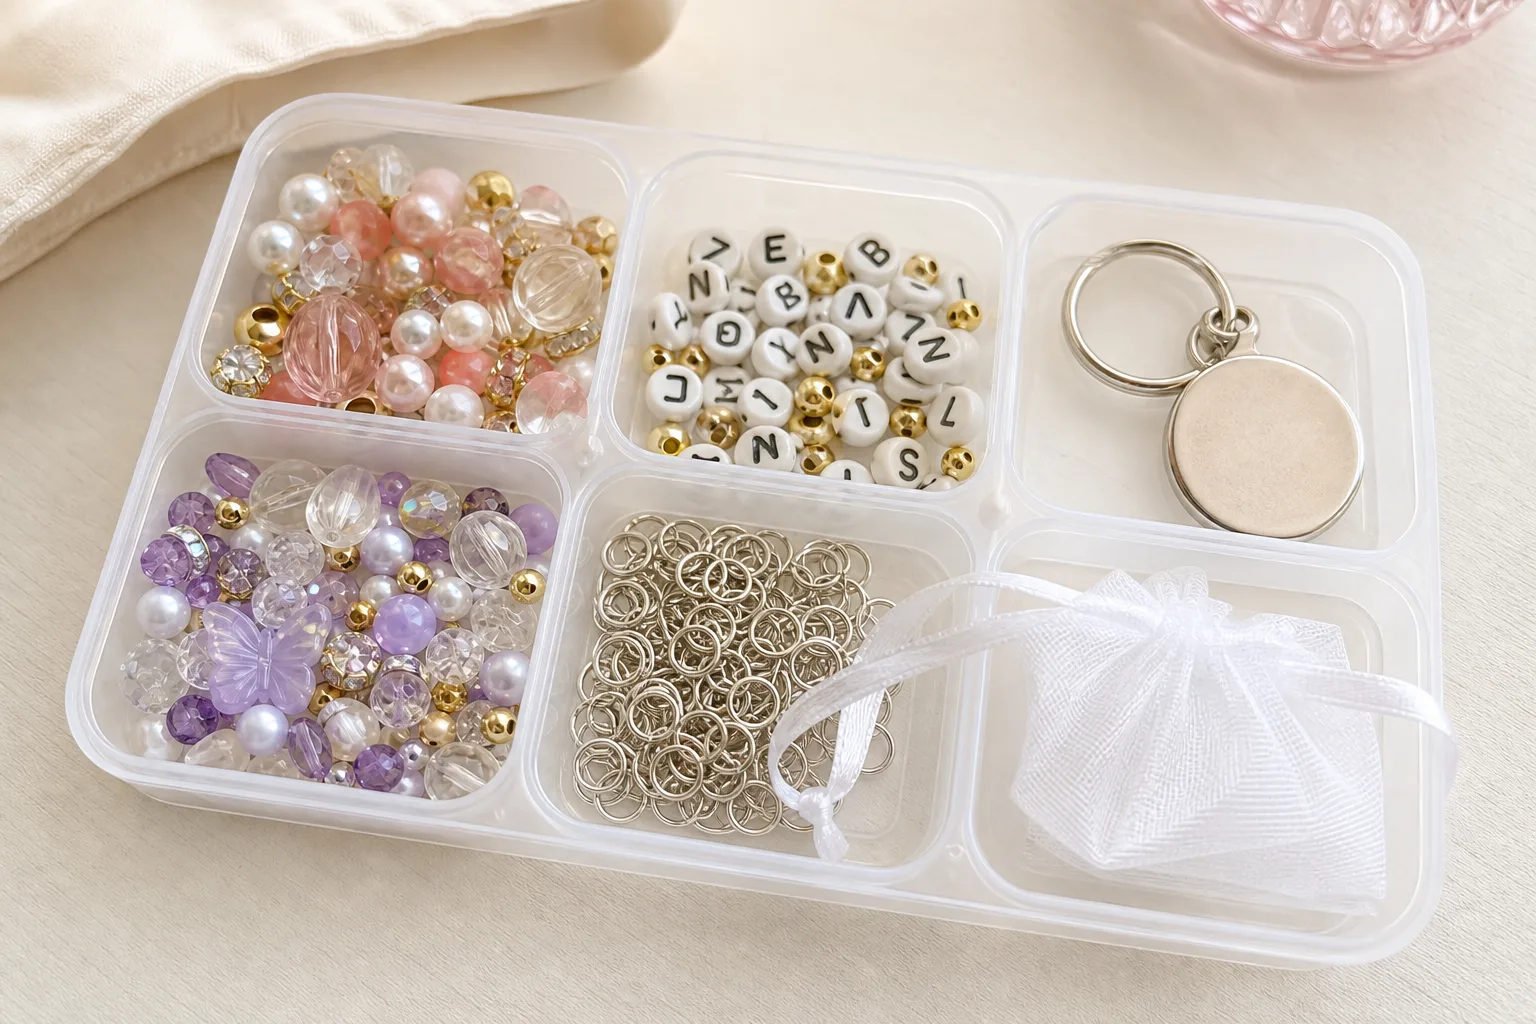
This is what I put in each guest’s tray:
Some of the links below are Amazon affiliate links. If you buy through them, I may earn a small commission at no extra cost to you. I only recommend supplies I actually reach for at my own craft table. Full disclosure.
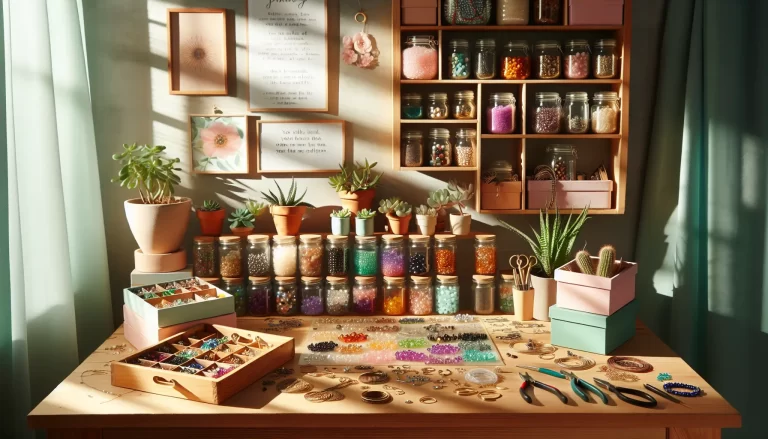
- The tray itself. Shallow compartments, easy to pass, one per person. I use small divided organizer trays so beads stay in their lanes instead of rolling into someone’s lemonade.
- A starting blank. One keychain, charm, or zipper pull so they are not staring at an empty table. I pull from a charm and keychain blanks kit and put one or two in each tray.
- A small handful of mixed beads. Enough color that the tray feels generous, not so much that they never look up. I scoop from a mixed bead assortment and keep the rest at the refill station.
- A few alphabet beads. Names, initials, a little word. These are the first thing every guest hunts for, so I portion them instead of setting out the whole bag. Get more than you think you need, then still divide them. I use alphabet beads and I do not put the open tub on the table.
- A couple of jump rings. The connectors that turn beads-on-a-tray into a finished charm. A jump rings and findings kit covers a whole season of nights if you are not dumping it into one communal bowl.
- A take-home bag. An organza gift bag in the last compartment. Finished charms feel like a little gift, and leftovers go home instead of into the couch.
That is it for the tray. Glue and pliers live at the refill station, two or three shared sets, not one in every kit. Start with what you already own. The tray is the rule. The shopping is optional.
Want the free Craft Night Kit Checklist?
If you want this on one page you can print and set beside the trays, I made a free Craft Night Checklist. It is the one-tray-per-person setup, what goes in each guest’s kit, and the refill-station trick that keeps beads and blanks from taking over the table.
Tell me where to send it and I will put it in your inbox. No spam, ever. It is the same setup I run every week.
Get the free Craft Night Checklist →
How the Night Runs
Ten minutes before the first guest, this is my order:
- Wipe the table. That is the whole “pretty” step.
- Set one tray at each seat, already filled. Do not fill them in front of people. The calm is in the sitting down.
- Park the refill station on a side table or a cart: extra mixed beads, extra alphabet, extra blanks, findings, glue, and two or three pliers. Guests walk over. The work table stays a work table.
- Put a small dish for scraps and a pair of scissors if you have them. That is enough “host tools.”
- Leave one empty example tray in the middle so late arrivals can see the idea without asking you to narrate it.
When people arrive I say the same two sentences: your tray is yours, and if you need more, the refill station is over there. Then I sit down and make something too. If I hover, they hover. If I start my own charm, the night gets quiet in a good way.
Halfway through, I do one refill pass — alphabet first, then mixed beads — and I still do not move the bins onto the main table. That is how you avoid the stampede the second time.
At the end, leftover beads go back into the tray compartments or into the organza bag. The table looks like a table again in five minutes, which is the other half of why I keep doing this.
Want the whole craft night planned for you?
The free checklist is the setup. If you are hosting bigger nights — a birthday, a classroom, a group that is coming back next month — the Craft Night Kit Planner is the 8-page print-at-home pack I actually use. It adds the planning timeline, 12 theme cards you can drop straight onto each tray, the shopping list (trays, blanks, beads, findings, finishing touches), and printable labels and gift tags.
It is $7, instant PDF through Gumroad, print as many copies as you need for home, parties, classrooms, or craft groups (personal use). Letter paper. No special supplies required.
Get the Craft Night Kit Planner — $7 →
Supplies I Reach for (If You Need Them)
Start with what you already own. If you are filling gaps, these are the same trays, blanks, and beads on my Suggested Products page — the shopping list that matches this tray system. Prices and availability change on Amazon; if a pick looks off, search the same words and you will get close.
- Small divided organizer trays — one per guest. This is the whole secret.
- Charm and keychain blanks kit — the starting point for almost every project night.
- Alphabet beads — portion them. Do not set out the tub.
- Mixed bead assortment — the refill-station workhorse.
- Jump rings and findings kit — connectors for a whole season of nights.
- Organza gift bags — take-home that feels like a little gift.
I keep pliers and glue at the refill station, not in every tray. They are on the same suggested list if you need a comfortable-grip pair or a small bottle of strong craft glue.
That is the kind of craft night I love: relaxed, colorful, practical, and just organized enough that the mess does not take over the fun. One tray. Ten minutes. Then you get to sit down too.
Happy crafting,
Donna
From the craft table of Donna