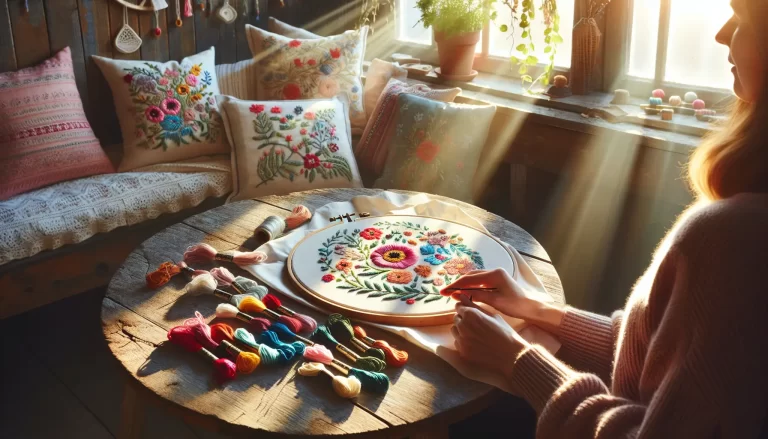
10-Minute Woven Rose Embroidery Hoops: The Odd-Spoke Rule That Stops Your Weave Sliding Off
A woven rose is five straight stitches and a thread that goes round and round them until they disappear. That is the whole stitch. It is the one piece of embroidery we hand to somebody who has never held a hoop, because there is no chart to read, no counting, and no way to be a stitch out. The first hoop we made this way came off the frame and the roses slid apart in our hands like a bracelet with the clasp undone.
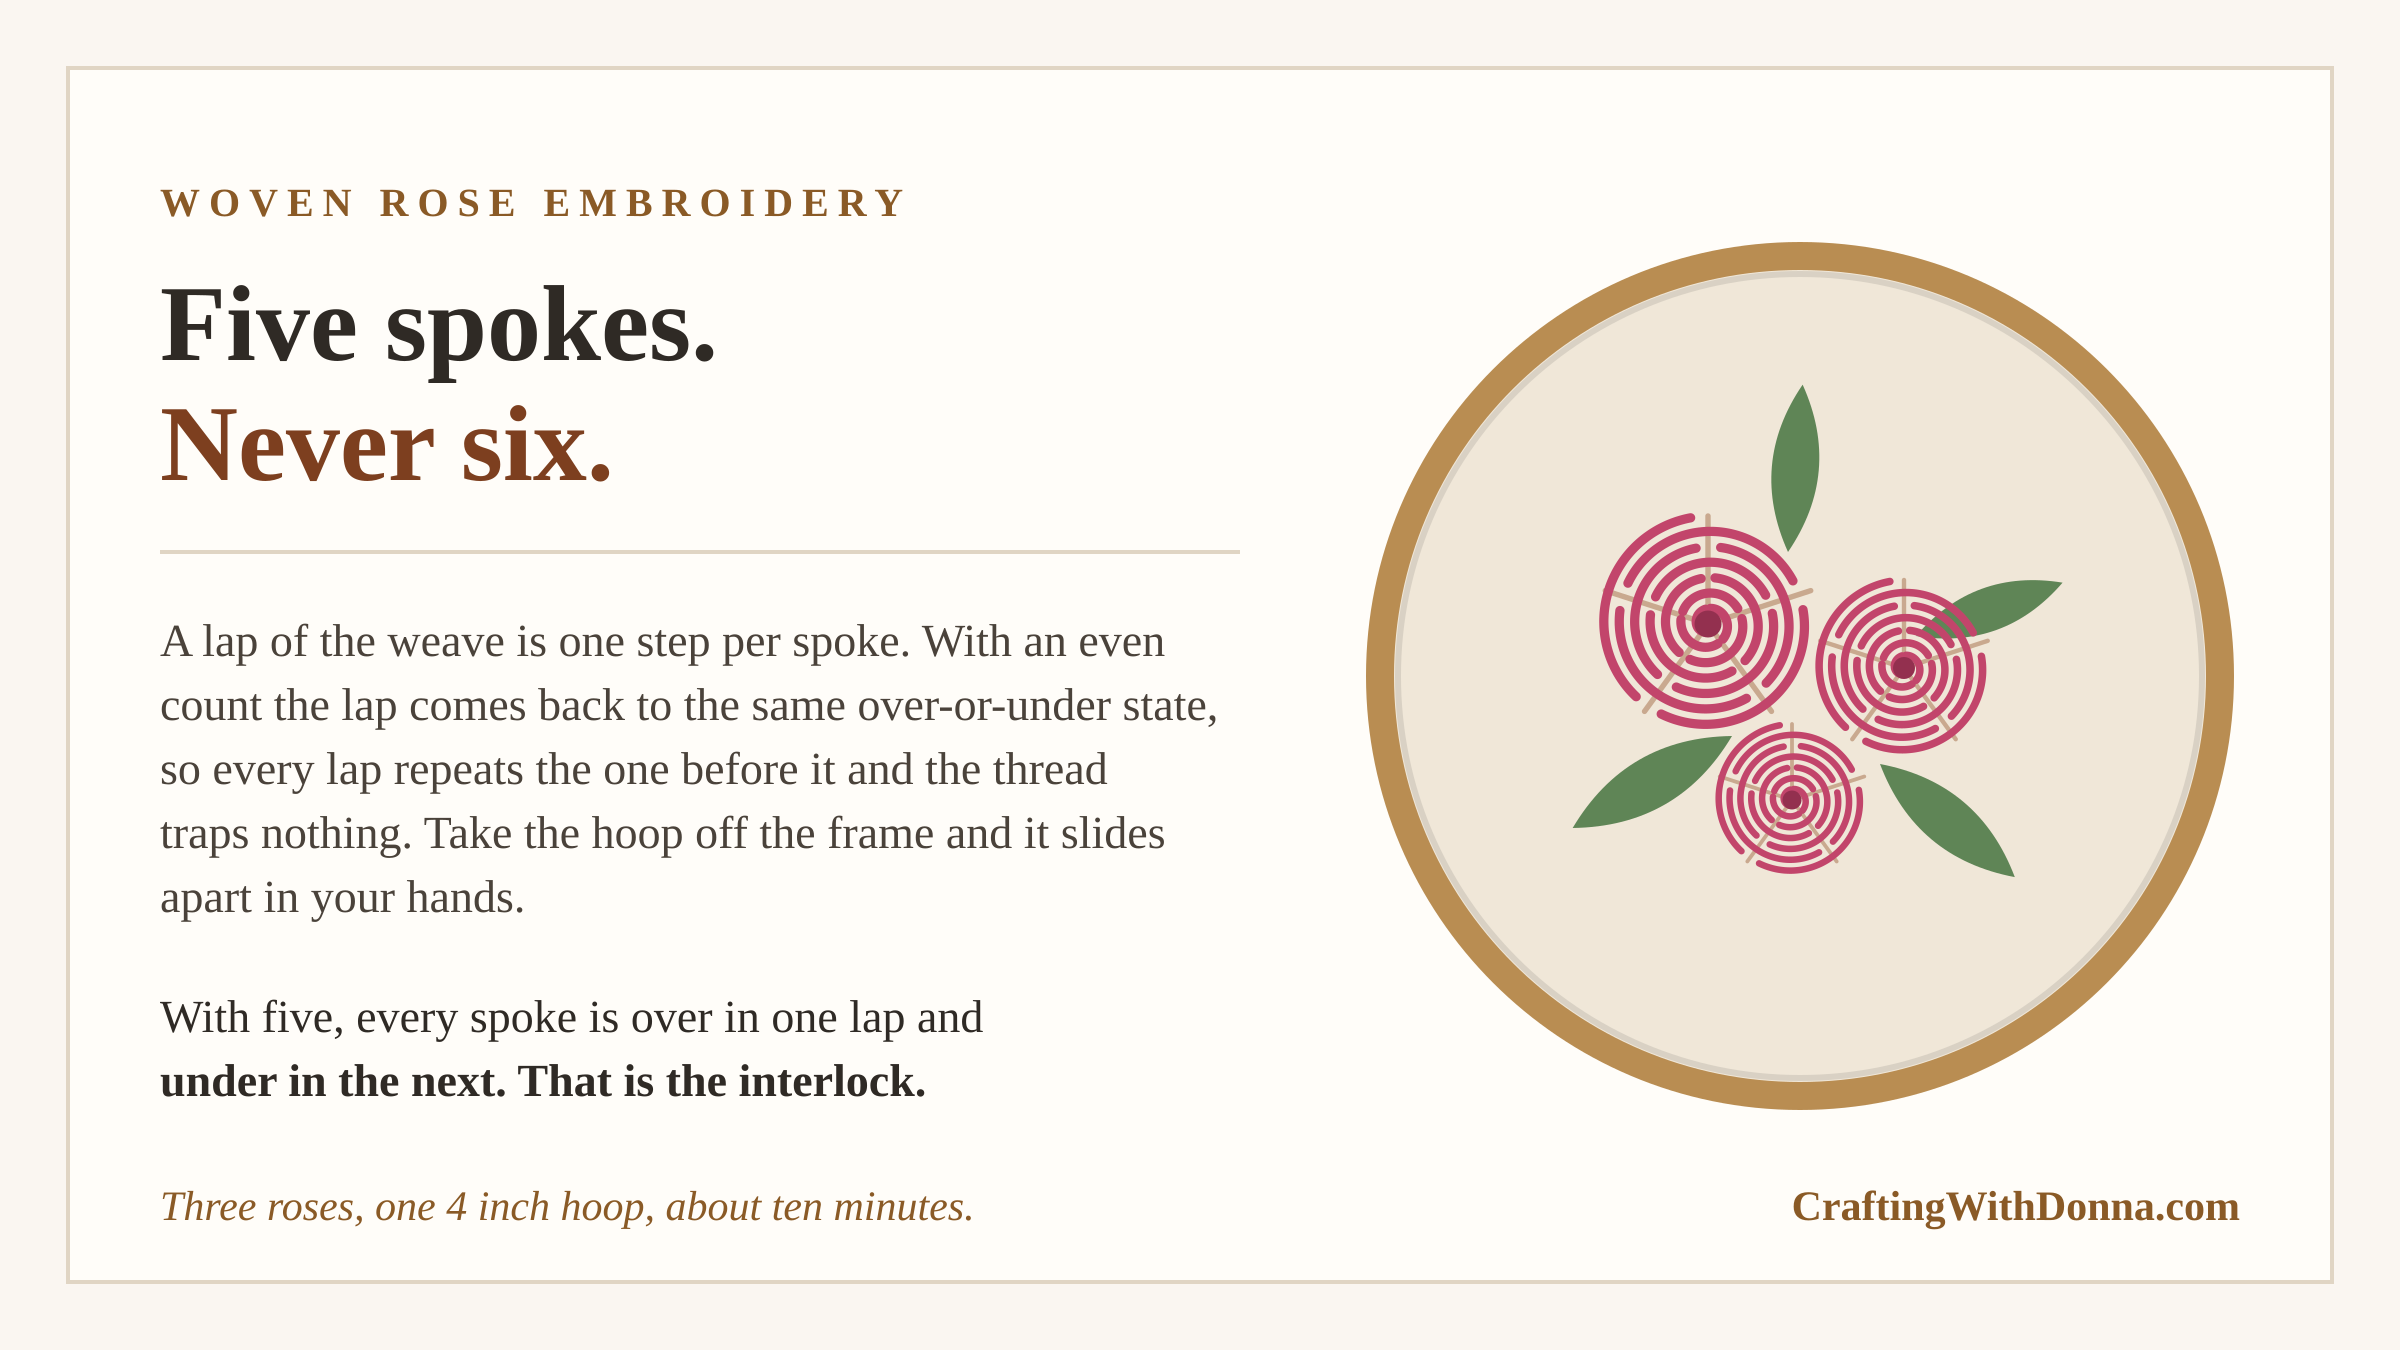
We had used six spokes. Six looked tidier than five: even, symmetrical, easier to space by eye. It is also the one arrangement that cannot hold, and the reason has nothing to do with embroidery and nothing to do with how tightly anybody pulls. With an even number of spokes, every lap of the weave repeats the lap before it. The thread lies in the same channels every time round and never traps anything. Take the tension off and it comes straight back out.
Use five and each spoke is over in one lap and under in the next, which is the only thing holding a woven rose together. Below is why that happens, the guide that stops three roses on one hoop coming out three different sizes, and honest thread lengths so you are not rethreading halfway through a petal.
What we are making
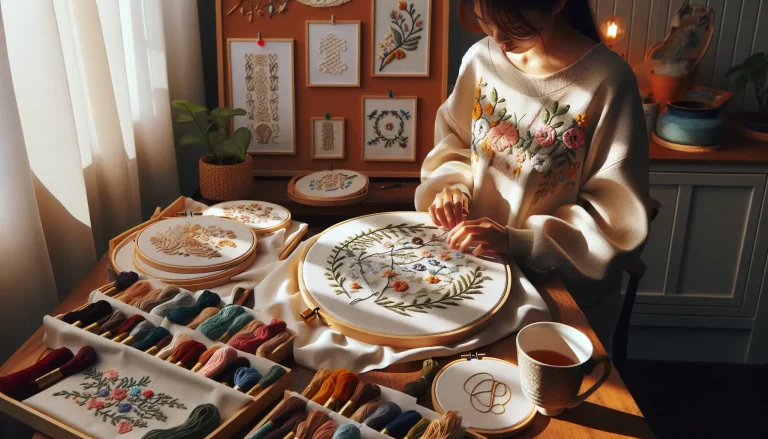
A 4 inch hoop with three woven roses in a cluster and a few lazy-daisy leaves around them. Cotton or linen, six-strand floss, a blunt needle. No transfer paper, no washing out a printed pattern, no counting threads.
Hands-on time is about ten minutes once you have done one. We timed ours: a minute to hoop the fabric and tighten it, a minute and a half to trace three spoke stars, ninety seconds a rose, twenty seconds a leaf, and a minute and a half to knot off and tidy the back. That is five hundred and ninety seconds, which is nine minutes and fifty seconds, and we are counting the fiddly parts honestly rather than quoting the stitching alone.
It suits a beginner better than almost anything else in embroidery for one reason. Every other beginner stitch punishes uneven tension by showing it. A wobbly backstitch line stays wobbly forever. A woven rose buries its own mistakes. The weave sits on top of the spokes, the outer laps cover the inner ones, and a lap you pulled too tight vanishes under the next one.
The odd-spoke rule
Use five spokes. Never six.
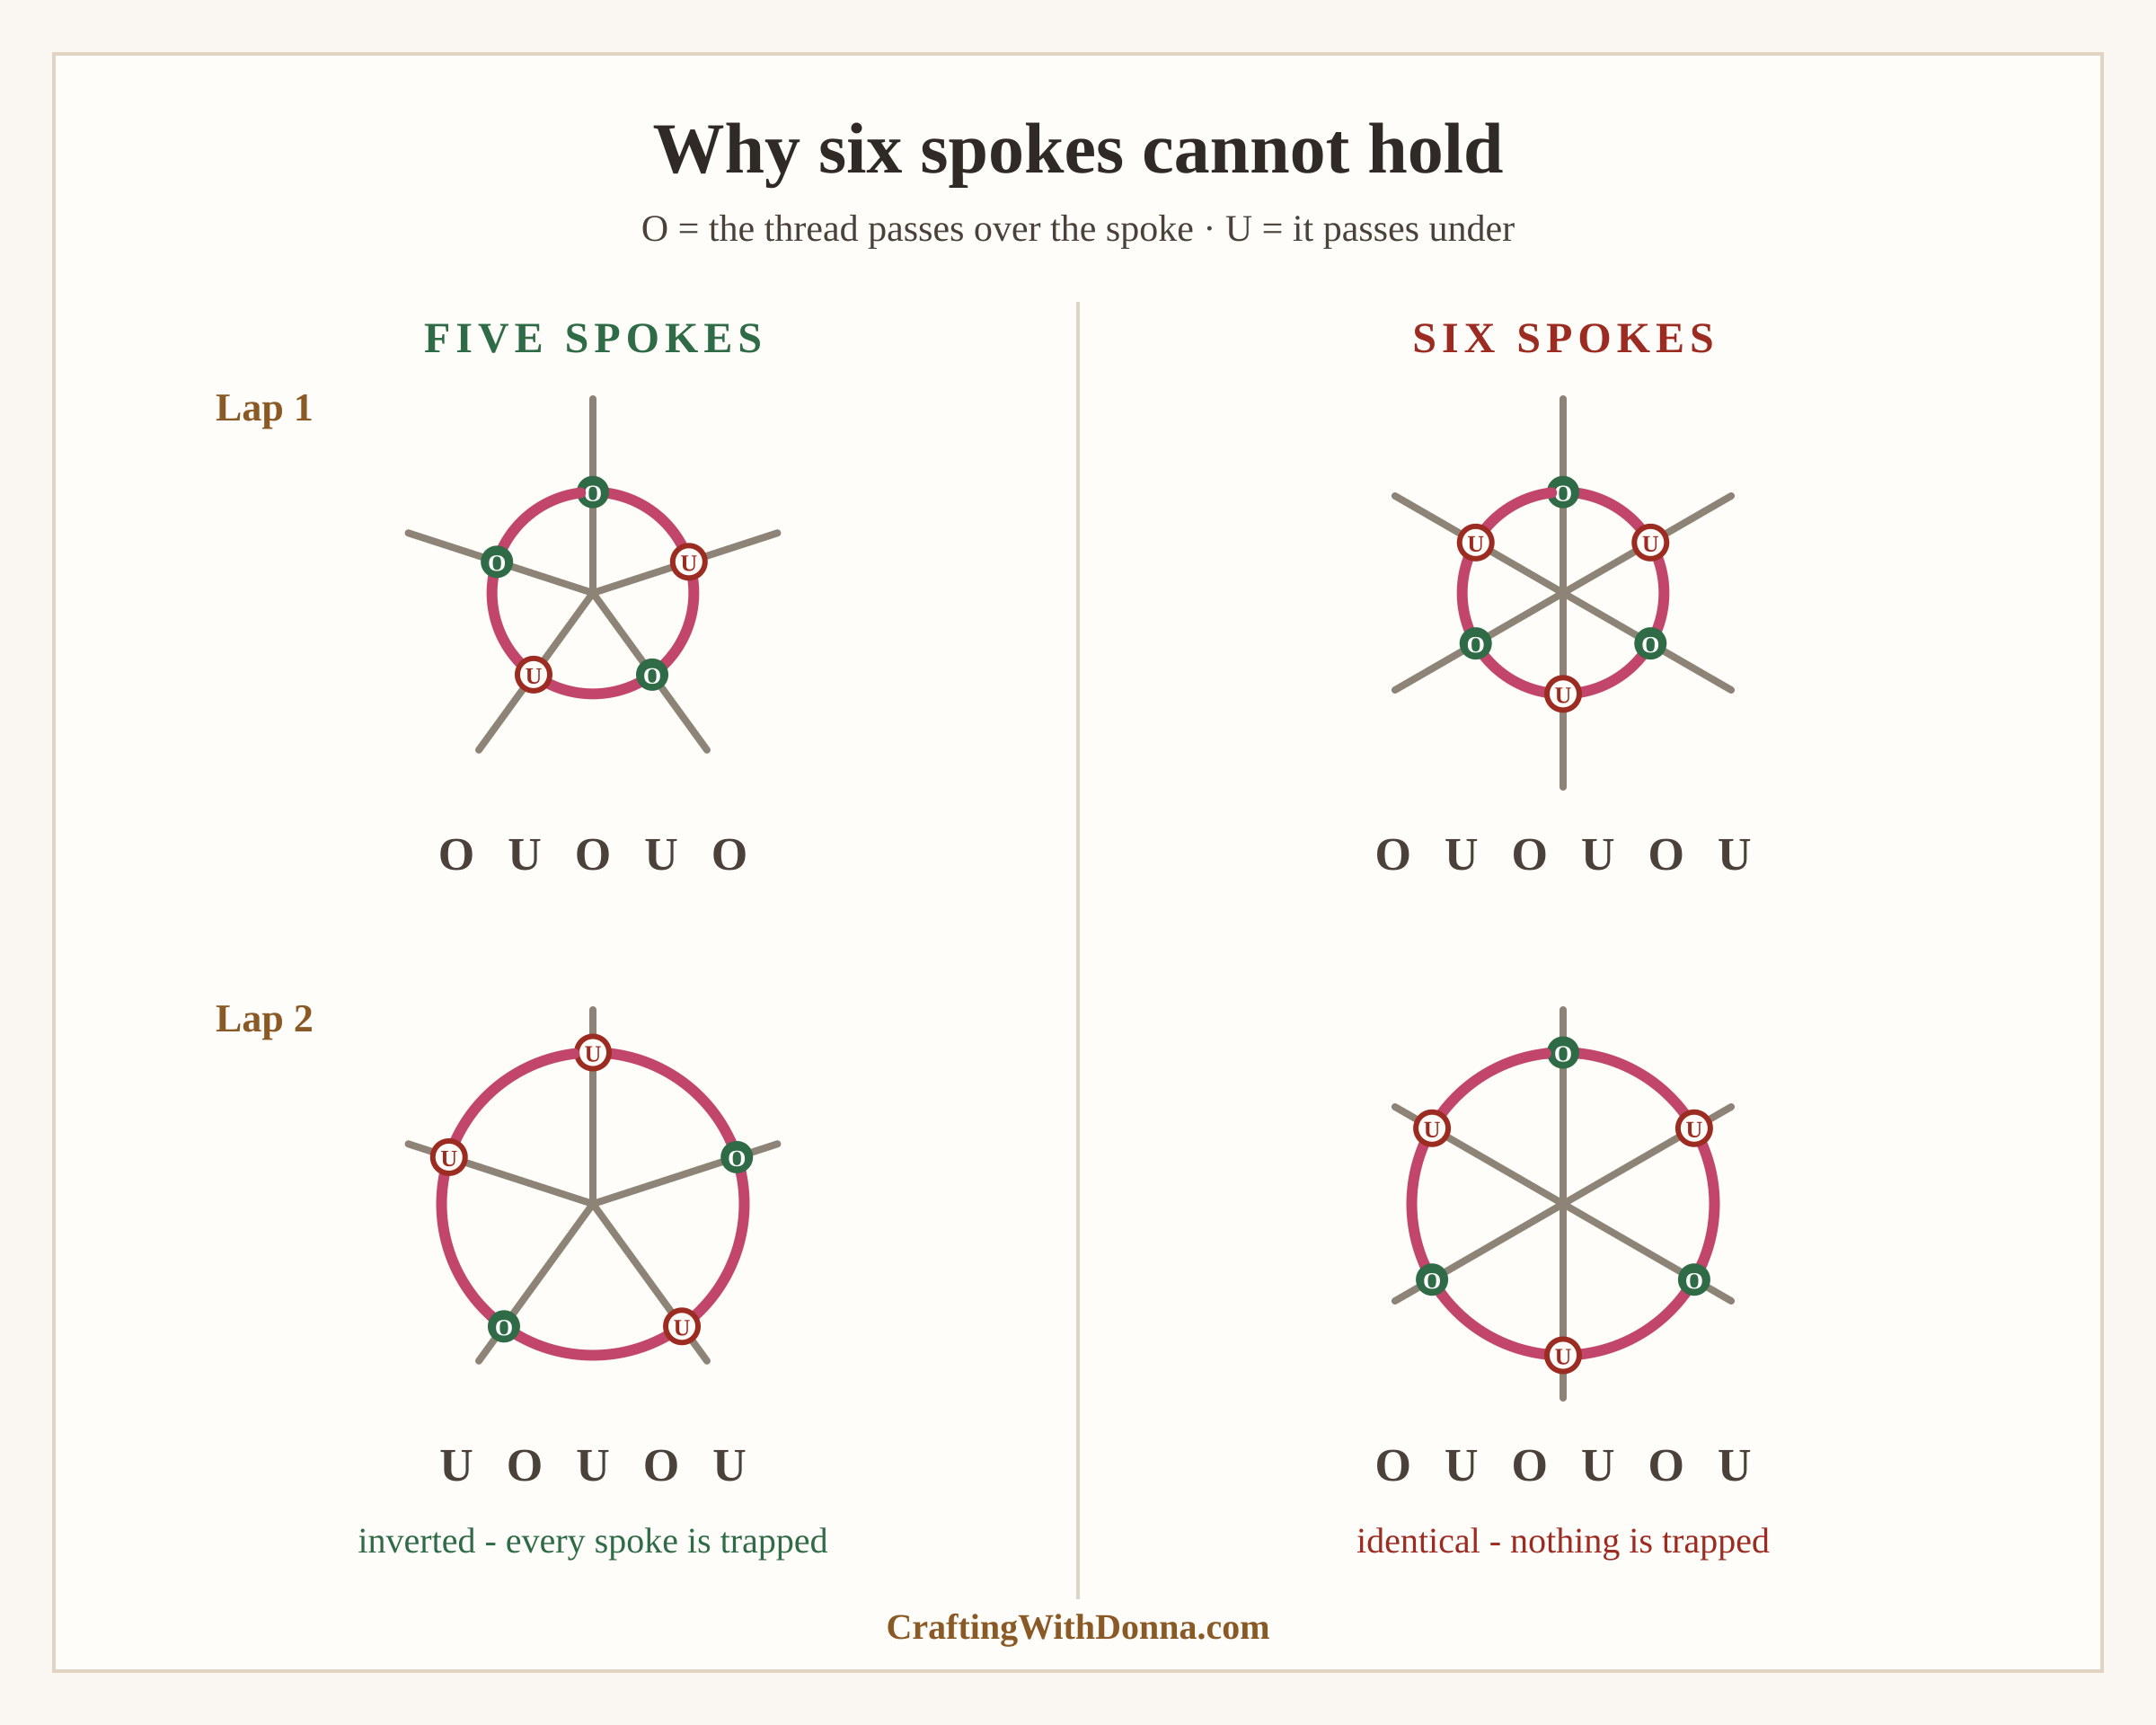
Here is where it comes from. The working thread travels continuously round the wheel, going over one spoke, under the next, over the next, without ever stopping or reversing. So whether the thread is over or under at any moment depends on one thing only: how many spokes it has passed since it started. Odd number of spokes passed, under. Even number, over.
Now count a full lap. A lap is one pass of every spoke, so a lap is exactly as many steps as there are spokes. If you have six spokes, a lap is six steps, six is even, and the thread comes back round to the same over-or-under state it left in. The second lap is a carbon copy of the first. Every lap after that is too. The thread stacks in the same three channels forever, going over the same three spokes and under the same three spokes, and nothing is ever crossed over anything.
If you have five spokes, a lap is five steps, five is odd, and the state flips. Every spoke that was over in the first lap is under in the second, and over again in the third. That alternation is the interlock. It is what makes the rose a woven fabric rather than a coil of thread lying on some sticks.
You can check this without any embroidery at all. Draw six dots in a circle, walk round them writing over, under, over, under, and keep going past the sixth dot into a second lap. You will write “over” on the same dots you wrote “over” on the first time. Do it with five dots and the second lap comes out inverted. This is also why a cardboard-loom weaving, a god’s-eye and a woven paper basket all need an odd number of warps. It is a counting fact, not a craft technique, and no amount of practice or tension control will get you round it.
Seven works. Nine works. Three works but leaves a rose so blocky it reads as a star. Five is the one that gives you enough spokes to look like petals and few enough to weave fast, which is why good tutorials use it, mostly without saying why.
The guide that keeps three roses the same size
The second thing that goes wrong is a drift rather than a failure. Three roses stitched freehand on one hoop come out at three different sizes, and the cluster reads as a mistake rather than as a design.
This happens because the finished rose is exactly as wide as its spokes are long. You weave outward until the spoke tips vanish, and then you stop, so the spoke length is the rose radius, and a spoke you eyeball two millimetres too long becomes a rose four millimetres too wide. Eyeball five spokes three times over and you will get a 15 mm rose, a 19 mm rose and a 26 mm rose without doing anything wrong.
So do not eyeball the spokes. Trace them. The free spoke guide at the end of this post has the five-spoke star drawn at 1:1 in three sizes (15 mm, 22 mm and 30 mm across) with the arms exactly 72 degrees apart, which is 360 divided by five. Trace the star you want with a water-soluble pen, stitch along the traced lines, and all three roses match because all three came off the same drawing.
Three 22 mm roses in a touching triangle make a cluster 47 mm across. Add leaves reaching about 15 mm out and the whole design is 77 mm wide, which sits inside a 4 inch hoop with a little over a centimetre of clear fabric all round. That margin is the difference between a design that looks placed and one that looks crammed.
How much floss to cut
Cut 70 cm for a 22 mm rose. Cut 45 cm for a 15 mm one and 110 cm for a 30 mm one.
Those lengths come from the shape of the weave rather than from guessing. The weave is a flat spiral, so the thread it eats is roughly the area it covers divided by how far the weave creeps outward each lap. That works out at about 20 cm of weaving for the small rose, 42 cm for the medium and 78 cm for the large, and then the five spokes cost about ten times the spoke length once you count the travel underneath, plus a hand’s width for the tail and threading waste.
The honest wobble in all that is how thick your floss sits in the weave, which depends on the brand and on how hard you pull. We reckoned on 0.8 to 1.0 mm per lap, and that is why the cut lengths above are rounded up rather than quoted to the millimetre. Run short mid-rose and you have a join to hide, run long and you have wasted a few centimetres. Round up.
The part that does not wobble is how it scales, and it is worth knowing before you plan a hoop. The thread goes up with the square of the rose width. Double the diameter from 15 mm to 30 mm and the weaving takes exactly four times as much thread, not twice, and that ratio holds no matter whose floss you use, because the floss thickness cancels out of it. A hoop of big roses is not a slightly bigger job than a hoop of small ones.
A standard 8.7 yard skein is just under 8 metres, which is about eleven medium roses, or not quite four three-rose hoops. One skein of pink is a whole afternoon of gifts.
What you need
Disclosure: The product links in this supply list are paid affiliate links. Crafting With Donna may earn a commission at no extra cost to you.
- A 4 inch wooden embroidery hoop. Small enough that the fabric stays drum-tight without a stand, and it is the finished frame as well as the tool. You hang the hoop, you do not mount the work somewhere else afterwards.
- Size 22 to 24 tapestry needles. This is the one that matters. A tapestry needle is blunt, so it slides between the spokes instead of splitting them. A sharp embroidery needle spears its own spokes on the way round and shreds the rose from the inside, which beginners read as bad tension.
- Six-strand cotton floss. Use all six strands, not two or three. The weave needs bulk to cover the spokes in a sensible number of laps, and a thin thread turns a ninety-second rose into a five-minute one.
- A fat quarter of cotton or linen. Something with a bit of body. Quilting cotton is ideal and a jersey or anything stretchy is not, because the spoke spacing distorts the moment you tighten the hoop.
- A water-soluble marking pen. For tracing the spoke star. Test it on a corner first. On some fabrics the blue ones set for good if you iron them before you rinse them.
- Small sharp embroidery scissors. For trimming close to the back. Kitchen scissors leave a tail long enough to work loose through the weave.
The rose, start to finish
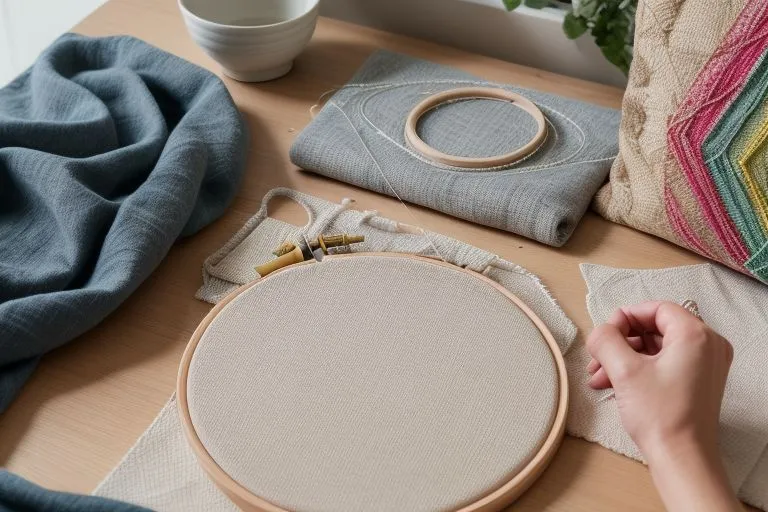
Hoop the fabric first and get it drum-tight. Press the centre with a fingertip and it should not dimple much. Everything else assumes the fabric is not moving.
Trace a five-spoke star from the guide. Hold the page under the hooped fabric against a window and the lines come through most cottons; on a heavier linen, trace onto the fabric before you hoop it.
Stitch the five spokes. Bring the needle up at one arm tip, down at the centre, and repeat for all five, so they all meet at one point. Keep them flat on the fabric rather than tight. A spoke pulled taut sinks into the weave and you lose it.
Now come up next to the centre, between two spokes, and start weaving. Over one spoke, under the next, over the next. Do not go through the fabric again until the rose is finished. Do not pull. The thread should lie on top of the spokes, and the moment you start tightening it you will drag the spokes together and the rose closes into a knot.
Keep going round in the same direction until you cannot see the spoke tips. That is somewhere between eight and seventeen laps depending on the size, and it will look like nothing at all for the first three or four. The rose arrives all at once, around the halfway point. Beginners quit at lap four. Do not.
Take the needle down through the fabric under the outer edge of the rose and knot off on the back. Then add the leaves with lazy daisies: up, a loop held with a thumb, down through the same hole, and one small stitch over the tip of the loop to catch it.
Where it goes wrong
The rose slid off the spokes. Six spokes, or eight. Count them. Nothing rescues that rose and the next one takes no extra time to get right.
The rose is tight and cone-shaped rather than flat. Pulled too hard while weaving. The weave should feel almost loose as you lay it. The spokes hold the shape, not the tension.
The floss is fraying and fuzzing as it goes round. A sharp needle splitting the spokes, or too long a thread. Swap to a tapestry needle and stop cutting more than about a metre.
One petal looks fat and the opposite side flat. The spokes were not evenly spaced. This is the exact thing the traced guide fixes, and it is very hard to fix by eye once you are weaving.
The centre shows a hole. The spokes did not quite meet at one point. Start the weave a little closer in, or add a French knot in the middle and call it a centre. Nobody will know.
The rose looks scruffy at the outer edge. Normal, and it is the last lap that is doing it. Take the final lap slightly looser and let it settle over the tips rather than trying to squeeze one more round in.
Making a hoop worth giving
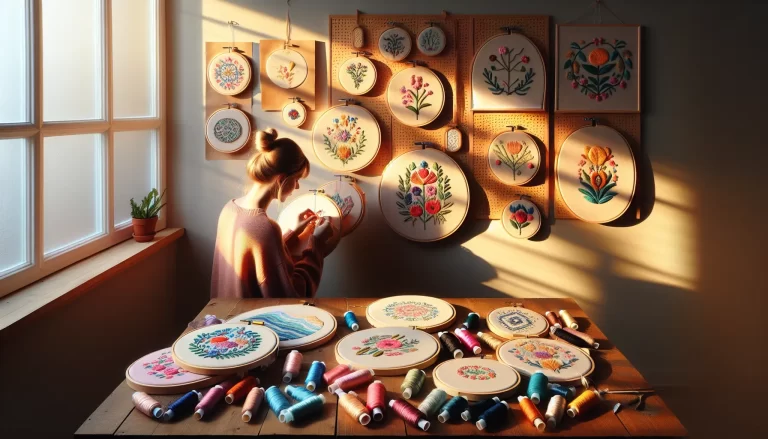
Three roses beat five. A triangle of three reads as deliberate; five roses on a 4 inch hoop starts to look like a sampler of attempts.
Use two shades of one colour rather than three colours. Two pinks and a green will look like a florist arranged it. Pink, blue and yellow will look like whatever was in the pack.
Vary the sizes on purpose. One 30 mm, one 22 mm and one 15 mm, traced from the guide so the sizes are exact, looks far better than three identical roses, and it is the same ten minutes. Deliberate variation reads as design; accidental variation reads as a mistake, which is the whole reason to trace them.
Finish the back. Trim the tails, run a line of glue round the inner hoop, and fold the excess fabric in. A hoop given as a gift gets turned over, every time.
Get the free woven rose spoke guide
The spoke stars have to be exactly the right size on paper to be worth tracing, so they are drawn at 1:1 on a page you print at 100%. The free Woven Rose Spoke Guide gives you the five-spoke star at all three sizes with the arms 72 degrees apart, the floss cut table, the odd-spoke diagram showing what six spokes does that five does not, and a 50 mm ruler bar so you can check in two seconds that your printer did not scale the page.
Grab it below and it lands in your inbox in a couple of minutes. Then go and count your spokes.
Keep the ten-minute craft nights coming
If quick wins like this one are your speed, the printable Craft Night Kit Planner from the craft table lays out the supplies, timing, and shopping list for a whole month of ten-minute craft nights — print it once, plan four cozy nights. It’s $7 in the Crafting With Donna shop.