10-Minute DIY Stickers: Turn Any Doodle Into a Glossy Sticker With Packing Tape (No Machine Needed)
Hi friend! Can I tell you about the craft that has been taking over my kitchen table this week? Homemade stickers. Real, glossy, peel-and-stick stickers, made from your own little drawings, with no cutting machine, no printer, and no special paper. The secret is a roll of plain clear packing tape, and I promise the whole thing takes about ten minutes from doodle to done.
Hand-drawn stickers are having a real moment right now. This week a crafter shared her hand-drawn sticker sheets in one of the big craft communities and thousands of people fell head over heels for them, me included. Reading the comments, one thing kept coming up: everyone wanted to make their own, but so many folks assumed sticker making means buying a Cricut or a fancy sticker machine. Friend, it does not. My method comes from my classroom volunteer days, when we laminated everything in sight with packing tape because the school laminator was always broken. It works just as well on stickers as it did on flash cards.
Why packing tape is the best sticker machine you already own
A layer of packing tape does exactly what a laminator does: it seals your drawing under smooth, glossy plastic. That one layer makes a paper doodle look finished, keeps the marker from smudging, and even shrugs off a splash of water. Your drawing does not need to be fancy, either. Simple shapes with a bold outline actually make better stickers than detailed artwork, which is why this is such a happy project for beginners and for crafting with kids. If you can draw a circle and a squiggle, you can make a sticker sheet.
What you’ll need
- Clear packing tape, the wider the better. One roll makes hundreds of stickers. (wide clear packing tape)
- Fine-tip markers with a bold black one for outlines. (fine-tip marker set)
- White paper or cardstock. Printer paper works; cardstock feels sturdier. (white cardstock)
- Double-sided tape for the peel-off backing trick. (double-sided tape)
- Parchment or baking paper from the kitchen drawer, which becomes the peel-away backing.
- Small sharp scissors for cutting around your designs. (precision craft scissors)
These are Amazon affiliate links. If you buy through them, it costs you nothing extra and helps keep the projects coming. Thank you!
The ten-minute method
First, draw. Sketch a row of small designs on your paper, each about the size of a quarter, and go over every one with a bold black outline. Color them in with your markers and let any juicy ink dry for a minute. Keep the shapes simple and chunky; thin, wispy bits are fussy to cut and tear easily.
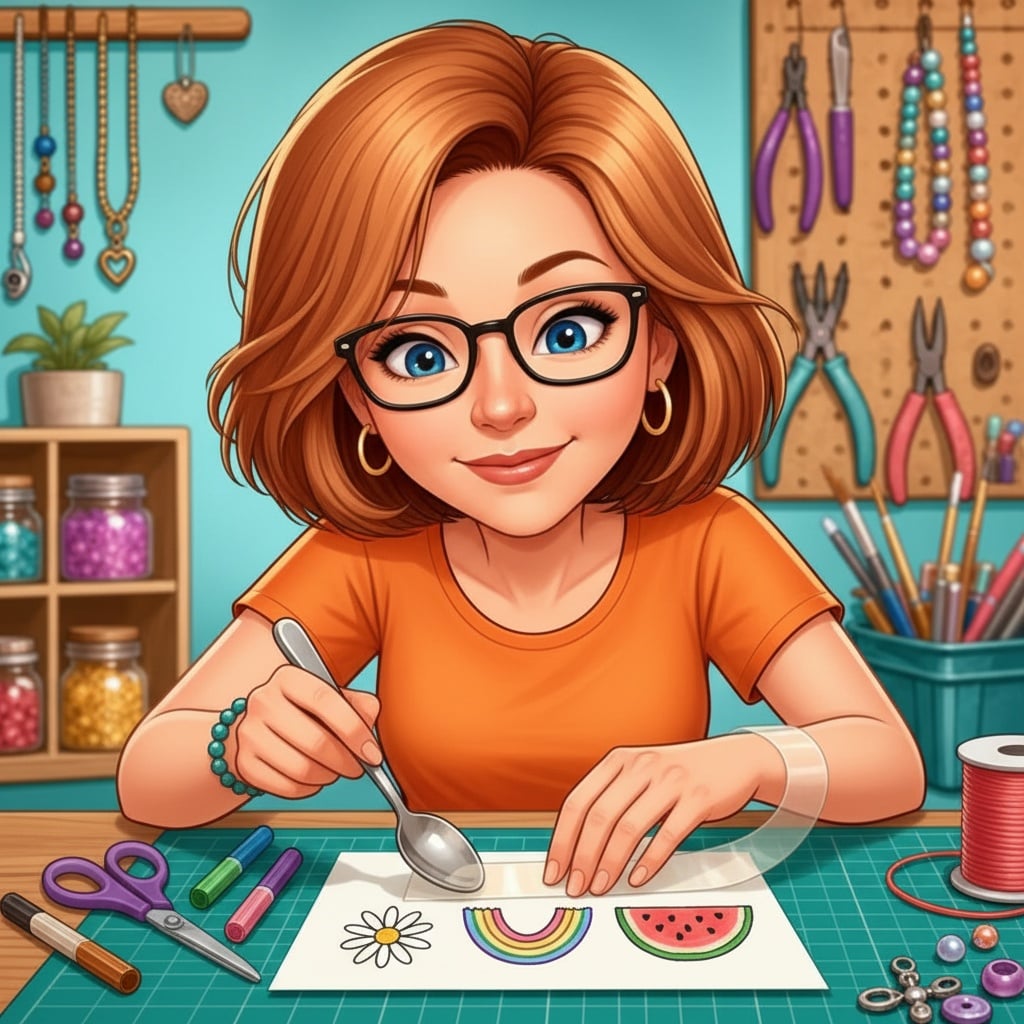
Second, laminate. Lay a strip of packing tape right over your finished drawings, sticky side down, in one smooth pass. Then burnish it: rub the back of a spoon or an old gift card firmly over the whole strip until the tape looks glassy and every air bubble is gone. That rubbing step is what makes the sticker look store-bought, so give it a good ten seconds.
Third, cut. Cut around each design, leaving a skinny border of tape and paper, maybe the width of a grain of rice. That little edge seals the drawing inside.
Two ways to finish them
The simplest finish is the glue-as-you-go sticker: keep your cut designs in an envelope and attach each one with a dab of glue stick or a piece of double-sided tape when you are ready to use it. This is perfect for sealing envelopes and decorating gift tags.
If you want a true peel-off sticker, here is the trick that makes people gasp: cover the back of your cut design with double-sided tape, then press it onto a piece of parchment paper and trim around it. The tape will not bond to parchment’s slick coating, so when you are ready, the sticker peels right off like it came from a sticker book. Make a whole sheet of them and it looks exactly like something from a stationery shop.
Three designs anyone can draw
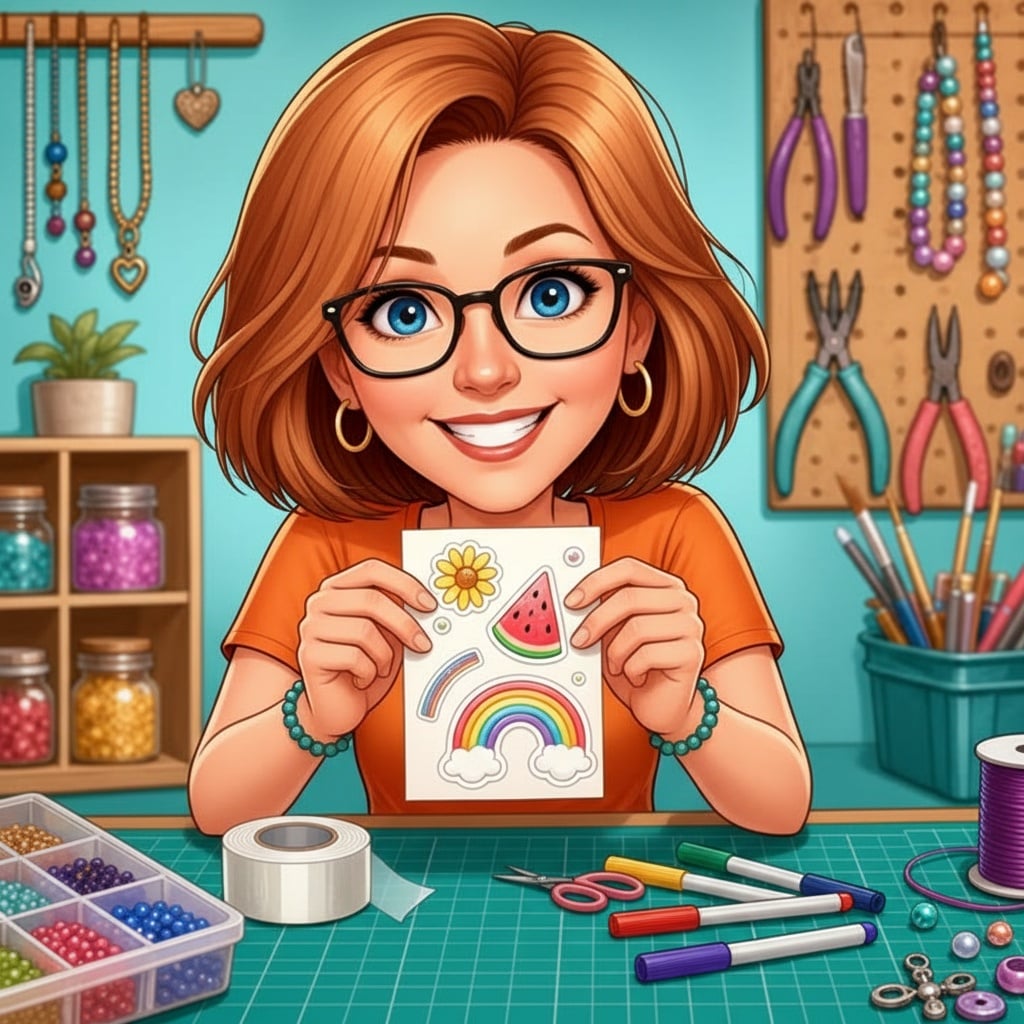
Start with my three favorites, which are all built from shapes you already know. The lazy daisy is a small yellow circle with five fat white petals and a green stem. The rainbow arch is three curved lines in red, orange, and blue with a little cloud at each end. And the watermelon slice, my summer favorite, is a pink triangle with a green rind and a few black seeds dotted on. Draw a row of each and you have a matched sticker sheet in one sitting.
What to do with a pile of homemade stickers
Once you start, you will not want to stop, so here is where mine end up: sealing birthday card envelopes, dressing up brown-paper gift wrap, marking jam jars and leftovers, decorating a grandkid’s lunchbox note, and covering the corner of my planner pages. A little sheet of hand-drawn stickers tucked into a card is a gift all by itself, and kids will happily make their own party favors at a rainy-day craft table with nothing but paper, markers, and tape.
Want my printable sticker template sheet?
I put together a one-page Sticker Maker’s Template Sheet to make your first batch foolproof: traceable outlines for the daisy, rainbow, and watermelon, a grid of blank sticker circles sized just right for the tape, and the finishing steps printed along the side. Pop your email in below and I will send it straight to your inbox, free.
Go grab the tape
That is really all there is to it. Doodle, tape, burnish, cut. Ten minutes from now you could be pressing a glossy little daisy onto an envelope and grinning about it, and by the weekend the people you love will be finding tiny watermelons on everything. Happy crafting!
Donna