10-Minute Keepsake Tins: Turn Empty Mint Tins into Tiny Treasure Gifts
Hi friend! Before you read another word, go peek in your junk drawer. I will bet you a cup of coffee there is an empty mint tin in there, and today that little tin is going to become the sweetest handmade gift you have made all summer. We are decorating keepsake tins, and the whole project takes about ten minutes with supplies you probably have on hand.
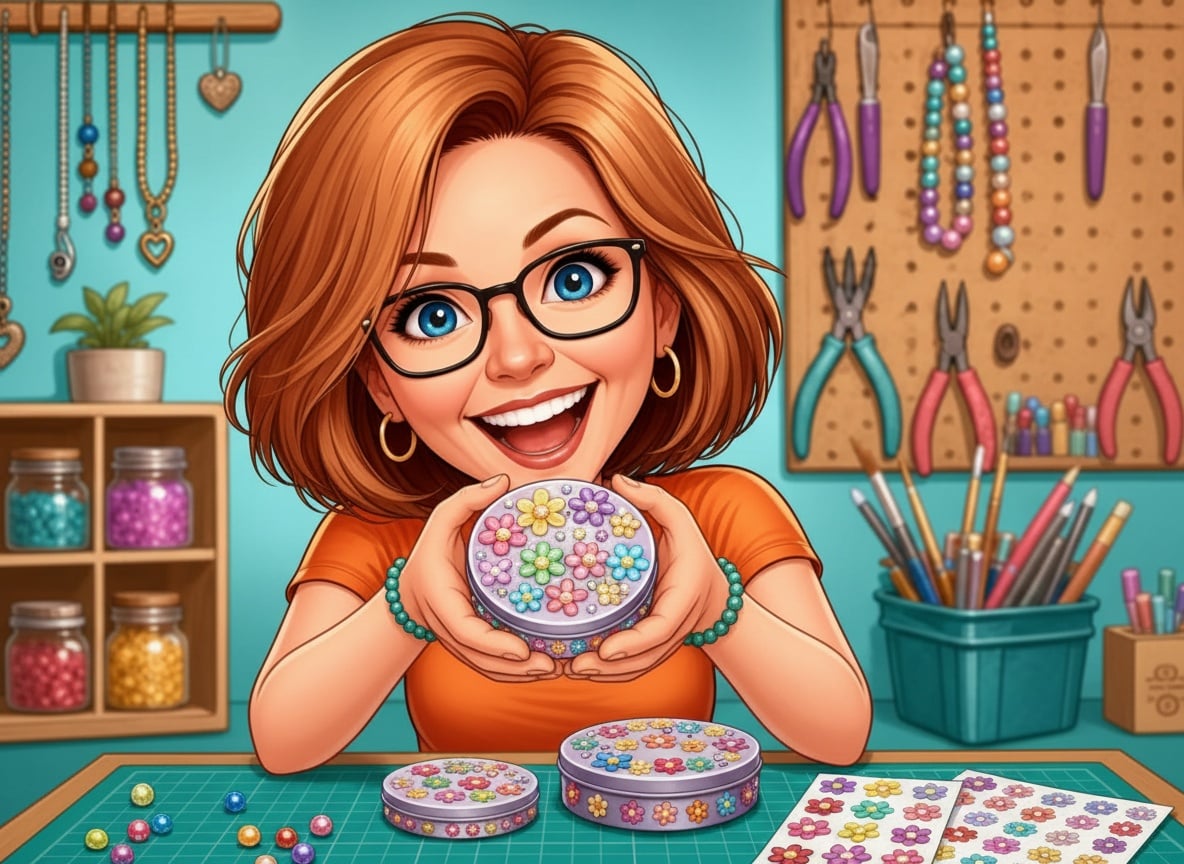
This one came straight from crafters themselves. In a big thread this month about easy crafts for beginners, one of the most loved answers was the simplest: a crafter and her friend spent an afternoon decorating small tins with stickers and rhinestones, and she could not stop raving about it. I dug two old candy tins out of my own drawer to try it, and now there is a tiny sewing kit riding around in my purse that makes me smile every single time I see it.
Why a little tin is the perfect beginner canvas
A mint tin does something a blank canvas never will: it stays small. You are decorating a lid the size of a playing card, so there is no big empty space staring back at you and no way to get in over your head. Stickers and rhinestones are forgiving too. If you place one crooked, you peel it up and try again. Nobody needs to draw, paint, or measure a thing.
And here is the part I love most: when you are done, you have not just decorated a box. You have made a container for something. Fill it and it turns into a real gift, the kind people keep on their dresser for years because it is little, personal, and useful.
What you’ll need
- An empty tin from mints, candy, or tea. Free from your junk drawer! (Or grab a few blank metal tins if you want a matched set for gifts.)
- Self-adhesive rhinestones, the sparkly heart of this whole project. (rhinestone stickers)
- A sticker pack or two with flowers, butterflies, or whatever makes you happy. (sticker packs)
- Acrylic paint pens for names, dots, and little borders on the metal. (acrylic paint pens)
- Felt sheets to line the inside so it feels like a treasure box. (felt sheets)
- Clear glue for any loose gems or felt that needs convincing. (clear craft glue)
These are Amazon affiliate links. If you buy through them, it costs you nothing extra and helps keep the projects coming. Thank you!
Two minutes of prep
Wash your tin with warm soapy water to get rid of any candy dust, then dry it really well; stickers will not hold onto a damp lid. If the tin has printing on it you want to hide, two quick coats of a paint pen or a leftover acrylic paint will cover it, and it dries in minutes. That is honestly the whole setup.
Three tins anyone can make
1. The sparkle garden tin
Start with a flower sticker or two on the lid, a little off center. Then build around them with rhinestones: a few gems in the flower centers, a curved trail of small ones like a bee’s path, one big sparkler in a corner. Odd numbers look best, and crooked is charming here. This is the one that got crafters buzzing in that thread, and once you place your first gem you will understand why. It is oddly soothing, like decorating a tiny cake.
2. The name tin
Write a name or a single word across the lid with a paint pen: Grandma, treasures, sewing, snacks. Simple block letters, written slowly. Dot the corners with rhinestones so the word gets a little sparkle around it. If the lettering wobbles, wipe it off with a damp cloth while it is wet and try again. A named tin instantly feels like it was made just for that person, because it was.
3. The memory tin
Cover the lid with overlapping stickers, edge to edge, like a little collage. Then cut a piece of felt to fit inside the bottom, press it in, and tuck in a photo, a ticket stub, a seashell from a trip, or a tiny note. This one is my favorite to give, because you are really giving two gifts: the pretty tin and the memory inside it.
Line it, fill it, and it becomes a gift
That felt lining is the step that takes your tin from craft project to keepsake, so do not skip it. Trace the tin bottom on a felt sheet, cut just inside the line, and press it in place with a dab of glue. Then fill your tin with a purpose: a travel sewing kit with needles and a button or two, a quarter stash for the car wash, a mini art kit with a folded paper and half pencils for a grandkid’s purse, or a treat tin with wrapped caramels for a neighbor.
The best part: they are made to be given
A decorated tin costs almost nothing and lands like something from a boutique. Tuck a sewing kit tin into a college care package, hand a treat tin to your mail carrier, or make a memory tin after a trip with a friend and mail it to her. These are also a dream for craft night or a rainy afternoon with grandkids, since everyone finishes with something they are proud of and nobody needs help.
Want the printable tin gift planner?
I put the whole project on one printable page: the three lid designs, a felt lining template, and my list of ten fill ideas so every tin leaves your house as a finished gift. Grab my free Keepsake Tin Gift Planner below and I’ll send it straight to your inbox.
Go raid that junk drawer
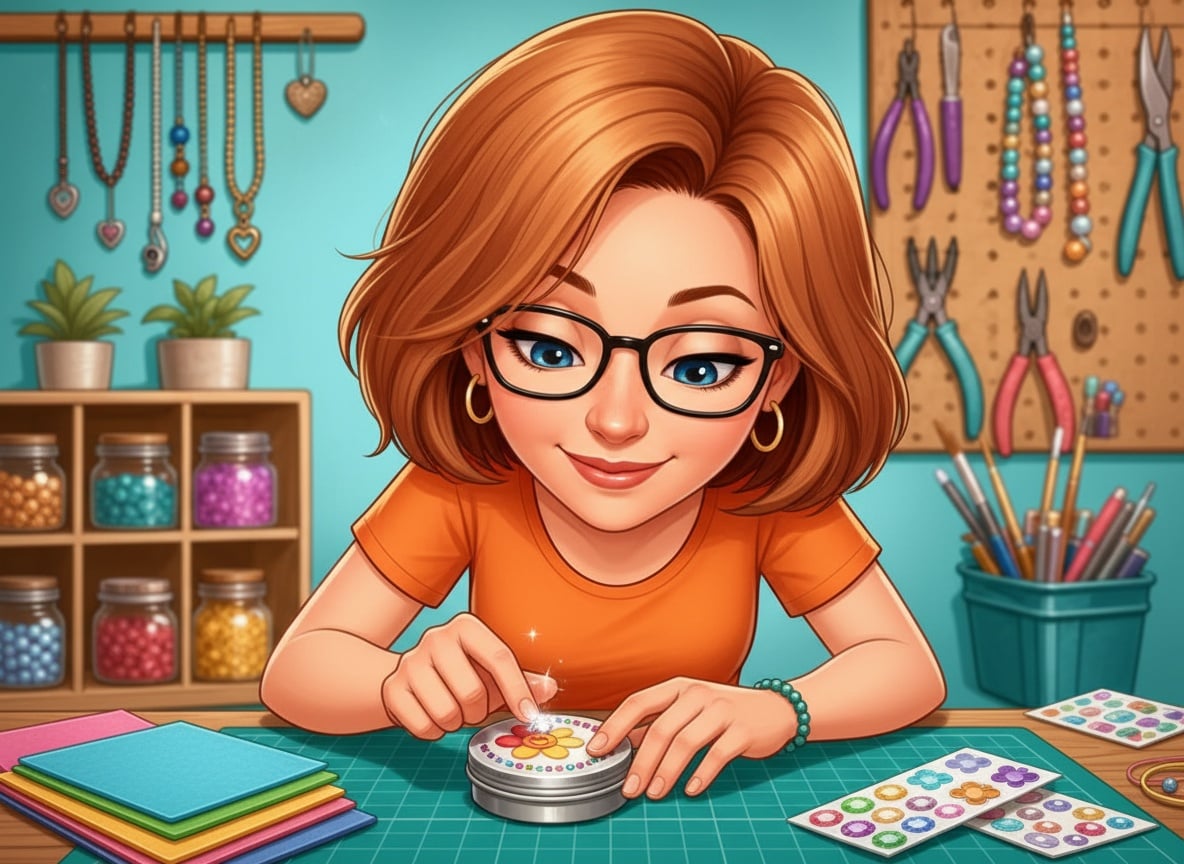
Really, that is step one. Find a tin, wash it out, and start with the sparkle garden lid; the moment you press on that first rhinestone you will be hooked. Then fill it, give it away, and watch someone’s whole face light up over a little box that used to hold mints. Happy crafting!
Donna