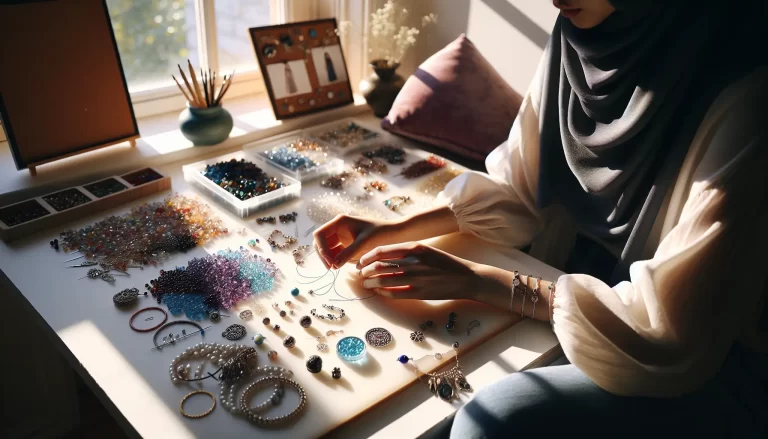
Easy Friendship Bracelets: One Knot, Ten Minutes, No Chart
Hi friend! Tell me if this sounds familiar: someone suggests friendship bracelets for craft night, everybody cheers, and then you look up a pattern and find yourself staring at a grid of arrows that looks like knitting homework crossed with sheet music. Chevrons, diagonals, letters, charts. I watched a table full of grown women go quiet in front of one of those charts this month, and I set my coffee down and told them the secret I am about to tell you: the whole friendship bracelet universe runs on one knot. One. And you already have everything you need in the junk drawer.
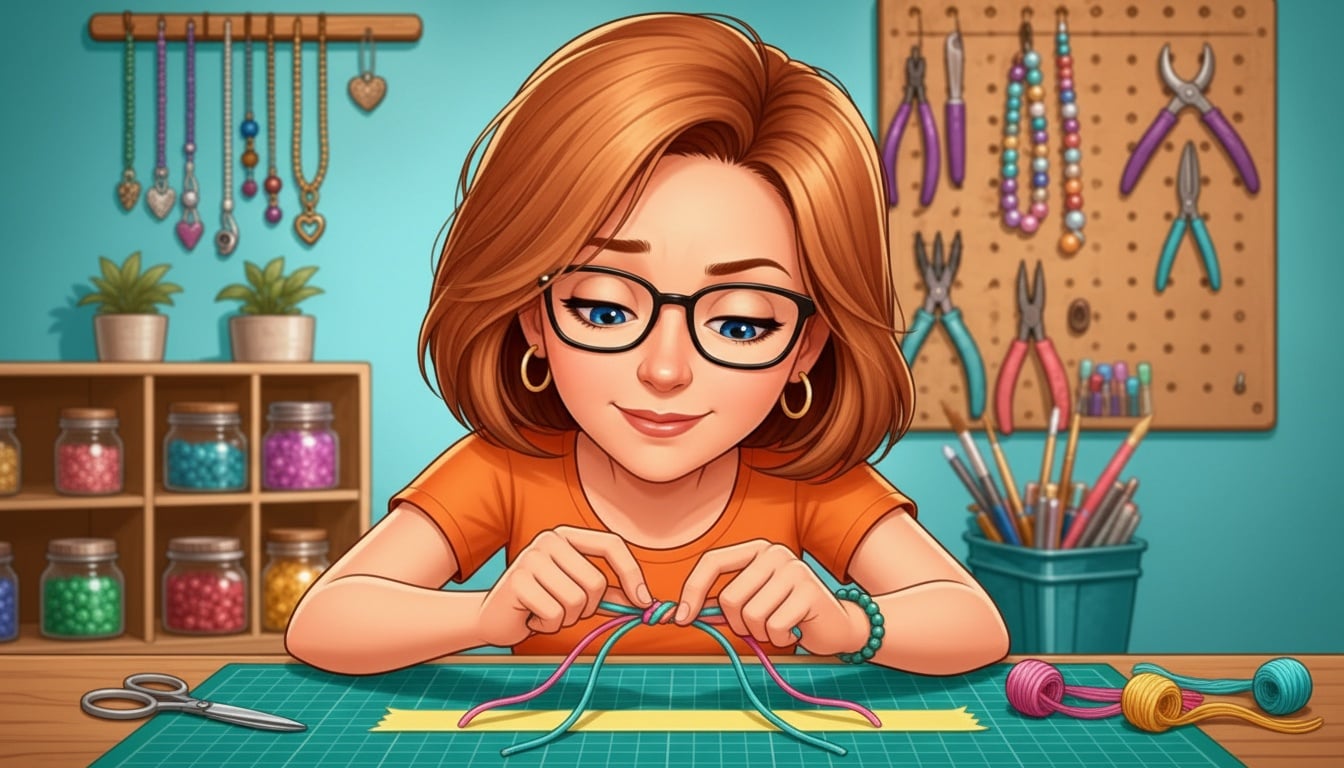
Ten minutes later every person at that table had a striped bracelet growing under her fingers, and the chatting had come roaring back, which is the entire point of craft night. That is what this craft does best: hands busy, hearts open. So today I am giving you the exact method I taught them — the taped candy stripe — plus my little color cheat that makes any three flosses you grab look like you planned them.
Why the charts scare people off (and why they shouldn’t)
Those pattern grids are real, but they are the varsity level, and nobody starts at varsity. A candy stripe bracelet — the classic diagonal-striped one you remember from summer camp — has no chart at all. You tie the same little knot across a row, over and over, and the diagonal stripes appear on their own like magic. There is no counting, no loom, no drying time, and if you mess up a knot the bracelet simply does not care. It is the most forgiving craft I know, and a finished one slides off the table and straight onto a wrist.
What you’ll need
- Embroidery floss. The little skeins, about fifty cents each at the craft store — or one big rainbow pack that will outlive us all. (embroidery floss mega-pack)
- Small sharp scissors. Floss frays if you saw at it with dull ones. (small embroidery scissors)
- Tape. Washi tape, masking tape, whatever is in the drawer — it holds the bracelet to the table while you knot. A clipboard works too. (washi tape)
- Optional: a safety pin, if you would rather pin the bracelet to your jeans knee like we did in 1985. Zero shame, maximum nostalgia.
These are Amazon affiliate links. If you buy through them, it costs you nothing extra and helps keep the projects coming. Thank you!
The one knot, in plain English
It is called a forward knot, and here is the whole thing: lay your working string over its neighbor so the two of them make a shape like the number 4. Tuck the tail through the hole of the 4 and pull up snug. Do it twice on the same string. That is the knot. Two little 4s, pull, done. If you can write the number 4, you can make every bracelet in this article — and most of the ones on those scary charts too, because they are all just this knot pointed in different directions.
Let’s make the ten-minute candy stripe
Pick three colors and cut one strand of each about 30 inches long. Fold the bundle in half, tie a plain overhand knot at the fold to make a little loop, and tape the loop to the table. You now have six strings hanging down — two of each color. Fan them out and keep the colors in pairs.
Take the string on the far left. That is your worker. Make your 4, knot twice, onto the next string. Then the same worker knots onto the next string, and the next, all the way across the row. When it reaches the far right side, its shift is over — it retires, and the new far-left string becomes the worker. Knot it across. That is the entire pattern: the left string works its way across, forever. Diagonal stripes will start stacking up by the third row, and that is usually the moment people gasp a little and stop needing me.
Keep going until the striped part wraps most of the way around your wrist — about six inches for most grown-ups, less for little wrists. Tie all six strings in one overhand knot, braid the leftovers for an inch or so, knot again, and trim. The starter loop you taped down at the beginning is your clasp: thread the braid through the loop, tie a bow or a knot, and it is on a wrist. From tape to wrist is about ten minutes once your hands learn the 4.
My three-floss color cheat
Here is the trick that makes any bracelet look intentional instead of random: two quiet, one loud. Pick two flosses that are cousins — two blues, two pinks, cream and tan — and then one that shouts: hot pink with the blues, lime with the pinks, tomato red with the neutrals. The two quiet ones make the loud one look like a decision. My other no-fail combo is three shades of the same color, light to dark, which comes out looking like sorbet. Grab-bag randomness is the only way to go wrong, and even then, it is a friendship bracelet — its whole job is to be cheerful.
Craft night, camp, and the gift that costs a quarter
This is the best group craft I know. Supplies for a dozen people cost less than one fancy coffee, nobody needs instructions after the first three rows, and everyone walks out wearing something. It travels in a sandwich bag. It works for a nine-year-old’s sleepover and a girls’ night with wine, sometimes the same week. And a finished bracelet tied around a little folded note — made this and thought of you — is the kind of tiny gift people keep on their wrist until it falls apart, which is more than I can say for most twenty-dollar presents.
Want my printable starter card?
I made a one-page Friendship Bracelet Starter Card you can print and toss in the middle of the craft table: the forward knot drawn out step by step, my two-quiet-one-loud color cheat with six ready-made combos, and the length chart for kid, teen, and grown-up wrists. Pop your email in below and I will send it right over, free.
Go raid the floss bin
One knot, three strings, ten minutes, and somebody you love wearing proof that you thought of them. Start with the candy stripe tonight, and when your hands get bored — they will, in about a week — come back and I will show you how that same little 4 turns into chevrons. Happy knotting!
Donna