Epoxy Molds: The Complete Guide to Stunning Resin Crafts (From a Recovering Perfectionist)

Hey there, crafty friends! ☀️
So, I have a confession to make—last weekend, I spent way too many hours at my craft table, completely mesmerized by the glossy, glass-like finish of my latest epoxy resin coasters. You know that feeling when you pop a piece out of a mold and it’s just… chef’s kiss? That’s the magic we’re diving into today!
I’ve been getting so many questions lately about epoxy molds—which ones to buy, how to avoid those pesky bubbles, why some pieces turn out cloudy while others look crystal clear. If you’ve ever stared at beautiful resin jewelry on Pinterest and thought, “I could never make that,” I’m here to tell you: yes, you absolutely can!
Let me walk you through everything I’ve learned (including all my embarrassing beginner mistakes so you don’t have to repeat them!).
Why Epoxy Molds Changed My Crafting Life
I still remember my first attempt at resin crafting back in 2019. I used a cheap plastic candy mold from the dollar store—spoiler alert: terrible idea. The resin stuck, the edges were rough, and I may have said a few words my grandmother wouldn’t approve of. 😅
But here’s what I’ve discovered since then: the right mold makes ALL the difference. Quality silicone molds designed specifically for epoxy resin have transformed what I can create. We’re talking:
- Crystal-clear edges that need zero sanding
- Intricate details that actually show up (hello, gorgeous floral pendants!)
- Easy release—just flex and pop
- Reusable for 50+ projects when you treat them right
My Go-To Mold Types (And What I Actually Use Them For)
After testing probably 100+ different molds over the years (my husband has stopped asking about the Amazon packages), here are the ones I reach for again and again:
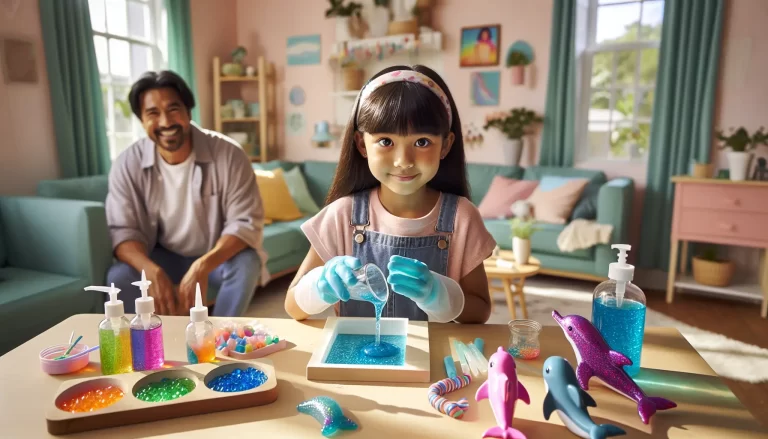
🔷 Jewelry Molds: Where I Started
Best for: Earrings, pendants, rings, and charms
These are perfect for beginners because they use small amounts of resin (less waste if something goes wrong!). My favorites are the geometric shape sets—you can make matching earring sets, and they cure quickly because of their size.
Pro tip I learned the hard way: Look for molds with a flat back AND a shiny interior. Matte interior = cloudy finish. Ask me how I know. 🙃
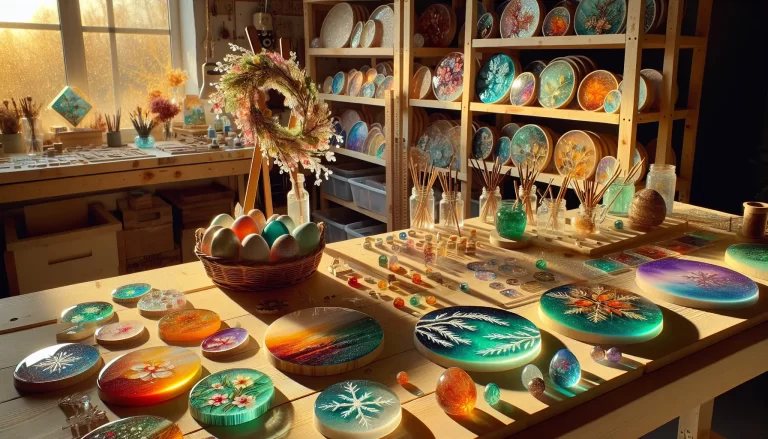
🏠 Home Décor Molds: The Show-Stoppers
Best for: Coasters, trays, bookends, and trinket dishes
These require more resin and longer cure times, but OH the results! I made a set of ocean-themed coasters for my sister’s beach house last summer, and she literally cried when she opened them. (Happy tears! The best kind.)
Specific recommendation: Start with a 4-coaster mold set. They’re forgiving for beginners, and everyone needs coasters—instant gift potential!
🎨 Specialty Molds: When You’re Ready to Level Up
Best for: 3D shapes, bookmarks, keychains, and decorative objects
Sphere molds, pyramid molds, letter molds—this is where things get really fun! My current obsession is making resin bookmarks with dried flowers embedded inside. They look like they cost $30 at a boutique, but materials run about $2 each.

The Exact Supplies I Use (No Gatekeeping Here!)
I get asked about my supply list constantly, so here’s exactly what’s on my craft table right now:
| Supply | What I Use | Why It Works |
|---|---|---|
| Epoxy Resin | 2:1 ratio art resin (32oz kit for beginners) | Easier measuring, self-leveling, low odor |
| Silicone Molds | Food-grade silicone, 0.2″+ thickness | Thicker = sturdier = better detail |
| Mixing Cups | Graduated silicone cups (reusable!) | Accurate measuring + eco-friendly |
| Stir Sticks | Silicone spatulas or wooden craft sticks | Smooth mixing without air bubbles |
| Heat Gun | Embossing heat gun (NOT a hair dryer!) | Precise heat to pop surface bubbles |
| Mold Release | Silicone mold release spray | Insurance for detailed molds |
My Foolproof Process (Step by Step!)
Okay, let’s get into the nitty-gritty. Here’s exactly how I approach every epoxy project:
Step 1: Prep Like Your Project Depends On It (Because It Does)
- Cover your workspace with a silicone mat or plastic sheet
- Gather ALL supplies before you mix (resin waits for no one!)
- Make sure molds are clean and dust-free (I use a lint roller)
- Wear nitrile gloves—resin on skin is no fun
- Work in a well-ventilated area, 70-75°F is ideal
Step 2: Measure and Mix (The Make-or-Break Moment)
Here’s where most beginners go wrong: eyeballing the ratio. Don’t do it! Even being slightly off can result in sticky, never-curing resin (trust me, I’ve thrown away more failed pieces than I’d like to admit).
- Use graduated cups or a digital scale
- Pour resin first, then hardener
- Stir slowly for 3-5 minutes, scraping the sides and bottom
- Transfer to a clean cup and stir another minute (this is the secret!)
Step 3: Add Color and Inclusions
This is the fun part! Some of my favorite additions:
- Alcohol inks: 2-3 drops for translucent color
- Mica powder: Creates gorgeous pearlescent swirls
- Dried flowers: Seal with UV resin first to prevent browning!
- Glitter: Fine glitter suspends better than chunky
- Gold leaf: Tear into pieces for an organic look
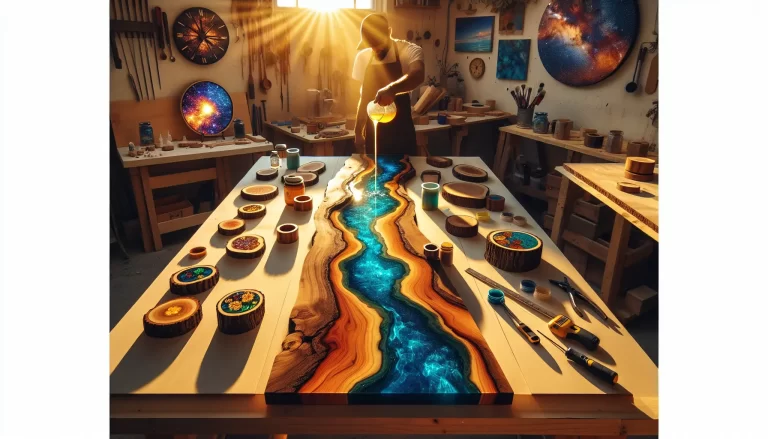
Step 4: Pour and Pop Those Bubbles
Pour slowly in a thin stream to minimize bubbles. Then grab your heat gun and sweep it 4-6 inches above the surface in quick passes. Watch those bubbles rise and pop—it’s honestly so satisfying!
Step 5: The Hardest Part—WAIT
I know, I know. But demolding too early is the #1 cause of fingerprints and dents. Most pieces need:
- Small jewelry: 12-24 hours
- Coasters: 24-48 hours
- Thick pieces: 48-72 hours
Full cure (ready for heavy use) takes 7 days. I label mine with washi tape so I don’t forget when I poured them!
Troubleshooting: Because We’ve ALL Been There
Real talk—epoxy has a learning curve. Here’s how to fix the most common issues:
😰 “My resin is still sticky after 48 hours!”
Cause: Incorrect ratio or not mixed thoroughly enough
Fix: Unfortunately, this is usually unfixable. But you can pour a fresh, correctly-mixed layer on top!
😰 “There are tiny bubbles throughout my piece!”
Cause: Stirring too vigorously or cold temperatures
Fix: Warm your resin bottles in warm water (NOT hot!) before mixing. Stir slowly and deliberately.
😰 “My piece turned yellow!”
Cause: UV exposure or low-quality resin
Fix: Use UV-resistant resin for pieces that will be in sunlight. Store finished pieces away from direct light.
😰 “My dried flowers turned brown!”
Cause: Moisture released during curing
Fix: ALWAYS seal dried flowers with a thin coat of UV resin first. Let cure completely before embedding in epoxy.
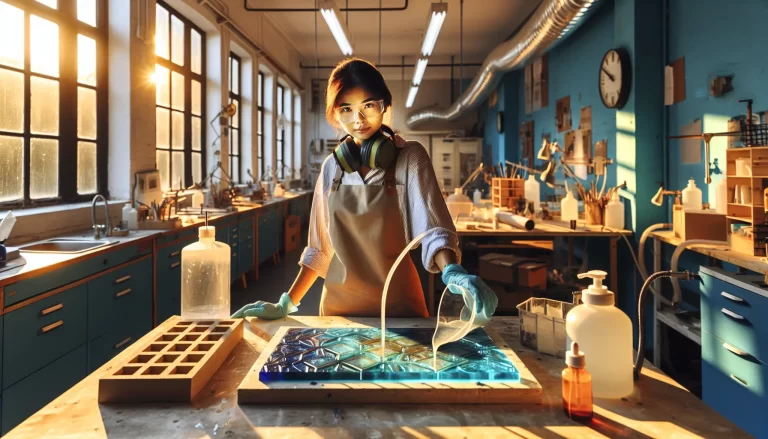
Safety First, Always! 🛡️
I want to be real with you—epoxy resin isn’t something to be casual about. Here’s what I always do:
- Nitrile gloves: Every single time (latex doesn’t protect against resin)
- Ventilation: I work near an open window with a fan
- Respirator mask: Especially when sanding cured resin
- Skin contact: If resin touches skin, wash immediately with soap—never use solvents!
- Pets and kids: Keep them out of your workspace while resin is curing
Project Ideas to Get You Started
Feeling inspired? Here are some beginner-friendly projects that always turn out gorgeous:
- Ocean wave coasters — Blue and white resin with a touch of gold glitter
- Pressed flower pendants — Simple but absolutely stunning
- Geode-style bookmarks — Mica powder creates gorgeous crystalline effects
- Initial keychains — Perfect personalized gifts
- Galaxy earrings — Dark purple, blue, and silver glitter
Let’s Chat! 💬
Okay, I’ve shared a LOT today, and I’d genuinely love to hear from you! Are you brand new to epoxy crafting, or have you been at it for a while? What’s your biggest struggle—or your proudest creation?
Drop a comment below and let’s chat! I read every single one and love seeing what you’re all working on. And if you found this helpful, would you share it with a crafty friend who might enjoy it too?
Happy crafting! 🎨
— Donna
📌 Want More Resin Inspiration?
Check out my other epoxy resin tutorials—I’ve got step-by-step guides for creating stunning resin art pieces, tips for choosing the right supplies, and lots more project ideas to fuel your creativity!