Pressed Flower Bookmarks: A Keepsake You Can Make from Garden Flowers
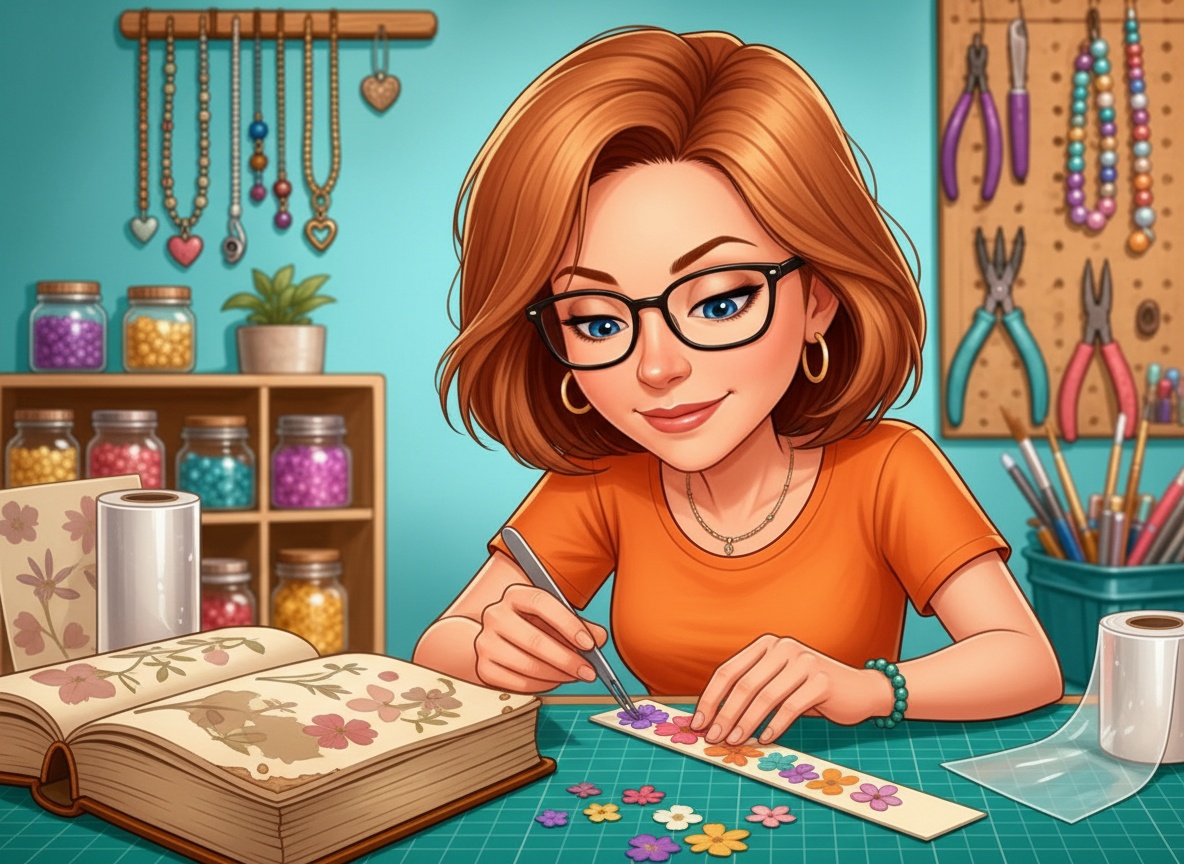
Every summer I end up with a windowsill full of flowers I can’t bear to throw out — a few blooms from the garden, a stem someone handed me, the little wildflowers the grandkids pick on a walk. For years they just wilted in a jar. Then I started pressing them into bookmarks, and now those same flowers sit inside books I read all winter. A handful of blooms and about ten minutes of hands-on time turns into a gift people actually keep.

If you’ve ever thought “I want to make something meaningful but I don’t have fancy supplies,” this is the one. You almost certainly have most of it in the house already.
Why pressed flower bookmarks are the perfect beginner craft
They’re nearly free, they don’t need a single special tool, and there’s no way to really get them “wrong.” A slightly crooked flower still looks charming. Best of all, each one carries a memory — the flowers from a wedding, a first garden, a summer trip. That’s what makes them such a lovely handmade gift.
What you’ll need
- Fresh flowers and leaves — flat, thin ones press best (pansies, violets, cosmos, ferns, small daisies).
- Parchment paper to protect your pages while pressing. (grab parchment paper here)
- A heavy book — a phone book or big dictionary is perfect — or a small flower press if you want to make a lot.
- Clear self-adhesive laminate or contact paper to seal them. (clear contact paper)
- Cardstock for the bookmark backing, plus a hole punch and a bit of ribbon or a tassel if you like.
These are Amazon affiliate links — if you buy through them it costs you nothing extra and helps keep the projects coming. Thank you!
How to make them, step by step
1. Press the flowers. Lay your blooms flat between two sheets of parchment, tuck them inside the heavy book, and stack a few more books on top. Now the hard part: wait. Give them 7 to 10 days to dry completely flat. Rushing this is the number-one mistake — a flower that isn’t fully dry will brown later.
2. Arrange your design. Cut your cardstock into bookmark strips (about 2 by 6 inches). Play with the pressed flowers on the strip until you like the look — a single stem down the middle is stunning, or scatter a few tiny blooms. Don’t glue anything yet; just get it how you want it.
3. Seal it. Cut a piece of clear contact paper a little larger than your bookmark. Peel the backing, lay it sticky-side-down over your flowers, and smooth from the center out to push the air bubbles to the edges. Flip and repeat on the back, then trim the edges, leaving a thin clear border so it stays sealed.
4. Finish it. Punch a hole at the top, thread a ribbon or tassel through, and you’re done. That’s a keepsake that’ll last for years.
My little tips after making a hundred of these
- Thin, flat flowers press cleanest — skip anything thick like roses unless you pull the petals apart first.
- Press more than you think you’ll need. Some will tear, and you’ll want the best ones.
- If your contact paper wrinkles, peel it back up right away and re-smooth — you usually get one do-over before it sticks for good.
Want the printable supply list?
I put the whole thing — supplies, drying times, and my step-by-step — on one clean printable page so you can keep it right on your craft table. Grab my free Pressed Flower Bookmark checklist below and I’ll send it straight to your inbox.
Give it a try this week
Go pick a few flowers before the season’s gone, tuck them in a book tonight, and you’ll have bookmarks ready to gift by next weekend. If you make some, I’d love to see them — tag me so I can cheer you on. Happy crafting! — Donna