Transform Your Garden This Fall: Creative Flower Pot Decorating Ideas That Will Make Your Neighbors Jealous
Hello, my wonderful crafting friends!
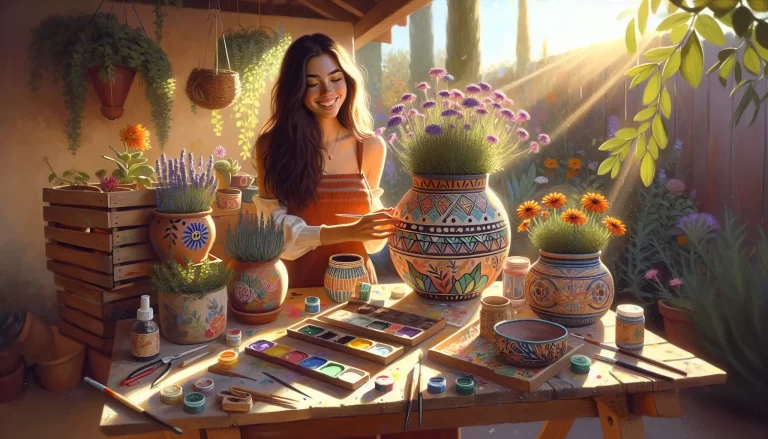
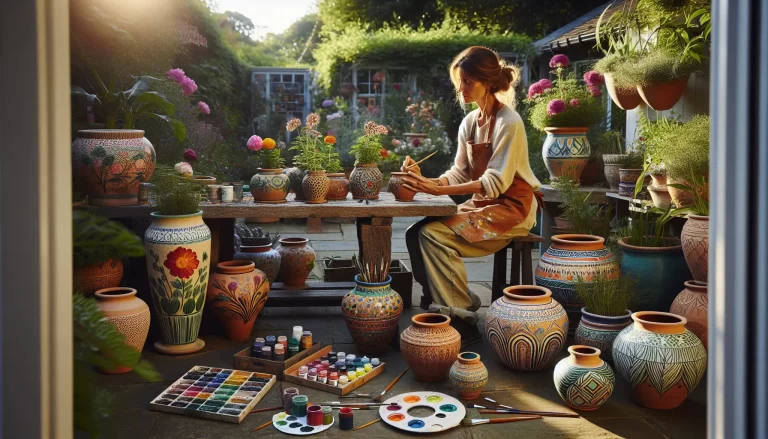
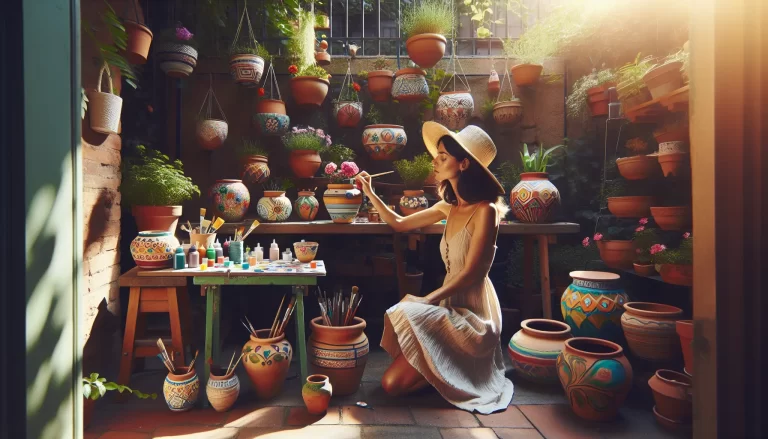
As the crisp autumn air settles in and the leaves begin their spectacular color show, I find myself absolutely giddy with excitement about one of my favorite seasonal crafting activities—flower pot decorating! There’s something truly magical about transforming plain terracotta pots into stunning autumn masterpieces that bring warmth and personality to your porch, patio, or garden.
Today, I’m thrilled to share with you my comprehensive guide to fall flower pot decorating. Whether you’re a seasoned crafter or just dipping your toes into the creative waters, I promise you’ll find inspiration and practical tips that will have you reaching for your paintbrushes faster than you can say “pumpkin spice!”
Why Fall is the Perfect Time for Flower Pot Decorating
Let me tell you, friends, fall is absolutely THE season for getting creative with your flower pots. The cooler temperatures mean your painted designs will dry beautifully without the summer heat causing issues, and the stunning autumn color palette gives us endless inspiration. Plus, with Thanksgiving and Halloween just around the corner, decorated pots make fantastic gifts and seasonal displays!
I remember last year when I decorated a set of pots for my neighbor’s birthday in October. She was so touched that she still displays them on her front porch year-round! That’s the beauty of handmade crafts—they carry so much more meaning than store-bought decorations.
Trending Techniques for 2025: What’s Hot in Flower Pot Decorating
After spending countless hours researching the latest trends (and let’s be honest, getting lost in Pinterest rabbit holes!), I’m excited to share what’s absolutely taking the crafting world by storm this fall:
The Textured Roman Clay Finish
Oh my goodness, this technique has completely stolen my heart! By mixing joint compound with paint, you can create this gorgeous, aged Mediterranean look that adds incredible depth and character to your pots. The best part? It’s surprisingly forgiving for beginners. I tried this technique last weekend, and even though I was worried about messing it up, the textured finish actually hides any imperfections beautifully!
Skill Level: Intermediate
Time Estimate: 2-3 hours (including drying time)
Cost: $15-20 for supplies
Ombre Magic
The ombre effect continues to be wildly popular, and for good reason—it’s stunning! This technique involves painting thick stripes in graduating colors and blending the wet edges with a clean brush. The dreamy, gradient effect you achieve is absolutely worth the effort. I love using warm autumn tones like burnt orange fading into deep burgundy, or starting with golden yellow and transitioning to rich chocolate brown.
Upcycled Embellishments
Sustainability is huge right now, and I’m here for it! We’re seeing crafters incorporate natural materials like jute rope, bark pieces, and even broken tiles to create unique mosaic effects. Not only does this reduce waste, but it also gives your pots incredible texture and visual interest. Plus, it’s budget-friendly—always a win in my book!
Stenciled Perfection
For those of us who might not trust our freehand painting skills (guilty!), stencils are an absolute lifesaver. The 2025 trend is leaning toward bold geometric patterns, delicate florals, and whimsical animal designs. I recently used a bee stencil on a set of pots, and they turned out so adorable that I’m already planning my next project with ladybugs!
Essential Materials You’ll Need
Before we dive into the fun part, let’s talk supplies. Here’s what I always keep in my crafting arsenal:
Basic Supplies:
- Terracotta or clay pots (various sizes)
- Clay pot sealer (crucial for outdoor pots!)
- Acrylic paints in your chosen colors
- Foam and bristle brushes (various sizes)
- Clear acrylic sealer or varnish
- Painter’s tape
- Sandpaper (fine grit)
- Clean cloths
Optional But Amazing:
- Stencils (store-bought or Cricut-cut)
- Sponges for texture
- Metallic paint pens
- Glitter (because why not?)
- Hot glue gun for embellishments
- Natural materials (twine, shells, stones)
Budget Tip: You don’t need to buy everything at once! Start with basic paints and brushes, then add specialty items as you discover what techniques you love most. I’ve found amazing deals at dollar stores and thrift shops—never underestimate the treasure trove of crafting supplies hiding in unexpected places!
Step-by-Step: Creating Your Fall Masterpiece
Preparation is Key (Don’t Skip This!)
I know, I know—we all want to jump straight to the fun painting part. But trust me, proper preparation makes ALL the difference between a pot that lasts one season and one that becomes a cherished garden staple for years to come.
Step 1: Clean Your Pots
Start with squeaky-clean pots. Use warm, soapy water to remove any dust, dirt, or residue. If you’re working with used pots, give them a good scrub and let them dry completely—and I mean COMPLETELY. I once got impatient and started painting a slightly damp pot, and let’s just say the paint didn’t adhere properly. Learn from my mistakes, friends!
Step 2: Apply Sealer
This step is especially important for outdoor pots. Apply a clay pot sealer to prevent moisture from seeping through and causing your beautiful paint job to peel. Let it dry for at least 24 hours. I usually do this step in the evening so the pots can dry overnight.
Step 3: Base Coat
Apply 2-3 coats of your base color, allowing each coat to dry completely before adding the next. This creates a smooth, even foundation for your design. Pro tip: If you’re working in humid conditions, add extra drying time between coats.
Design Ideas That Will Wow
The Classic Fall Harvest Look
Create a stunning autumn display by painting your pots in rich, warm tones—think burnt orange, deep red, golden yellow, and chocolate brown. Add hand-painted leaves, acorns, or pumpkins for that quintessential fall feel. I love pairing these pots with actual mini pumpkins and gourds for a cohesive harvest display.
Modern Geometric Patterns
For a contemporary twist, use painter’s tape to create clean, geometric designs. Triangles, chevrons, and color-blocked sections look incredibly sophisticated. This style works beautifully with a more neutral color palette—think charcoal gray, cream, and metallic gold.
Whimsical Animal Friends
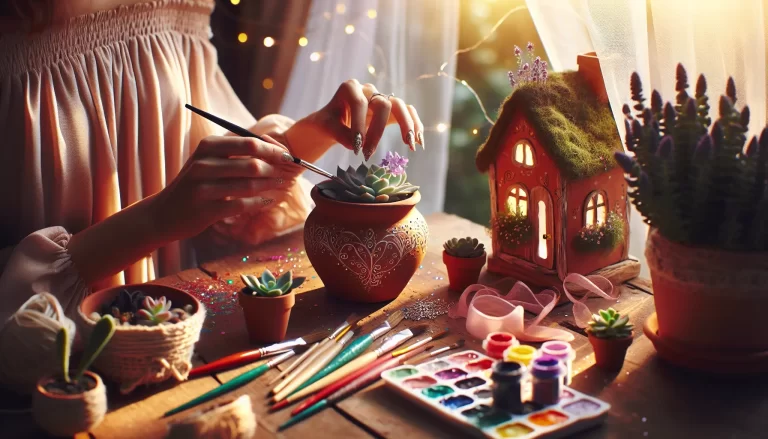
Add personality with adorable animal designs! Bees, ladybugs, cats, and owls are all trending this year. These are perfect for kids’ crafts too—my niece and I spent a wonderful afternoon creating a whole garden of “critter pots,” and she was so proud of her creations!
Elegant Marbled Effect
Using nail polish or acrylic paints, create stunning marbled patterns that look like expensive stone. This technique is easier than it looks and creates a truly unique piece every time. The swirling patterns catch the light beautifully and add an upscale touch to any garden space.
Planting Ideas to Complete Your Fall Display
Now that you’ve created these gorgeous pots, let’s talk about what to plant in them! The “thriller-filler-spiller” method is your best friend here:
Thrillers (Height):
- Ornamental grasses like fountain grass
- Tall mums in autumn colors
- Decorative kale
Fillers (Body):
- Compact mums
- Pansies and violas
- Ornamental peppers
- Coral bells
Spillers (Cascade):
- Trailing sedum
- Sweet potato vine
- Ivy
Pro Tip: Don’t forget to add seasonal elements like mini pumpkins, gourds, dried corn stalks, or colorful berries to really amp up that fall factor!
Troubleshooting Common Issues
Let me share some solutions to problems I’ve encountered (so you don’t have to!):
Problem: Paint is peeling or chipping
Solution: Make sure you’re using proper sealer both before and after painting. Also, check that each layer is completely dry before adding the next.
Problem: Colors look muddy when blending
Solution: Work quickly with wet paint, and don’t overwork the area. Sometimes less is more!
Problem: Stencil edges are bleeding
Solution: Use less paint on your brush (dab off excess), and make sure your stencil is firmly pressed down. Painter’s tape around the edges helps too!
Problem: Design looks too busy
Solution: Remember, negative space is your friend! Sometimes a simple design with plenty of breathing room looks more sophisticated than an overly decorated pot.
Making Your Pots Last
To ensure your beautiful creations withstand the elements:
- Seal, seal, seal! Apply 2-3 coats of clear acrylic sealer or outdoor varnish
- Bring pots indoors during harsh weather if possible
- Touch up as needed throughout the season
- Store properly during winter months—I keep mine in my garage wrapped in bubble wrap
Budget-Friendly Alternatives
Crafting doesn’t have to break the bank! Here are my favorite money-saving tips:
- Use leftover house paint for base coats
- Shop dollar stores for basic supplies
- Repurpose old pots instead of buying new ones
- Make your own stencils from cardboard or plastic folders
- Collect natural embellishments from your yard (free!)
- Buy paints in bulk and share with crafting friends
- Watch for after-season sales to stock up for next year
Safety Considerations
While flower pot decorating is generally safe, keep these tips in mind:
- Work in a well-ventilated area, especially when using sealers
- Wear old clothes or an apron—acrylic paint stains!
- Keep paints and sealers away from children and pets
- Use non-toxic, outdoor-safe paints if you have curious pets
- Wash hands thoroughly after crafting
Taking Your Skills to the Next Level
Once you’ve mastered the basics, try these advanced techniques:
- Decoupage with fabric or napkins for intricate patterns
- Add dimensional elements with modeling paste
- Experiment with metallic leaf for a luxe look
- Try reverse stenciling for unique effects
- Incorporate LED lights for evening ambiance
- Create themed sets for cohesive garden displays
Sharing the Joy
One of my favorite things about crafting is sharing the joy with others. Consider:
- Hosting a pot-decorating party with friends
- Creating sets as gifts for holidays
- Teaching kids these techniques (great for fine motor skills!)
- Donating decorated pots to community gardens or senior centers
- Sharing your creations on social media to inspire others
Final Thoughts
Friends, there’s truly something special about creating beautiful things with your own hands. Every time I look at my collection of decorated flower pots lining my porch, I feel a sense of pride and joy. They’re not just containers for plants—they’re expressions of creativity, markers of seasons, and reminders of happy crafting hours.
Whether you’re painting your first pot or your fiftieth, remember that the process is just as important as the result. Don’t stress about perfection—embrace the happy accidents and unique quirks that make your creations truly yours. Some of my favorite pots are the ones where I “messed up” and had to improvise!
I’d love to hear about your flower pot decorating adventures! What techniques are you most excited to try? Do you have any tips or tricks to share with our crafting community? Drop a comment below—I read every single one and love connecting with fellow crafters!
Now, grab those paintbrushes, put on your favorite cozy sweater, maybe brew a cup of apple cider, and let’s make something beautiful together. Your garden is waiting for its fall makeover!
Happy crafting until next time!