Epoxy Resin Crafts: The Ultimate Beginner’s Guide to Creating Stunning DIY Projects in 2025
If you’re looking for a creative hobby that’s both trendy and incredibly versatile, epoxy resin crafts might be exactly what you need. In 2025, resin crafting has exploded in popularity on platforms like TikTok and Pinterest, and for good reason. Whether you want to make gorgeous jewelry, elegant home décor, or unique gifts, epoxy resin opens up a world of creative possibilities.
Why Epoxy Resin Crafts Are Taking Over in 2025
Epoxy resin crafting isn’t just another passing trend—it’s become one of the most sought-after crafts for several compelling reasons:
- Beginner-Friendly: Unlike many crafts that require years to master, resin projects can look professional even on your first try
- Endless Customization: From embedding dried flowers to creating ocean-inspired art, the creative possibilities are truly limitless
- Profitable: Many crafters turn their resin hobby into a thriving side business selling coasters, jewelry, and home décor
- Therapeutic: The process of mixing colors and watching resin cure is incredibly calming and meditative
- Sustainable Options: You can upcycle materials and create long-lasting pieces instead of buying mass-produced items
According to recent craft trend reports, emotional support crafts and handmade gifts are dominating 2025, and resin crafts check both boxes beautifully.
What Exactly Is Epoxy Resin?
Epoxy resin is a two-part system consisting of resin and hardener. When these components are mixed together in the correct ratio (typically 1:1), they undergo a chemical reaction that transforms the liquid into a hard, crystal-clear, glass-like material. The result is incredibly durable, resistant to scratching, and features a beautiful high-gloss finish.
What makes epoxy resin perfect for crafts is its versatility. You can:
- Cast it in molds to create 3D objects
- Coat surfaces for a glossy finish
- Embed objects like flowers, glitter, or photographs
- Add colorants for vibrant or translucent effects
- Create layers for stunning depth
Essential Safety Precautions (Please Don’t Skip This!)
Before we dive into the fun part, let’s talk safety. While modern epoxy resins are much safer than older formulations, they’re still chemical products that require proper handling.
Must-Have Safety Equipment:
- Nitrile Gloves: Essential for every step—never let uncured resin touch your skin
- Respirator Mask: A NIOSH-approved respirator with organic vapor cartridges protects your lungs
- Safety Goggles: Protect your eyes from splashes and fumes
- Protective Clothing: Wear long sleeves or an apron to prevent skin contact
Safety Best Practices:
- Work in a Well-Ventilated Area: Open windows, use fans, or work outdoors when possible. Even “low-odor” resins release VOCs that you don’t want to breathe
- Never Use Solvents on Skin: If resin gets on your skin, wash immediately with soap and water—never use alcohol or other solvents
- Keep Away from Heat Sources: The curing process generates heat, especially in large pours
- No Food or Drinks: Never eat, drink, or smoke in your work area
- Seal Porous Materials: Items like paper, fabric, or wood should be sealed before embedding to prevent bubbles and discoloration
Remember: once you’re sensitized to epoxy, even minimal exposure can trigger reactions. Prevention is key!
Essential Supplies for Getting Started
The Basics:
Epoxy Resin: Choose a high-quality epoxy formulated for crafts. Popular beginner-friendly options include:
- ArtResin: Praised for exceptional clarity, minimal odor, and UV resistance (rated #1 in independent testing)
- Craft Resin: Self-leveling formula perfect for jewelry and home décor
- Promise Deep Pour: Ideal for thicker projects like river tables or large molds
- UV Resin: Great for small, quick projects that cure in minutes under UV light
Molds: Silicone molds are reusable and come in endless shapes—coasters, jewelry, trays, and more
Measuring Cups and Stir Sticks: Accurate measurement is crucial for proper curing
Heat Gun or Torch: Essential for removing bubbles from your resin
Colorants and Embellishments:
- Mica powders for metallic, shimmery effects
- Alcohol inks for vibrant, transparent colors
- Liquid dyes for solid, opaque colors
- Dried flowers, glitter, beads, or photos for embedding
Jewelry Hardware (if making jewelry): Jump rings, earring hooks, chains, and ring backs
10 Beginner-Friendly Resin Project Ideas
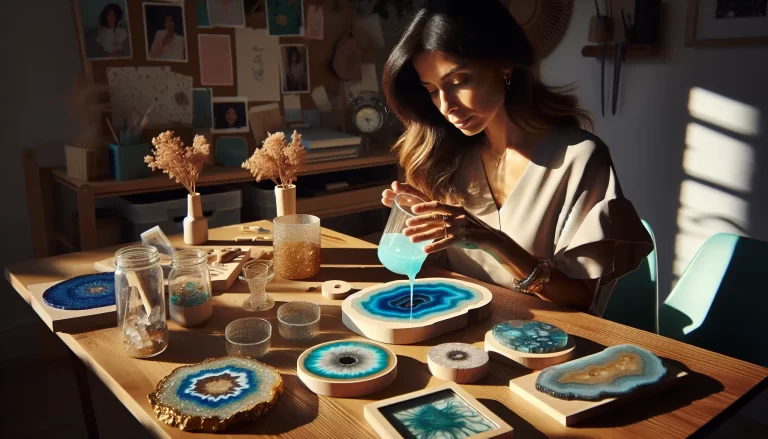
1. Resin Coasters
The perfect starter project! Pour resin into coaster molds with your choice of colors, glitter, or dried flowers. They make excellent gifts and are always in demand if you decide to sell your creations.
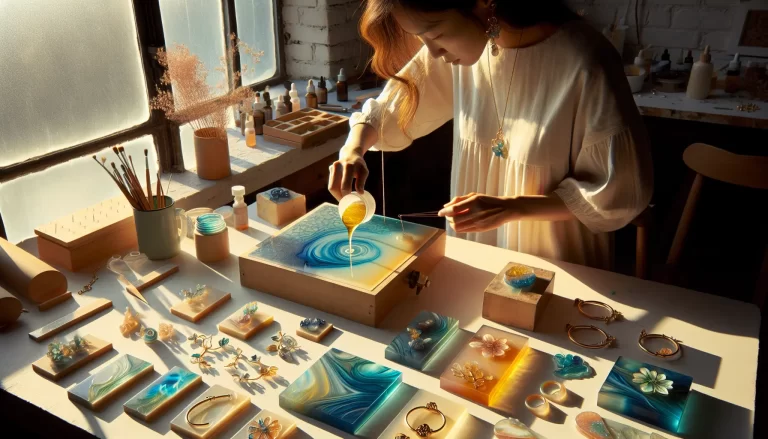
2. Statement Jewelry
Create unique earrings, pendants, and rings using jewelry molds. Embed tiny flowers, mix colors, or add gold leaf for elegant pieces that look high-end.
3. Decorative Trays
Serve snacks in style with custom resin trays featuring ocean-inspired swirls, geode effects, or embedded designs.
4. Keychains and Bag Charms
Small projects perfect for practicing technique and using up leftover resin. Personalize with initials, photos, or favorite colors.
5. Bookmarks
Thin, elegant bookmarks with pressed flowers or inspirational quotes make thoughtful gifts for book lovers.
6. Picture Frames
Add a resin coating to plain frames or create entirely resin frames with embedded decorations.
7. Plant Markers
Garden lovers will adore cute resin plant markers with labels or decorative designs.
8. Holiday Ornaments
Create seasonal decorations by embedding glitter, pine needles, or festive colors in ornament molds.
9. Paperweights
Functional art! Embed meaningful items like seashells from a beach vacation or dried flowers from a special occasion.
10. Domino Art
Coat game pieces or small tiles with resin for magnets, pendants, or decorative elements.
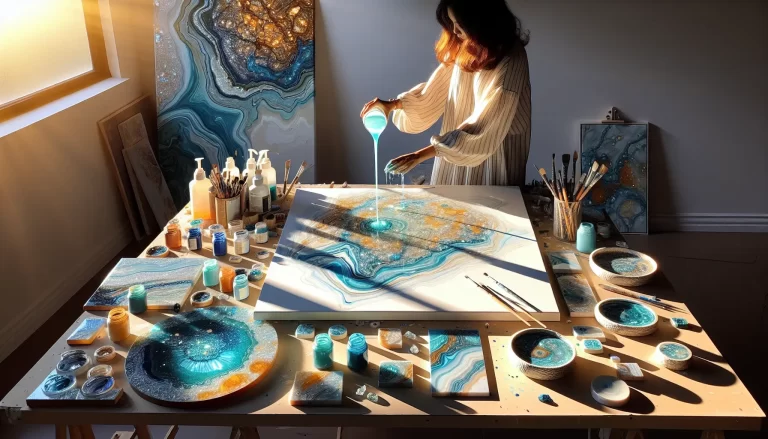
Step-by-Step: Your First Resin Project
Let’s walk through making resin coasters—an ideal beginner project:
Preparation (5-10 minutes):
- Set up your workspace on a level surface covered with wax paper or a silicone mat
- Gather all supplies: resin, hardener, coaster molds, colorants, gloves, mixing cups, stir sticks, and heat tool
- Read your resin brand’s instructions for the correct mixing ratio and cure time
- If working in a cool room (below 70°F), warm your resin bottles in warm water for easier mixing
Mixing (5 minutes):
- Put on your safety gear (gloves, mask, goggles)
- Measure equal parts resin and hardener (for a 1:1 ratio resin) in a graduated mixing cup
- Stir slowly and steadily for 2-3 minutes, scraping sides and bottom thoroughly
- If adding colorant, mix it in now until fully incorporated
- Pour your mixed resin into a clean cup and stir for another minute (this helps eliminate streaks)
Pouring (10-15 minutes):
- Slowly pour resin into your coaster molds, filling about halfway if you’re creating a design
- Add any embellishments (dried flowers, glitter, gold leaf)
- If creating layers, wait 4-6 hours for the first layer to partially cure before adding the second
- For a single-pour project, fill to your desired level
Bubble Removal (5 minutes):
- Wait 2-3 minutes for bubbles to rise to the surface
- Gently wave a heat gun or torch over the surface (don’t hold in one spot!)
- Pop remaining bubbles with a toothpick if needed
- Check again after 15 minutes and remove any new bubbles
Curing (24-72 hours):
- Cover your molds with a dust cover or box to prevent particles from settling on the surface
- Let cure on a level surface at room temperature (ideally 70-75°F)
- Most resins are demolding-ready in 24 hours but reach full hardness after 72 hours
- Don’t rush the process—patience yields the best results!
Finishing:
- Carefully flex the mold to pop out your coasters
- If edges are sharp, sand gently with fine-grit sandpaper
- Wipe clean and admire your creation!
Pro Tips for Flawless Results
Avoid These Common Mistakes:
Inaccurate Measuring: This is the #1 cause of sticky, uncured resin. Always measure carefully and mix thoroughly.
Working Too Fast: Rushing the mixing process creates bubbles and poor curing. Take your time stirring, but work within your resin’s pot life (working time).
Ignoring Temperature: Resin cures best between 70-75°F. Too cold, and it won’t cure properly. Too hot, and it may crack or yellow.
Using Wet Materials: Water and resin don’t mix! Always ensure embellishments are completely dry, and seal porous items beforehand.
Skipping the Second Stir: Transfer your mixed resin to a clean cup and stir again—this eliminates unmixed resin stuck to the sides.
Level-Up Techniques:
- Dirty Pour: Mix multiple colors separately, pour them into one cup, then pour as one for marbled effects
- Cells and Lacing: Add a tiny amount of rubbing alcohol or silicone oil for organic, cell-like patterns
- Layers: Create dimension by pouring multiple layers at different cure stages
- Doming: Overfill slightly for a rounded, professional-looking dome effect
- Embedding Perfectly: Place heavier items in a partially cured first layer so they don’t sink
Trending Resin Project Ideas for 2025
Based on current social media trends, these projects are especially popular:
- Ocean and Beach Art: Swirling blues and whites with embedded shells create stunning coastal vibes
- Geode Coasters: Metallic golds and purples mimic natural stone formations
- Pressed Flower Jewelry: Sustainable and beautiful, featuring real botanicals
- Miniature Scenes: Tiny dioramas or landscapes captured in resin
- Pet Memorial Pieces: Embedding fur, paw prints, or photos for keepsake jewelry
- Custom Phone Grips: Personalized PopSocket-style accessories
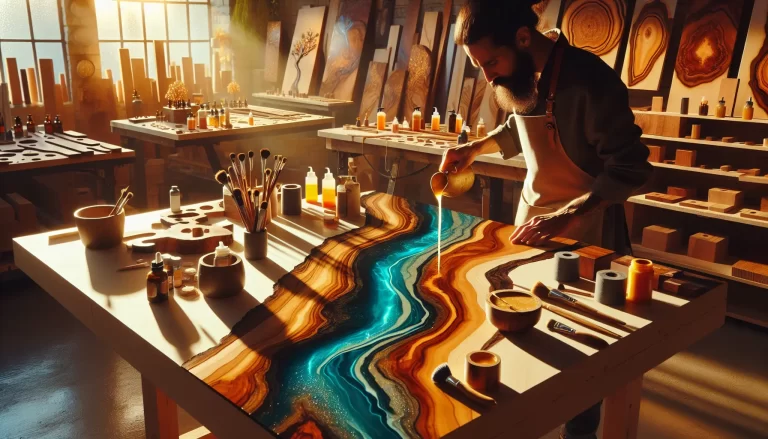
- Resin + Wood Combinations: River tables, cutting boards, and serving boards
Selling Your Resin Creations
Many crafters successfully monetize their resin hobby. Here’s how:
Best-Selling Items:
- Coasters ($15-30 per set)
- Jewelry (earrings $10-25, necklaces $20-50)
- Decorative trays ($30-60)
- Custom keychains ($8-15)
- Holiday ornaments ($10-20)
Where to Sell:
- Etsy (great for niche, handmade items)
- Local craft fairs and markets
- Instagram and Facebook Marketplace
- Your own Shopify store
- Wholesale to local boutiques
Pricing Formula:
Materials + Time (at your hourly rate) + Overhead (15-20%) + Profit Margin (20-50%) = Retail Price
Troubleshooting Common Issues
Resin Won’t Cure (Stays Sticky):
- Most likely cause: Incorrect ratio or insufficient mixing
- Solution: Remove uncured resin and start over (unfortunately, there’s no fix once poured)
Too Many Bubbles:
- Cause: Stirring too fast, cold resin, or humidity
- Solution: Warm resin beforehand, stir slowly, use a heat tool multiple times during curing
Yellowing Over Time:
- Cause: Lack of UV protection or exposure to heat
- Solution: Only use UV-resistant resins for items that will be displayed in sunlight
Cloudiness or Haziness:
- Cause: Moisture in materials, humid environment, or low-quality resin
- Solution: Seal porous items first, work in low-humidity conditions, invest in quality resin
Cracking:
- Cause: Pouring too thick, curing too fast, or temperature fluctuations
- Solution: Use deep-pour formulas for thick projects, maintain consistent temperature
Caring for Your Resin Creations
Properly cared for, resin pieces last for years:
- Clean with mild soap and water—avoid harsh chemicals
- Keep out of direct sunlight for prolonged periods (unless UV-protected)
- Avoid extreme temperatures and don’t put in dishwasher or microwave
- Store flat to prevent warping
- Handle with care—while durable, resin can still break if dropped on hard surfaces
Final Thoughts: Your Resin Journey Starts Now
Epoxy resin crafting is one of those rare hobbies that’s simultaneously relaxing, creative, and practical. Whether you’re making gifts for loved ones, decorating your home, or building a craft business, resin offers endless possibilities.
Start with simple projects like coasters or jewelry to build your confidence and learn how your specific resin behaves. Don’t be discouraged by early mistakes—even experienced resin artists have pieces that don’t turn out perfectly. Each project teaches you something new about color mixing, timing, and technique.
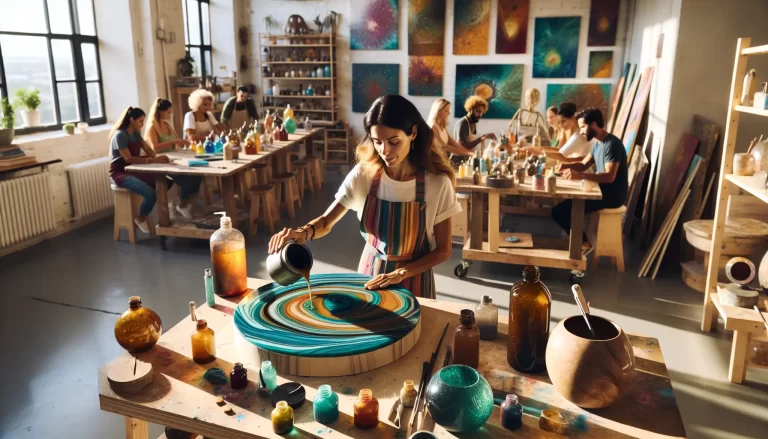
The resin crafting community is incredibly welcoming and supportive. Join Facebook groups, follow hashtags like #ResinArt and #ResinCrafts on Instagram and TikTok, and don’t hesitate to ask questions. You’ll find tons of inspiration and helpful advice from fellow crafters.
Most importantly, have fun! There’s something magical about mixing colors, watching them swirl together, and uncovering your finished piece. The anticipation of demolding never gets old, and the pride you’ll feel when someone admires your handmade creation is unmatched.
Ready to start your resin journey? Grab a beginner kit, set up your workspace, and let your creativity flow!
What resin project are you most excited to try? Share your thoughts in the comments below!