Easy Cross Stitch Pencil Bookmark Pattern For Back To School

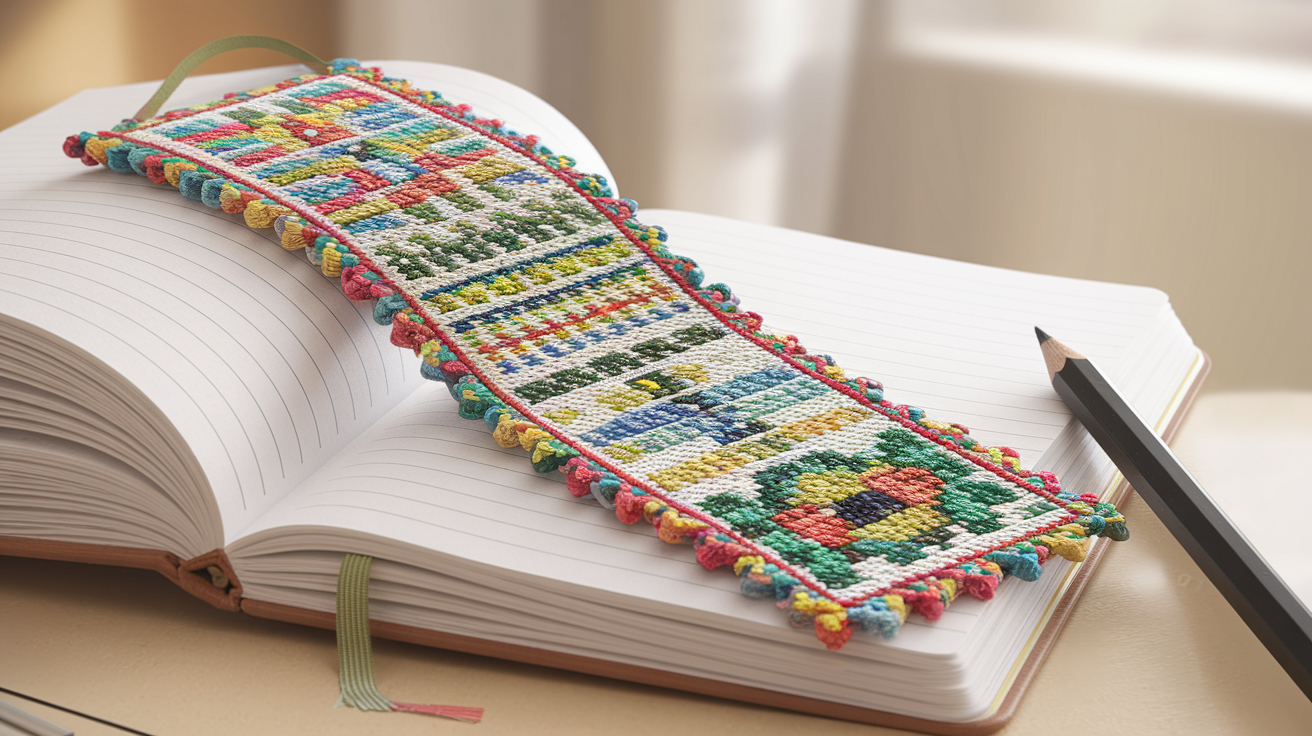
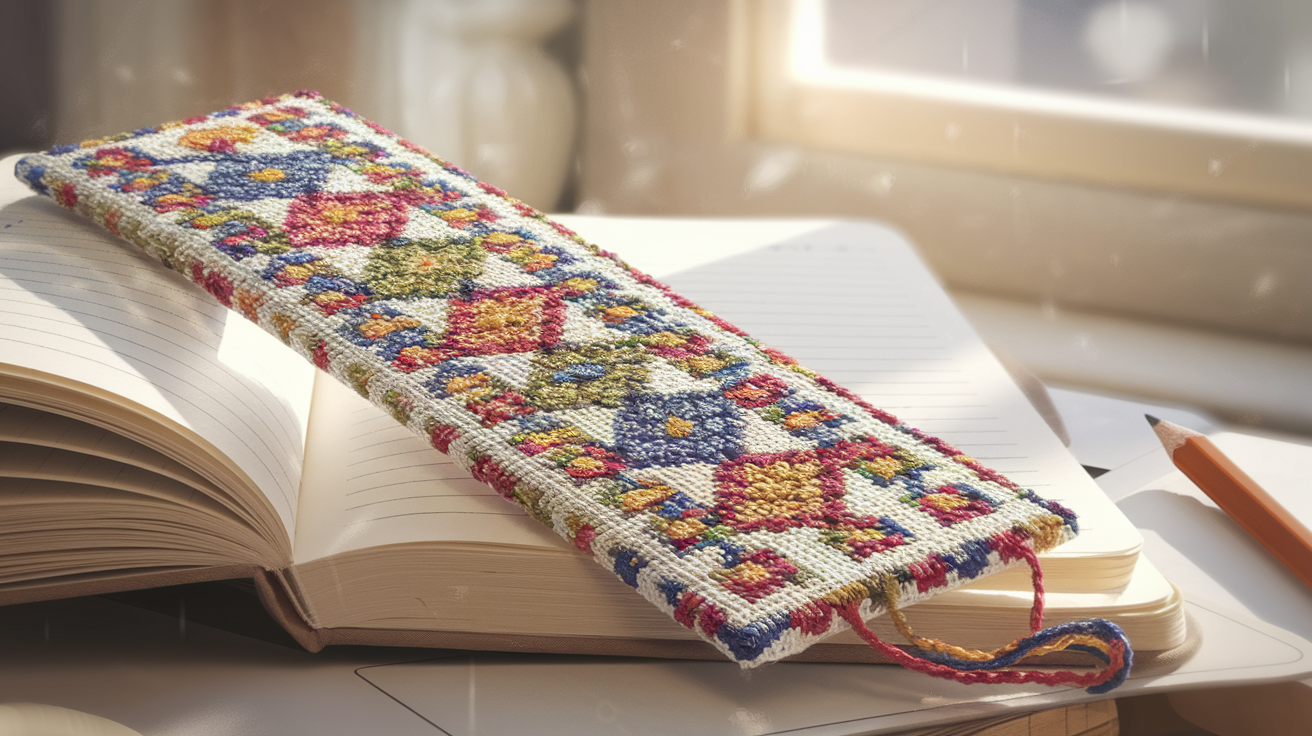
Cross stitch bookmark enthusiasts will adore this charming, pencil cross stitch pattern, offering a delightful handmade touch to any set of school supplies or planner accessory at the start of the academic year. This beginner cross stitch project allows crafters to master six vivid embroidery floss colors—black, brown, yellow, orange, gray, and pink—to create a realistic pencil bookmark that’s perfect for textbooks or journals.
With an intuitive chart and simple, forgiving increases, this pattern is an accessible project for stitching beginners, while a secure felt backing ensures a durable, neat finish and professional look.
An ideal teacher gift or thoughtful present for students, this engaging back to school craft is a fun, creative stitching endeavor, easily completed over a weekend, marking a truly rewarding project.
Cross stitch bookmark basics for beginners
Embarking on your first cross stitch bookmark journey begins with understanding the foundational elements of this beloved needlework.
Aida cloth serves as the perfect canvas for a beginner cross stitch project, providing pre-defined holes that guide each stitch placement for a smooth stitches finish and consistent stitch coverage. Needle threading with blunt tapestry needles helps reduce hand fatigue, allowing beginners to work with confidence, while sharp scissors ensure clean trim edges when cutting fabric and floss.
A sturdy cotton backing or felt backing enhances the bookmark’s durability and helps in preventing fraying along sewing margins, making the finished product suitable for daily use. To commence stitching, utilize the “waste knot” or “loop start” method, and secure each thread by weaving it under nearby stitches for a truly neat finish.
Incorporating simple patterns like stripes or polka dots allows for easy creative expression and can be easily customized for each bookmark, encouraging accessible project ideas and crafting for beginners.
Getting Started with Your Pencil Bookmark
This delightful DIY bookmark tutorial offers a straightforward path to creating a personalized piece of stationery.
Begin the pencil cross stitch pattern with the tip in black, increasing stitches gradually across seven rows to form the point.
Transition to a lighter brown for the wood grain area, increasing to twenty-three stitches over five rows for a smooth gradient. Next, work the pencil’s vibrant body using yellow and orange, either alternating colors for a striped effect or using solid yellow for a classic look, showcasing customizable design options.
Add three rows of gray or dark brown to represent the ferrule, the metal band holding the eraser. Stitch one row of pink for the eraser, then taper the subsequent rows to shape the end, or extend this section if a longer pencilshaped design is preferred, adding a unique colored pencil effect.
This methodical approach ensures a visually appealing and well-crafted item, perfect for any reader or student.
Finishing Your Cross Stitch Bookmark
To complete this charming handmade gift, press the finished cross stitch piece gently, leaving a half-inch margin for sewing.
This margin is essential for creating clean sewing edges and ensuring a tidy final appearance.
Back the stitched section with felt or a contrasting cotton fabric, carefully sewing around the edges. This step not only prevents fraying but also provides a professional look and enhances the bookmark’s durability, making it a pleasure to use.
The resulting student accessory is a testament to simple, enjoyable crafting, perfect for showcasing your crafting skills and a wonderful addition to any collection of school supplies.
Tips for a Perfect Pencil Bookmark
For achieving smooth stitches and protecting your hands, using an embroidery hoop or frame is highly recommended for this beginner craft. Ensure good stitch coverage by carefully working each cross stitch.
To achieve a truly professional look, it’s advisable to cover the back of your stitches before the final assembly, creating a neat underside to your work.
Making sure the backing material sits flush with the stitched design ensures clean edges and contributes to the overall durability of your creation, making it a lasting personalized bookmark.
This rewarding project is also ideal for weekend crafting or even as a lastminute gift.

Pencil Cross Stitch Pattern Explained
Pencil cross stitch pattern interpretation begins with a detailed look at its accompanying chart, focusing on how specific markings guide your stitching. The heart of any cross stitch bookmark pattern lies in its symbols; each unique icon corresponds directly to the embroidery floss colors listed in the legend, ensuring the accurate rendering of a pencilshaped design with its distinct colored pencil effect.
For beginner cross stitch crafters, using a pencil to lightly mark the pattern’s center on the chart aids in correct alignment on your Aida cloth, with soft pencil lines preventing any unwanted residue. [5] If your chosen pattern isn’t pre-printed, transferring it involves tracing the grid carefully with a water-soluble pen or carbon paper, keeping the fabric taut for clear guidance.
Relying on the color key for every stitch is paramount; deviating from it can result in incorrect hues or misplaced stitches, impacting the final finished product.
Maintaining consistent stitch direction and precise stitch counting contributes to a neat finish, a clean stitch count, and an overall sense of accomplishment with your DIY bookmark.
Decoding the Chart
Cross stitch basics involve understanding the grid and its symbols, making the process an accessible project. Each square on the chart represents one stitch, and the symbols within them dictate the specific color to use.
For instance, a tiny circle might indicate black for the pencil’s tip, while a small square might represent yellow for the body. [1] This visual language allows for relaxed stitching, turning intricate designs into an enjoyable experience. The chart itself acts as an intuitive chart, guiding you through the color changes seamlessly.
Pattern Transfer Techniques
Simple patterns like the pencil design often require transferring the chart to fabric if it’s an older pattern or a custom design.
You can achieve this by lightly tracing the grid onto your fabric using a fabric pen or a heat-erasable pen.
Ensure the fabric is taut in an embroidery hoop to prevent distortion.
This method is a popular beginner technique for crafting a customizable design.
Avoiding Common Pitfalls
Crafting for beginners often involves navigating the occasional mistake. A frequent error is not referencing the color key often enough, leading to mismatched stitch colors.
Another common issue is inconsistent tension, resulting in stitches that are either too loose or too tight, affecting the durability of the finished product. Paying close attention to the stitch count in each section prevents the design from becoming distorted.
Back to School Craft Ideas
Back to school craft projects offer a wonderful opportunity for creative expression, and a cross stitch bookmark stands out as a particularly relevant and practical item.
This accessible project serves as an excellent teacher appreciation gesture or a personal student accessory, making the transition back to school more personal and engaging through creative stitching.
Beyond bookmarks, explore other craft ideas like decorating pencil cases, creating journal embellishments, or crafting personalized keychains; these can be adapted as a beginner craft or expanded upon with more complex techniques for experienced needleworkers.
These creative projects are more than just hobbies—they are an educational craft that helps develop fine motor skills, patience, and problem-solving abilities by following stitching instructions and managing various craft materials. Personalize a DIY bookmark by adding initials or choosing a unique color palette that reflects school colors or personal preferences.
Such handmade creations transform ordinary school supplies into treasured items, adding a delightful touch to the back-to-school season.
Bookmark as a Back to School Essential
The cross stitch bookmark functions perfectly as a reading accessory or a planner accessory, enhancing the back-to-school experience for students. Its practical nature makes it an ideal bookworm gift, ensuring books and notebooks are marked in style.
This student accessory is a testament to thoughtful personalization, making it a standout among generic school supplies.
Alternative Craft Projects
For those interested in a backtoschool project beyond bookmarks, consider creating a felt backing for small embroidered motifs that can be attached to backpacks, or designing custom journal embellishment patches.
These DIY gifts are enjoyable, especially as a kids craft or an adults craft, offering a chance to learn new crafting skills.
They also serve as a unique stationery craft, adding a handmade touch to everyday items.
Educational Value and Skill Development
Engaging in crafting for beginners, through projects like this pencil cross stitch pattern, provides significant educational craft benefits. It teaches essential needle threading, precise stitch placement, and color coordination, all fundamental aspects of embroidery and needlework.
These skills foster patience and attention to detail, contributing to a well-rounded development for any age group, making it a truly rewarding project.
Personalization Ideas
To make a personalized bookmark truly special, consider adding a name or a short inspirational message using contrasting thread. For a teacher appreciation gift, you might stitch a small apple motif.
The ability to customize the pencilshaped design with different shades for the body or an extended eraser detail allows for a unique handmade gift, perfect for any occasion, including a lastminute gift or as a delightful thoughtful present.
- Each unique icon on a cross stitch chart corresponds directly to specific embroidery floss colors listed in the legend, ensuring accurate rendering of the design.
- Using a pencil to lightly mark the pattern’s center on the chart aids in correct alignment on Aida cloth, with soft pencil lines preventing unwanted residue.
- Following the color key for every stitch is crucial to avoid incorrect hues or misplaced stitches, which can impact the final finished product.
- Cross stitch projects like a pencil design teach essential skills such as needle threading, precise stitch placement, and color coordination, fostering patience and attention to detail.
Teacher Gift Stitching Tips
Cross stitch bookmark designs provide a heartfelt way to express gratitude, linking the joy of earlier craft ideas with thoughtful teacher appreciation. Embroidery floss colors in classic yellow, black, and pink create a recognizable, school-inspired pencil cross stitch pattern, while small flourishes—like incorporating classic school colors or a favorite subject’s motif—personalize the finished product.
For added durability and a neat finish, apply felt backing or cotton backing to your DIY bookmark, sewing around the edges to ensure the handmade gift withstands daily use.
Always use durable, washable materials like colorfast embroidery floss and Aida cloth so your thoughtful present remains vibrant all year.
Enhance presentation by pairing each teacher gift with a handwritten note, transforming a simple beginner cross stitch project into a truly meaningful gesture before moving on to student gift customizable designs. This accessible project is perfect for crafting for beginners and offers simple patterns for creative stitching.
Student Gift Customizable Design
Custom bookmarks tailored to each student celebrate individuality while reinforcing school spirit, offering a unique student accessory. Personalized bookmark options include stitching initials, names, or favorite colors into the pencilshaped design, allowing you to match each student gift to their unique interests—sports, arts, or specific subject icons are simple patterns to add beside or within the main pencil motif.
School mascots or classic embroidery floss colors that represent team pride can be woven into the border or ferrule, using basic cross stitch techniques for seamless integration.
Choose durable, washable materials and consider a cotton backing for longevity, ensuring your backtoschool project is both a creative expression and a functional reading accessory for every student recipient.
This rewarding project is perfect for weekend crafting and makes an excellent lastminute gift.
- Cross stitch bookmarks can be personalized with school colors, favorite subjects, or student initials and names.
- Durable and washable materials like colorfast embroidery floss and Aida cloth are recommended for longevity.
- Felt or cotton backing can be applied for added durability and a neat finish on DIY bookmarks.
- These projects are described as accessible and perfect for beginners, offering simple patterns for creative stitching.
What are Embroidery Floss Colors?
Embroidery floss colors are organized through a detailed numbering and skein system, facilitating the selection of perfect shades for your cross stitch bookmark creations. DMC’s skein system provides six easily divisible strands, each assigned a number from 01–996 and 3011–3895, corresponding to precise hues for dependable color matching across all your stitching instructions.
This expansive collection encompasses numerous color families, including vibrant reds, calming blues, earthy greens, and rich browns, empowering crafters to choose hues that either complement or contrast beautifully.
This is particularly advantageous for pencil cross stitch patterns, where strategic use of black, pink, yellow, and brown can bring realistic detail to a bookworm gift.
For a beginner cross stitch enthusiast, typical pencilshaped design projects often utilize two to three strands of embroidery floss colors for optimal stitch coverage on Aida cloth. Specialty floss types, such as variegated threads for subtle color shifts and metallic threads for added shimmer, further enhance DIY bookmark projects and elevate handmade stationery craft items.
Simple Stitching Instructions for Success
Stitching instructions for creating a beginner-friendly cross stitch bookmark rely on developing consistent technique and paying close attention to detail, especially as you learn beyond basic embroidery floss colors.
Begin every back to school craft endeavor by mastering the fundamental cross stitch “X,” but also explore other simple patterns like backstitch or French knots to introduce varied textures and add depth to your creative projects. Maintaining an even tension throughout your stitches is key to achieving a neat finish; avoid pulling the thread too tightly, as this can cause fabric puckering in your personalized journal embellishment.
To manage thread effectively, work with shorter lengths of embroidery floss colors, approximately 18–24 inches, which promotes smoother stitches and simplifies needle threading.
Success in crafting for beginners is a direct result of consistent practice and cultivated patience; each stitch undoubtedly refines your skills, transforming every DIY bookmark into a cherished student accessory or a thoughtful teacher appreciation present.
- Embroidery floss colors are organized by a numbering system (01–996 and 3011–3895) and skein system, with DMC providing six divisible strands per skein for precise color matching.
- Specific colors like black, pink, yellow, and brown are beneficial for realistic detail in pencil cross stitch patterns, especially for bookworm gifts.
- Beginner cross stitch projects, like pencil-shaped designs, typically use two to three strands of embroidery floss for optimal stitch coverage on Aida cloth.
- Specialty floss types, including variegated and metallic threads, can enhance DIY bookmark projects and elevate handmade stationery craft items.
How to Finish Your DIY Bookmark
Cross stitch bookmark projects benefit greatly from expert finishing. After completing your stitching instructions, begin by carefully pressing and then trimming the edges, leaving a small margin that helps in sewing edges and preventing fraying.
Secure the ends of your work by weaving in any loose embroidery floss colors.
A felt backing or cotton backing can be added, creating a neat finish and significant durability for this student accessory.
For added stiffness, consider placing fusible interfacing or thin cardstock between the layers, making your personalized bookmark a sturdy reading accessory or textbook marker. Creative stitching around the perimeter provides both aesthetic appeal and reinforces the entire structure, contributing to its durability.
To embellish, you might attach a handmade tassel using leftover floss, thread a ribbon through a reinforced top edge of the bookmark, or add small beads or charms as journal embellishment. Final iron pressing ensures the creation of smooth stitches, transforming your DIY bookmark into a stylish and practical handmade gift, perfect for any back to school craft or as a teacher appreciation gesture.
This accessible project is great for crafting for beginners and can be a wonderful part of an educational craft.
Adding Embellishments and Ensuring Durability
Elevating your DIY bookmark involves thoughtful additions.
Securing the ends of your stitching is paramount for longevity. Techniques for weaving in loose floss ensure a clean, professional look, preventing any unraveling and contributing to the overall durability of your creative projects.
Options for backing, such as felt backing or cotton backing, not only provide stiffness but also protect the reverse side of your needlework, giving your personalized bookmark a polished appearance. You can also insert cardstock or fusible interfacing between the fabric and backing for extra rigidity, perfect for a planner accessory or journal embellishment.
Suggesting ways to add tassels, ribbons, or other embellishments can significantly enhance the aesthetic appeal.
A tassel made from contrasting embroidery floss colors tied securely to the top edge adds a playful touch, while a ribbon threaded through a reinforced hole can serve as a handy marker.
Beads or small charms can also be incorporated for a unique touch. Providing tips for making the bookmark durable for frequent use means focusing on secure stitching, neat finishing, and robust backing, ensuring it withstands daily wear and tear as a cherished reading accessory.
This makes it a truly thoughtful present.
- Adding a felt or cotton backing enhances the durability and neatness of a DIY bookmark.
- Fusible interfacing or cardstock can be inserted between layers to increase the stiffness of a personalized bookmark.
- Creative stitching around the perimeter not only adds aesthetic appeal but also reinforces the entire structure of the bookmark.
- Embellishments such as handmade tassels, ribbons, or beads can be attached to further enhance the DIY bookmark’s appearance.


